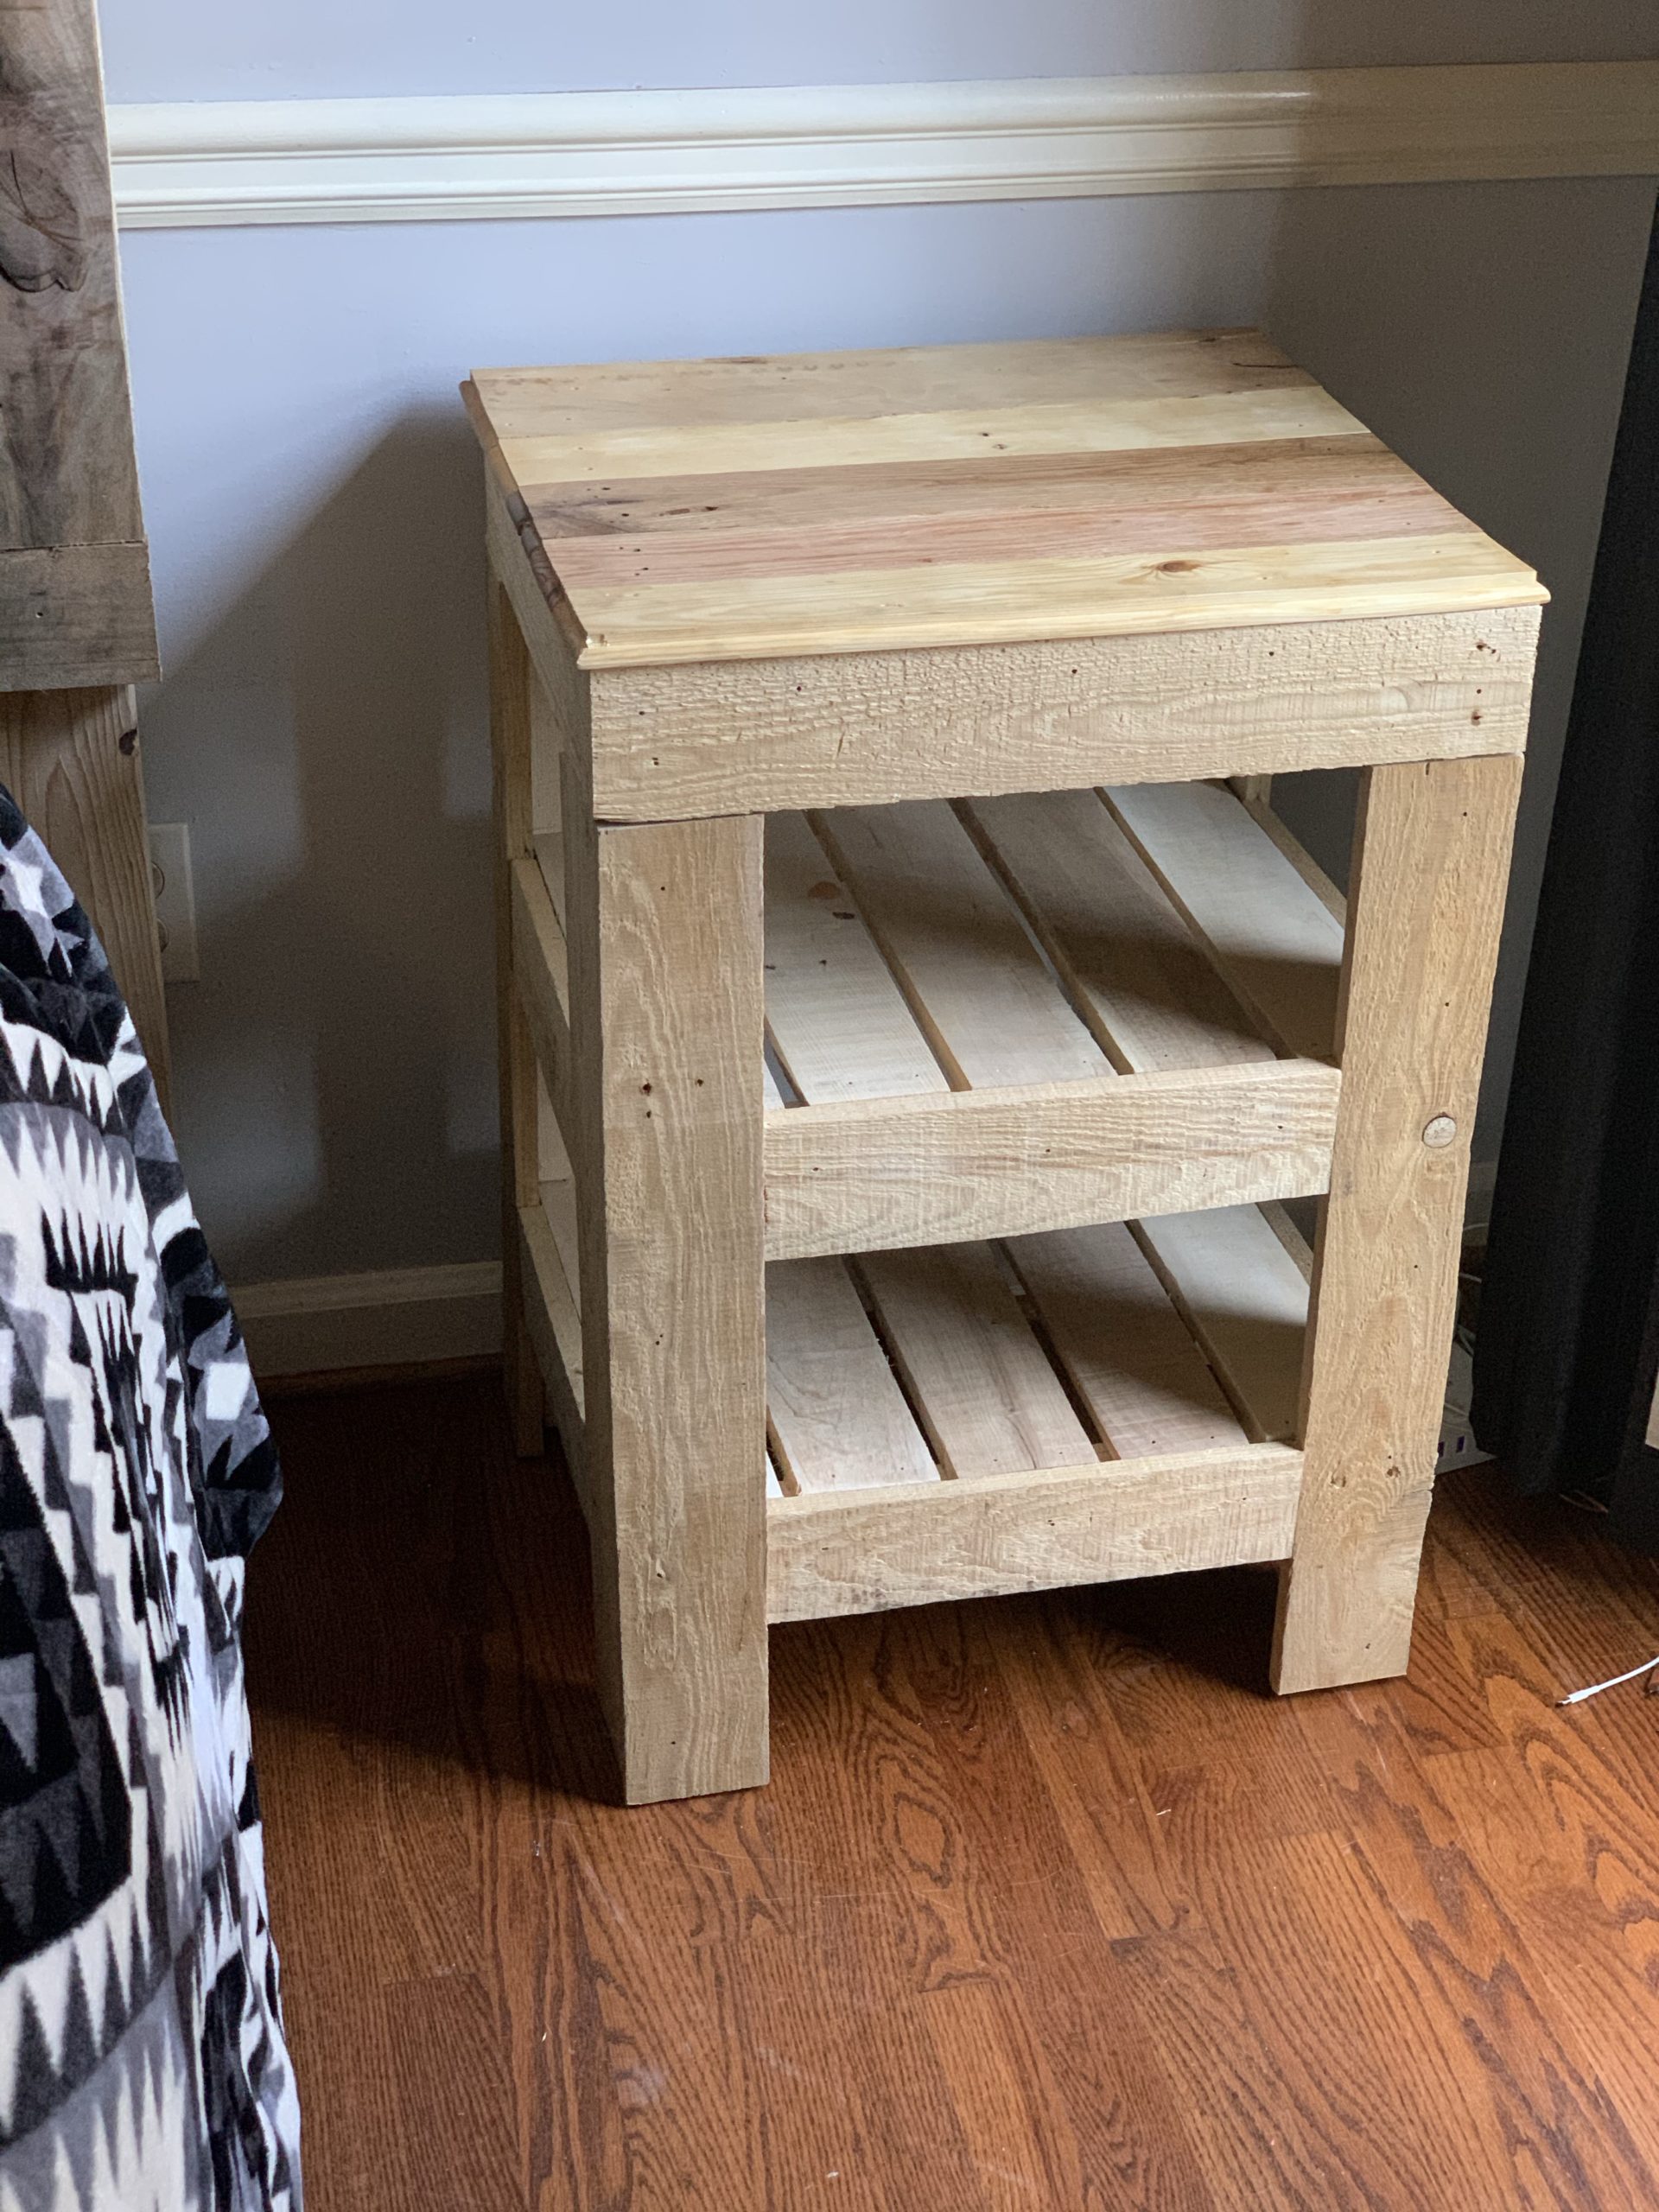
A newly painted bedroom with a new head board deserves more than a one night stand… it deserves two night stands. Made with pallet wood as well.
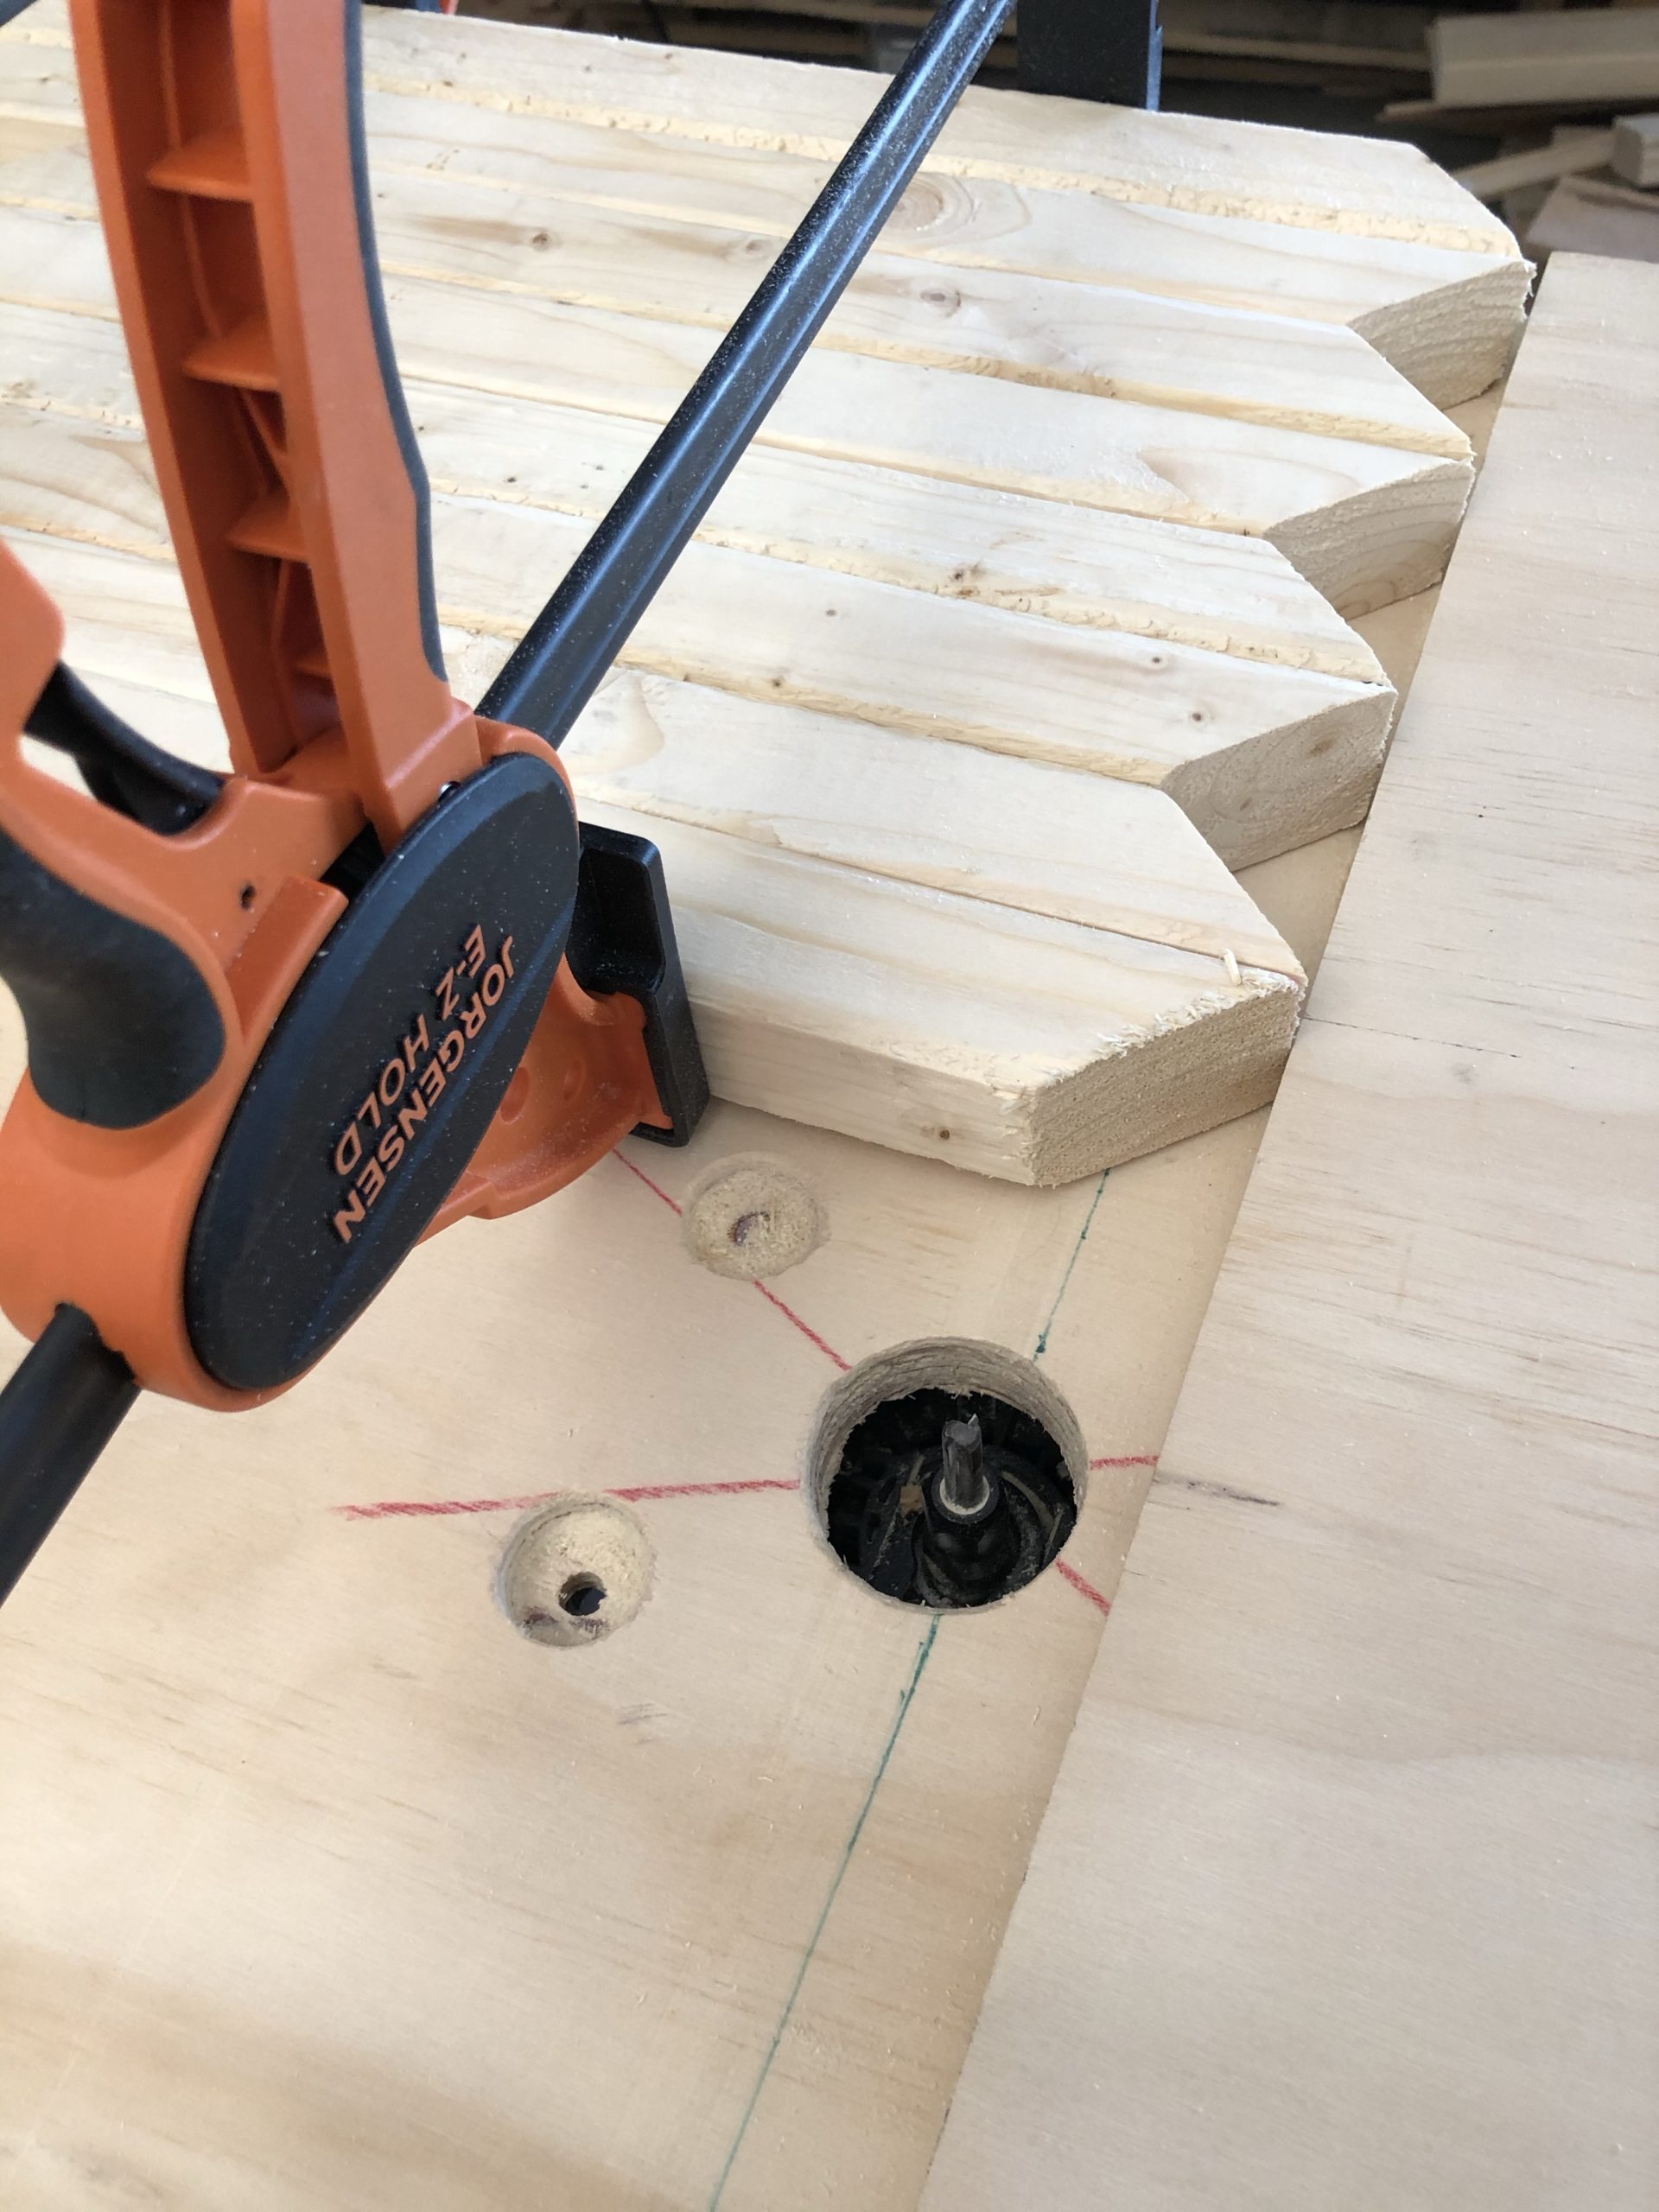
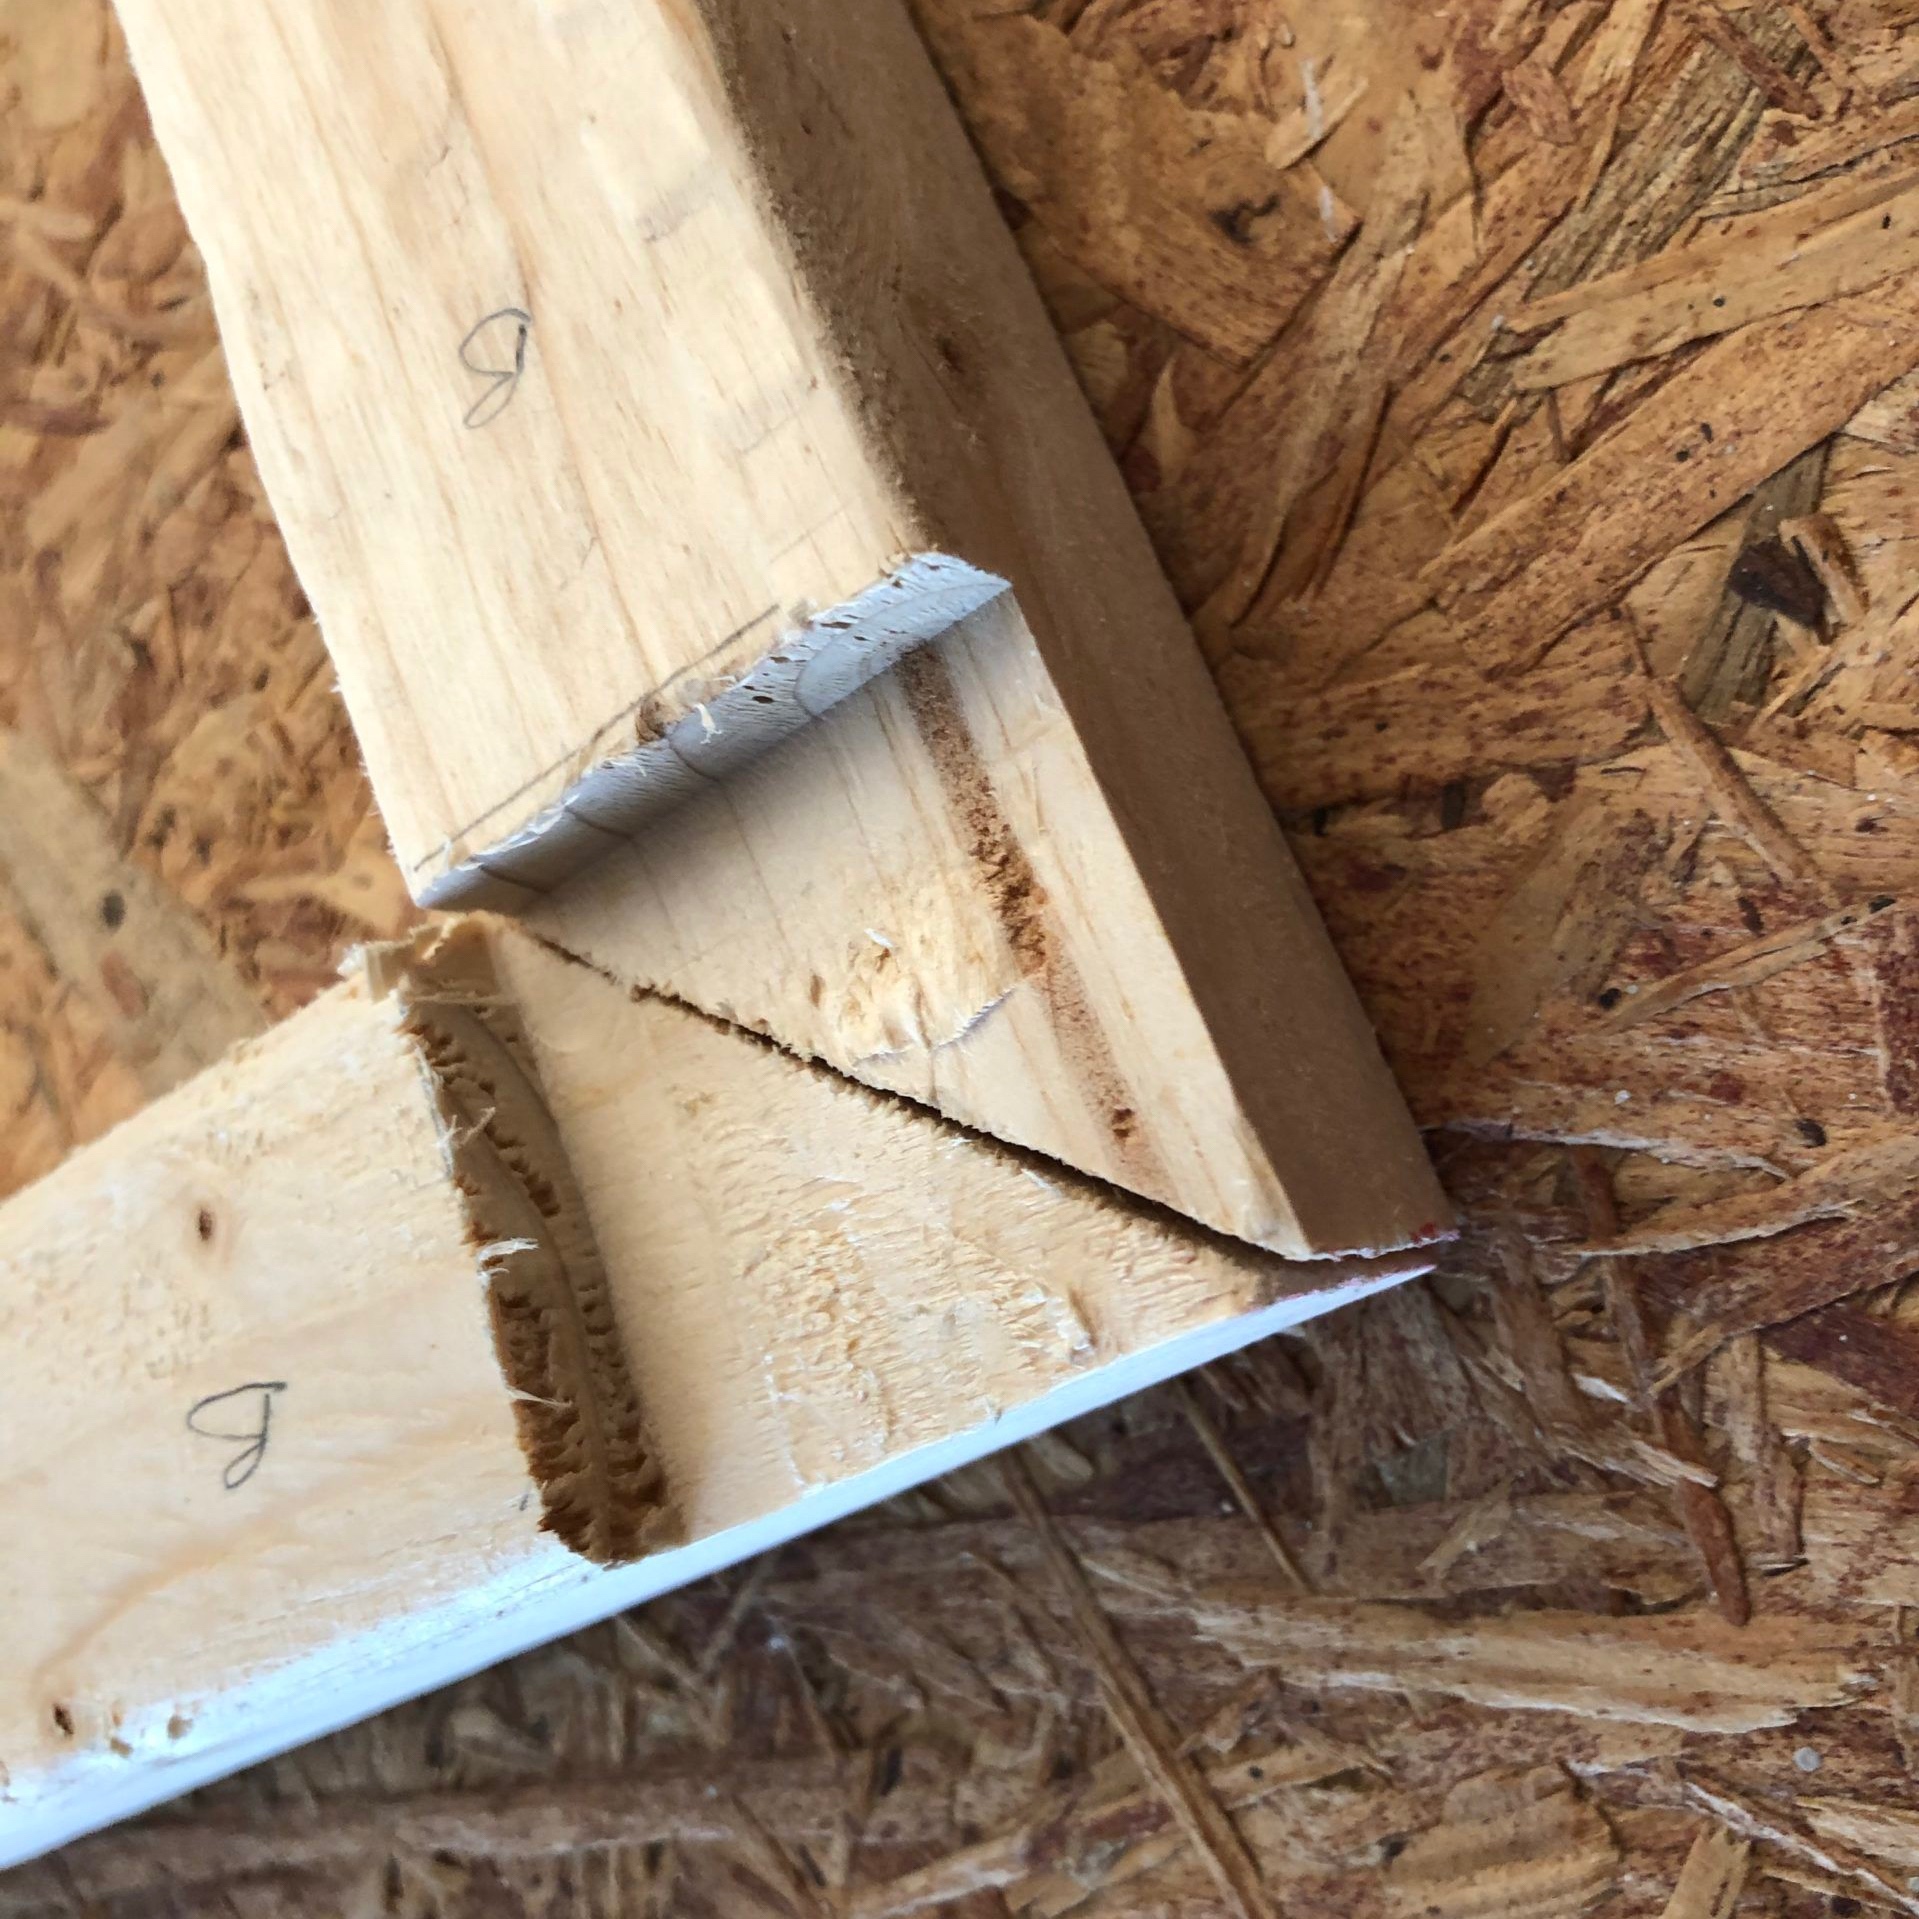
These are frames for the top to sit on. I used my diy router table for the corners.
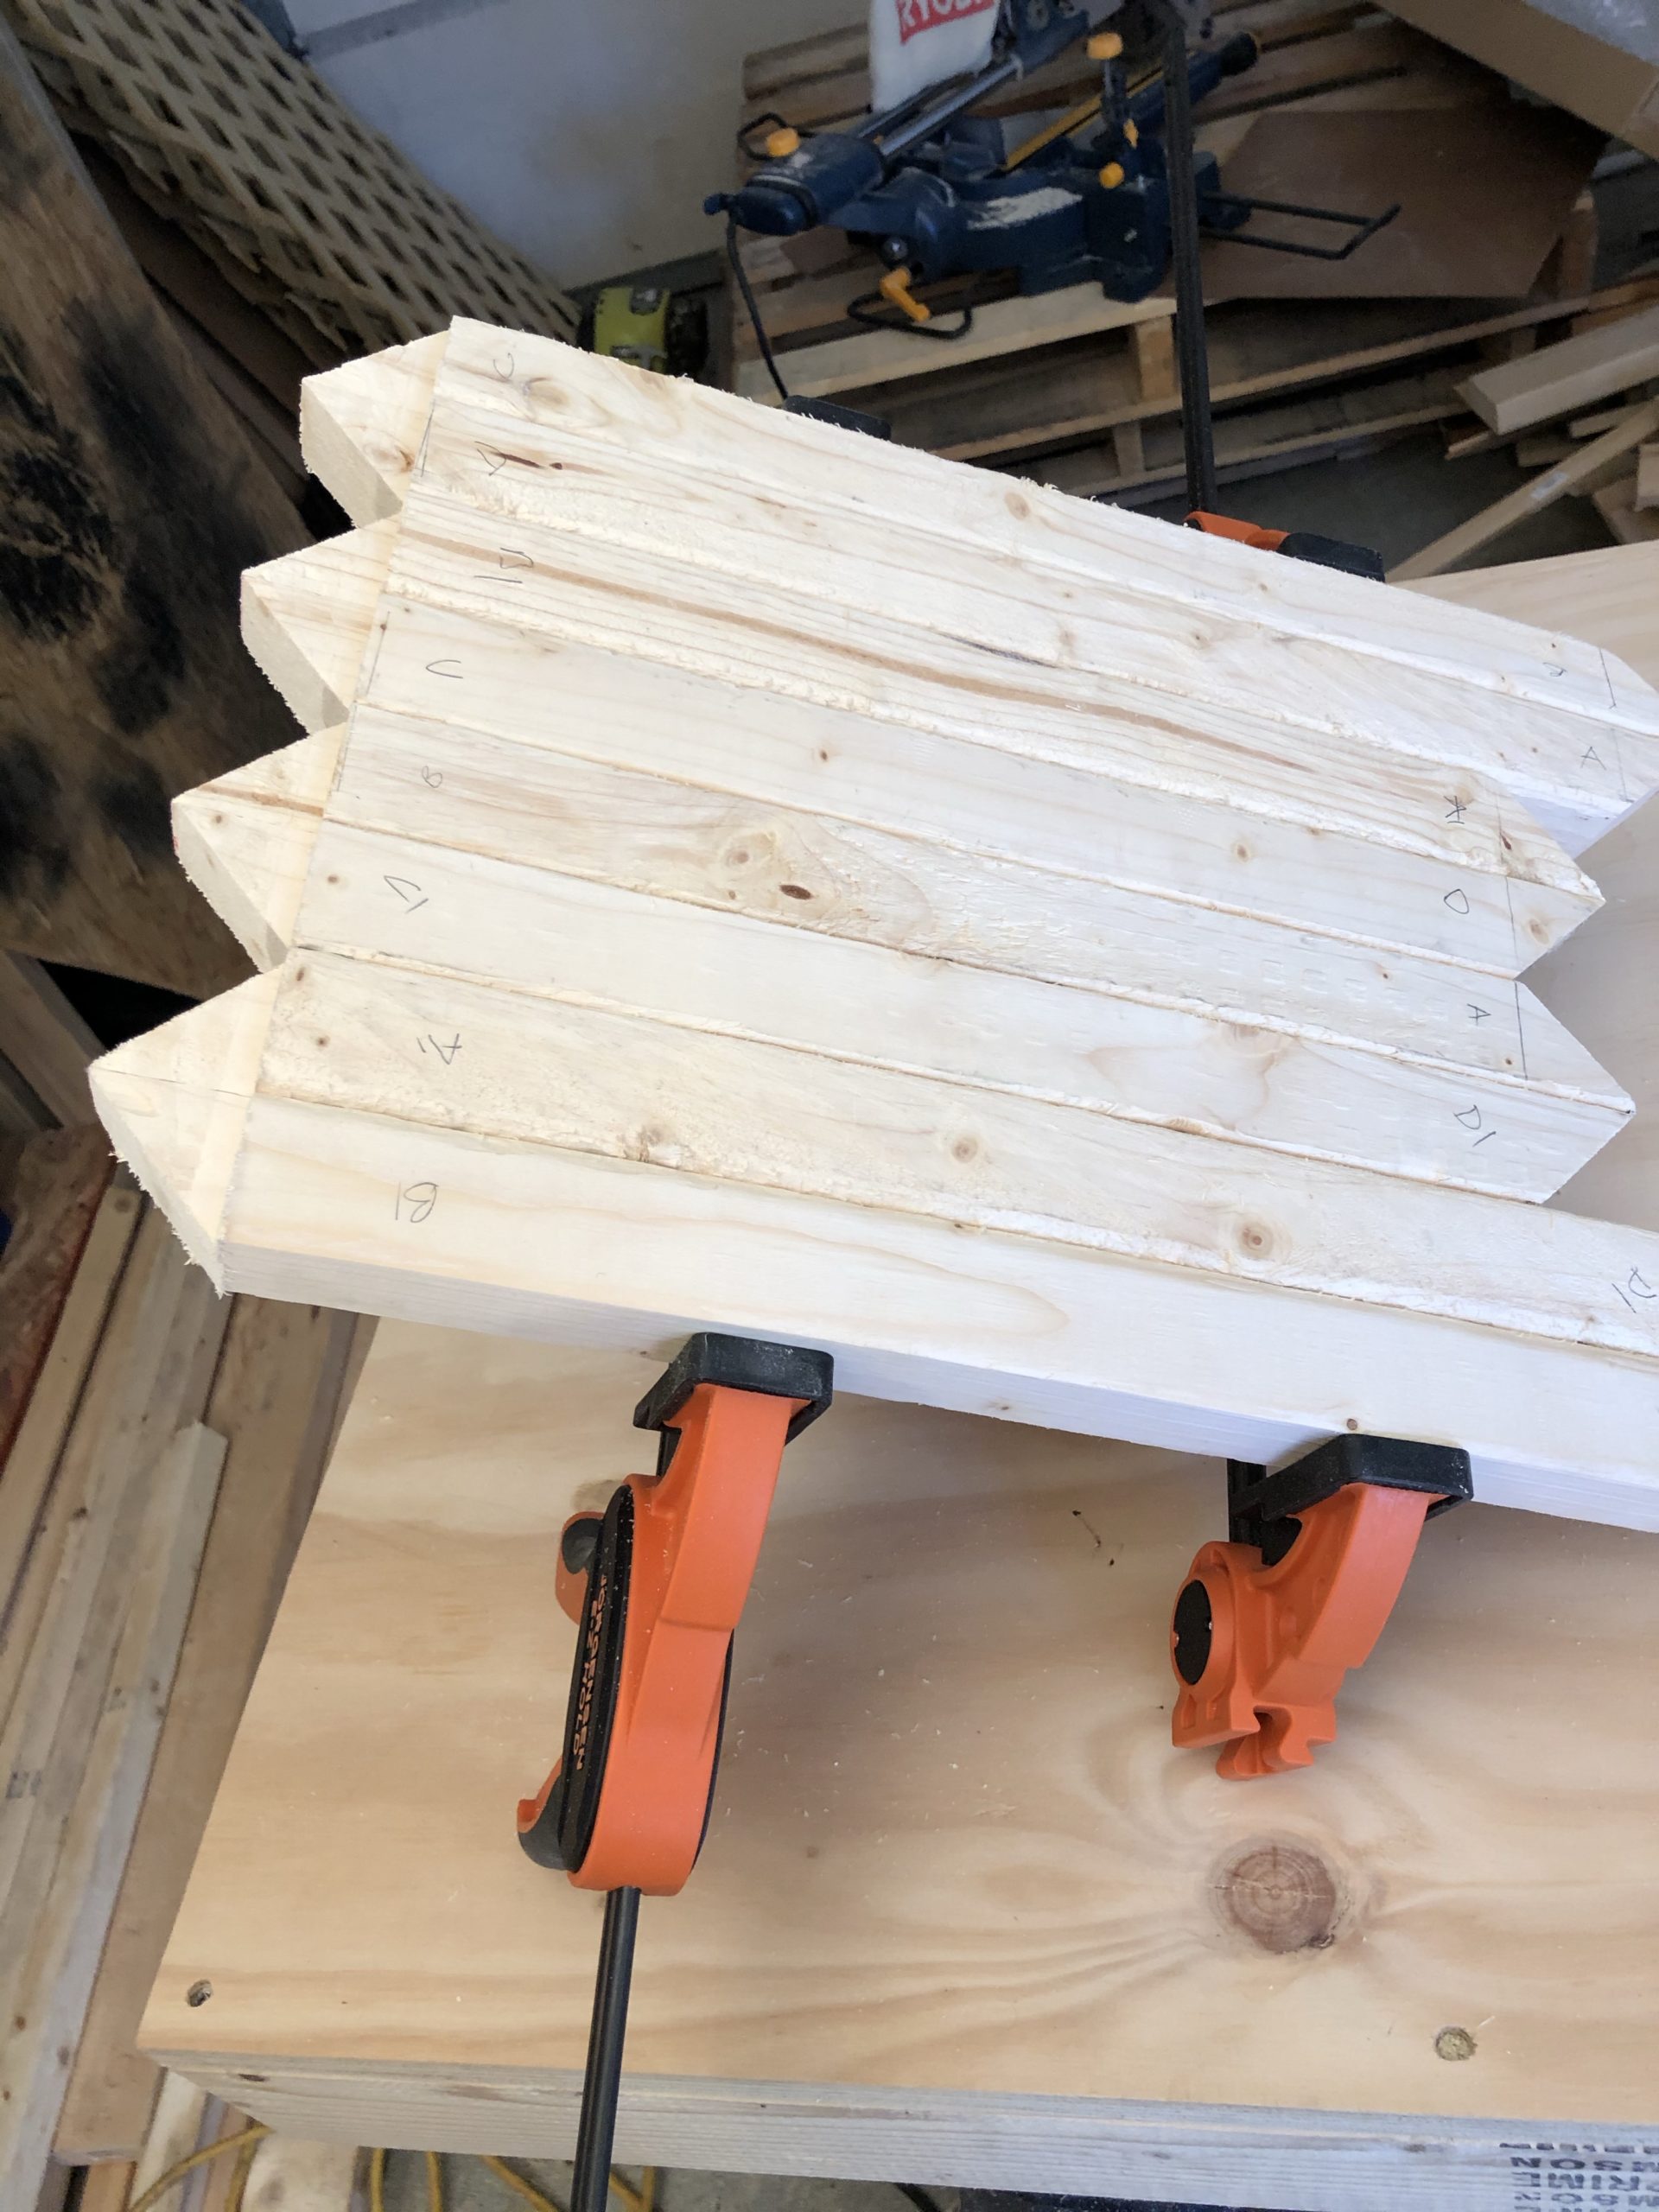
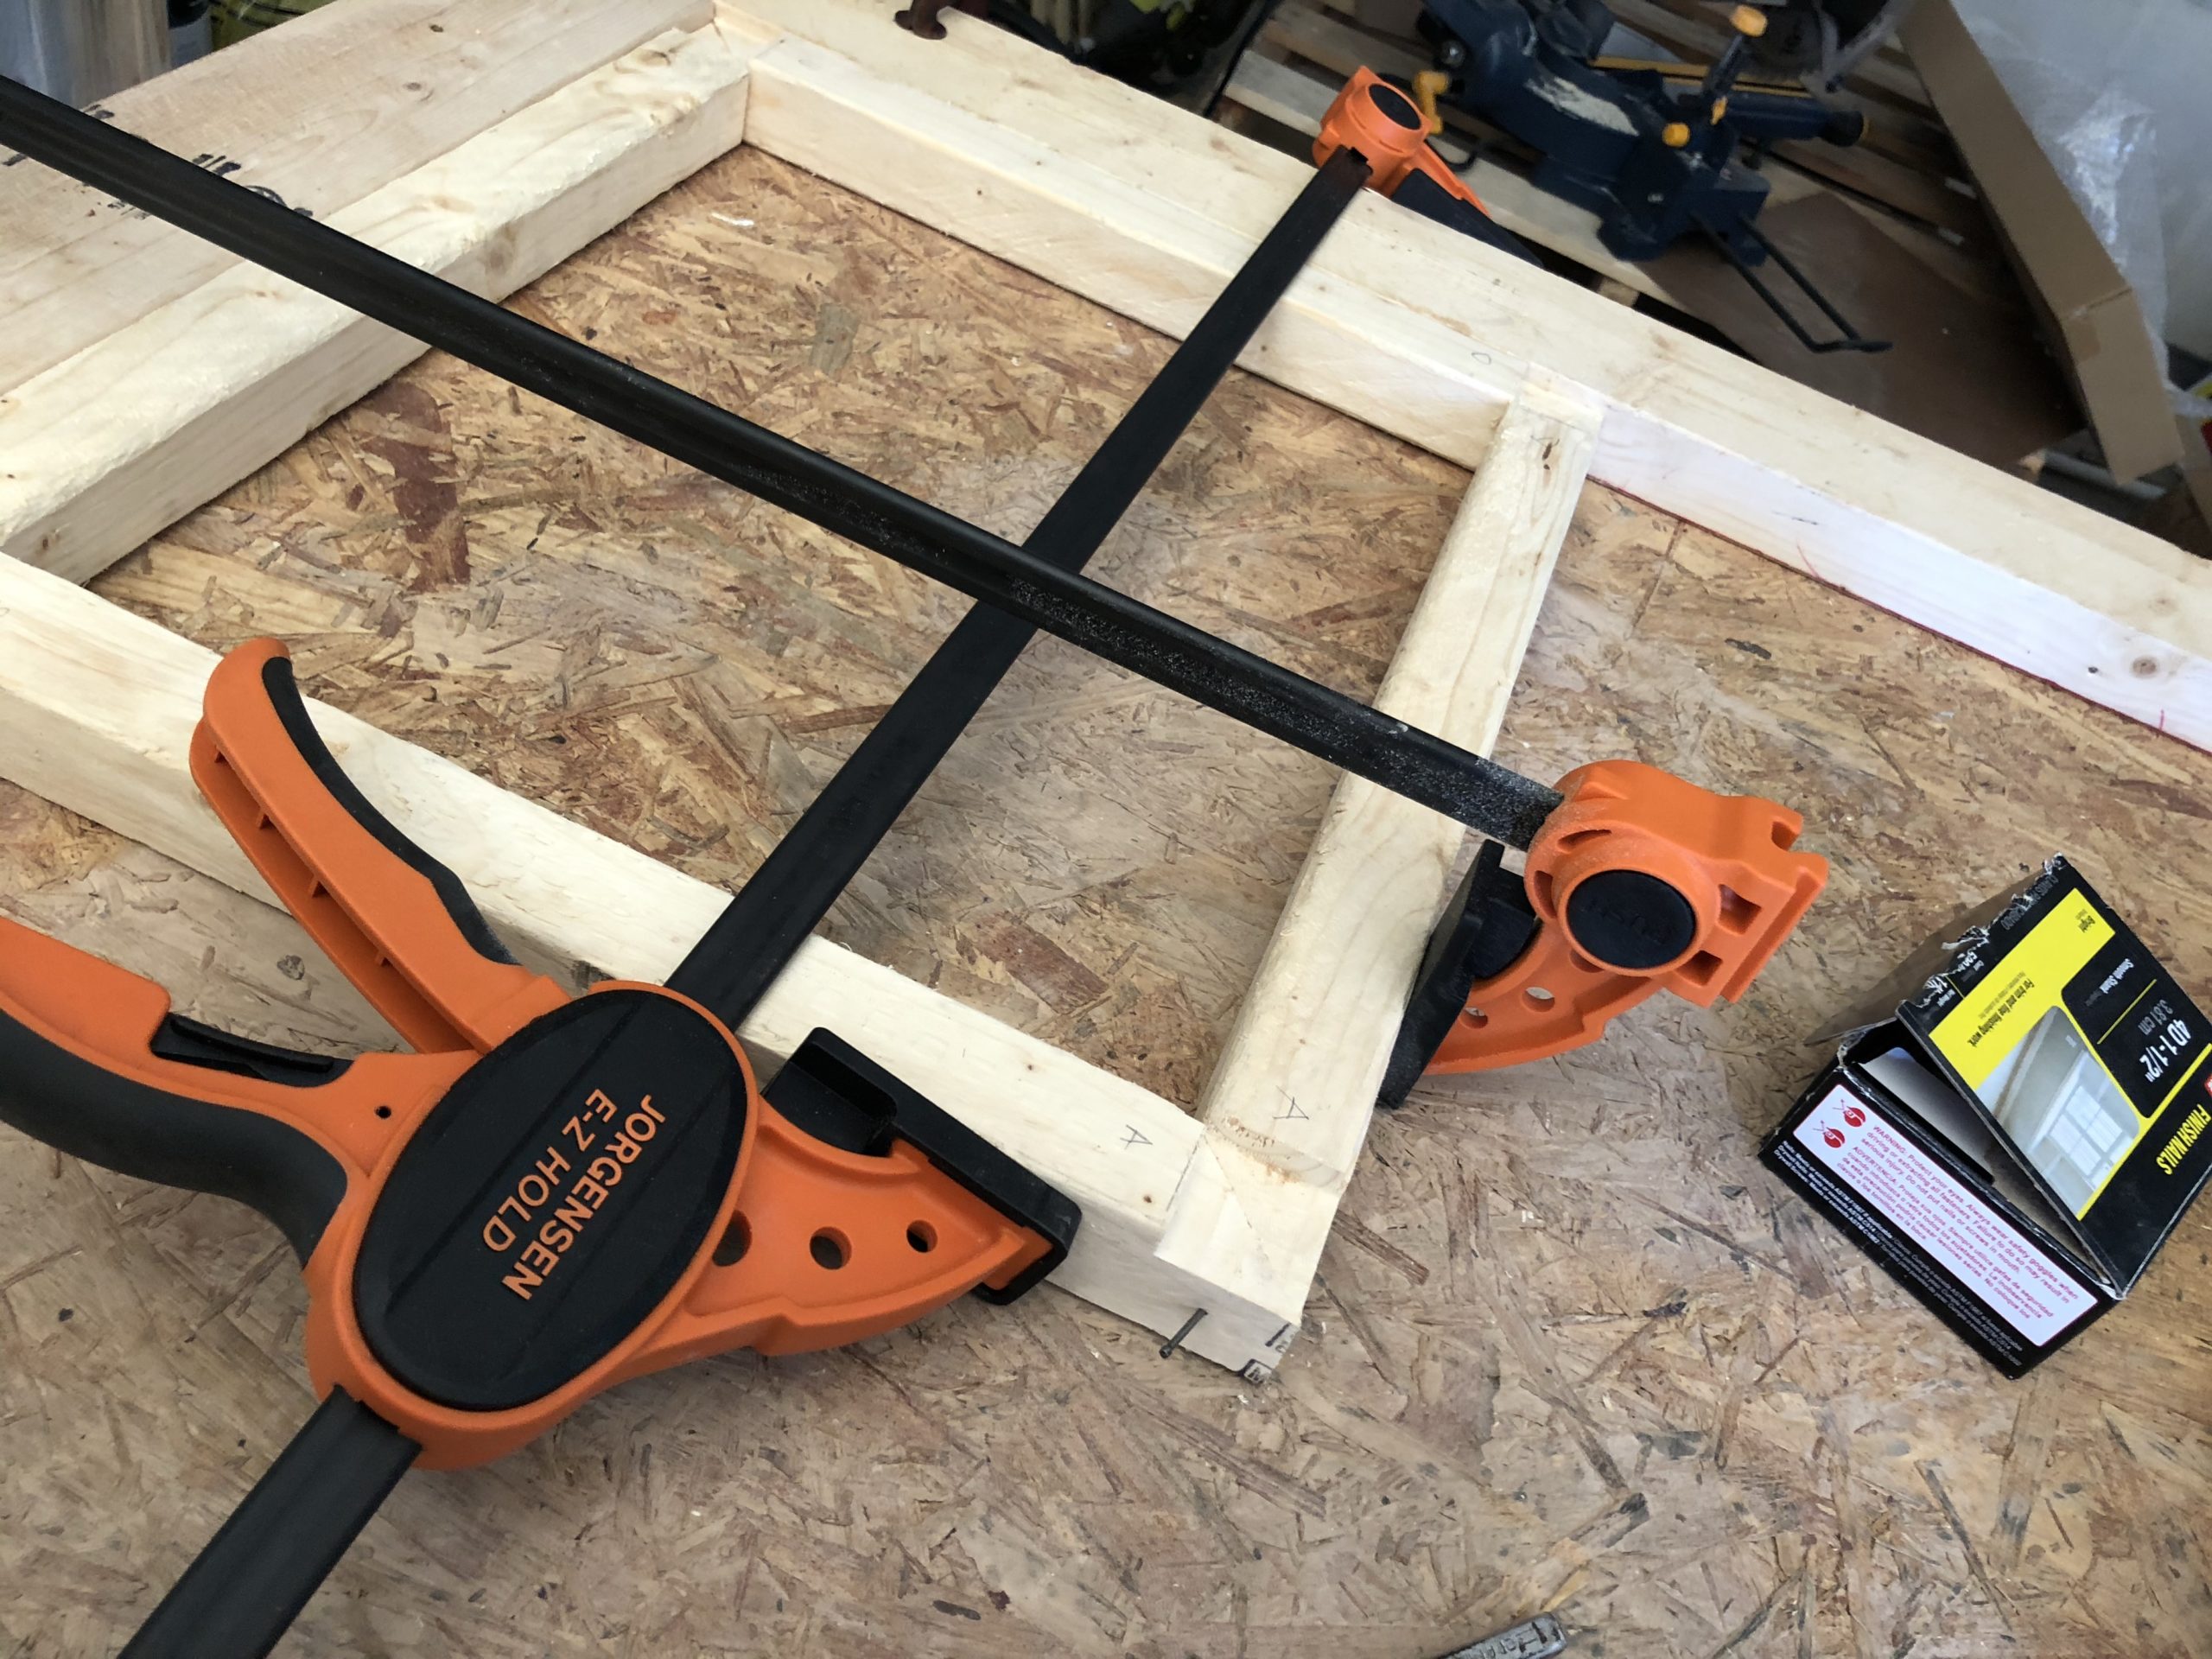
Clamp some more stuff together.
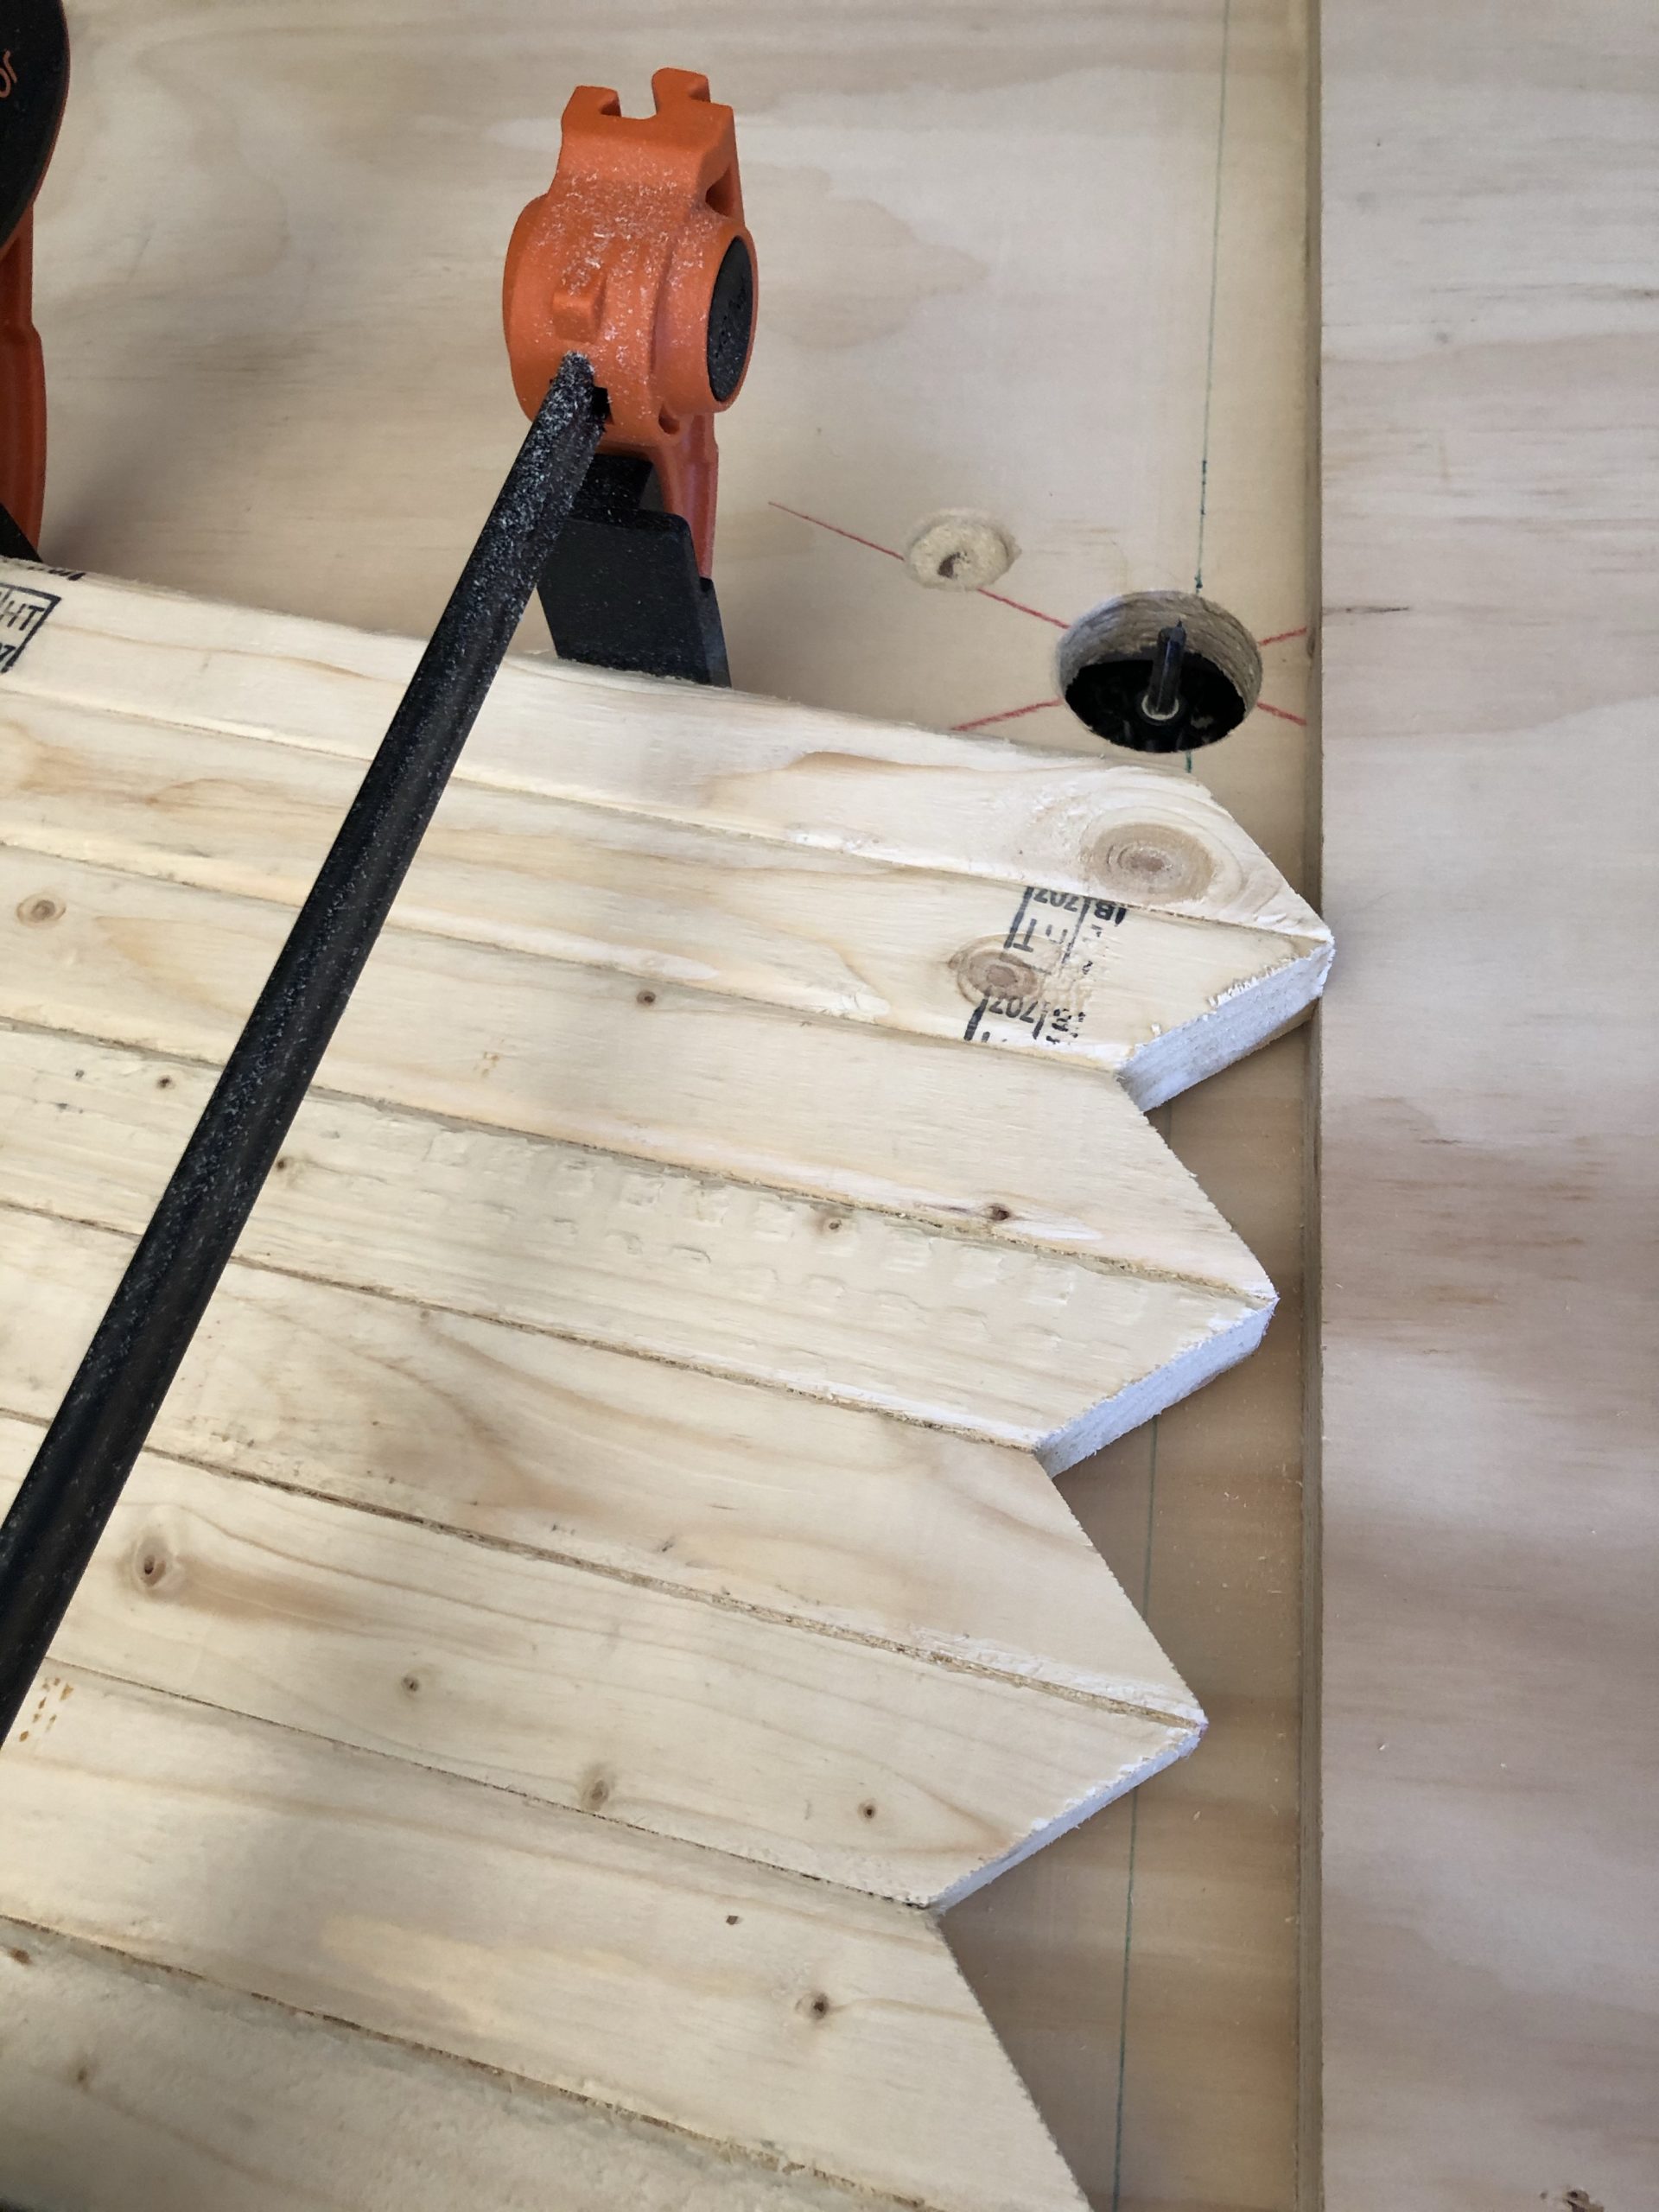
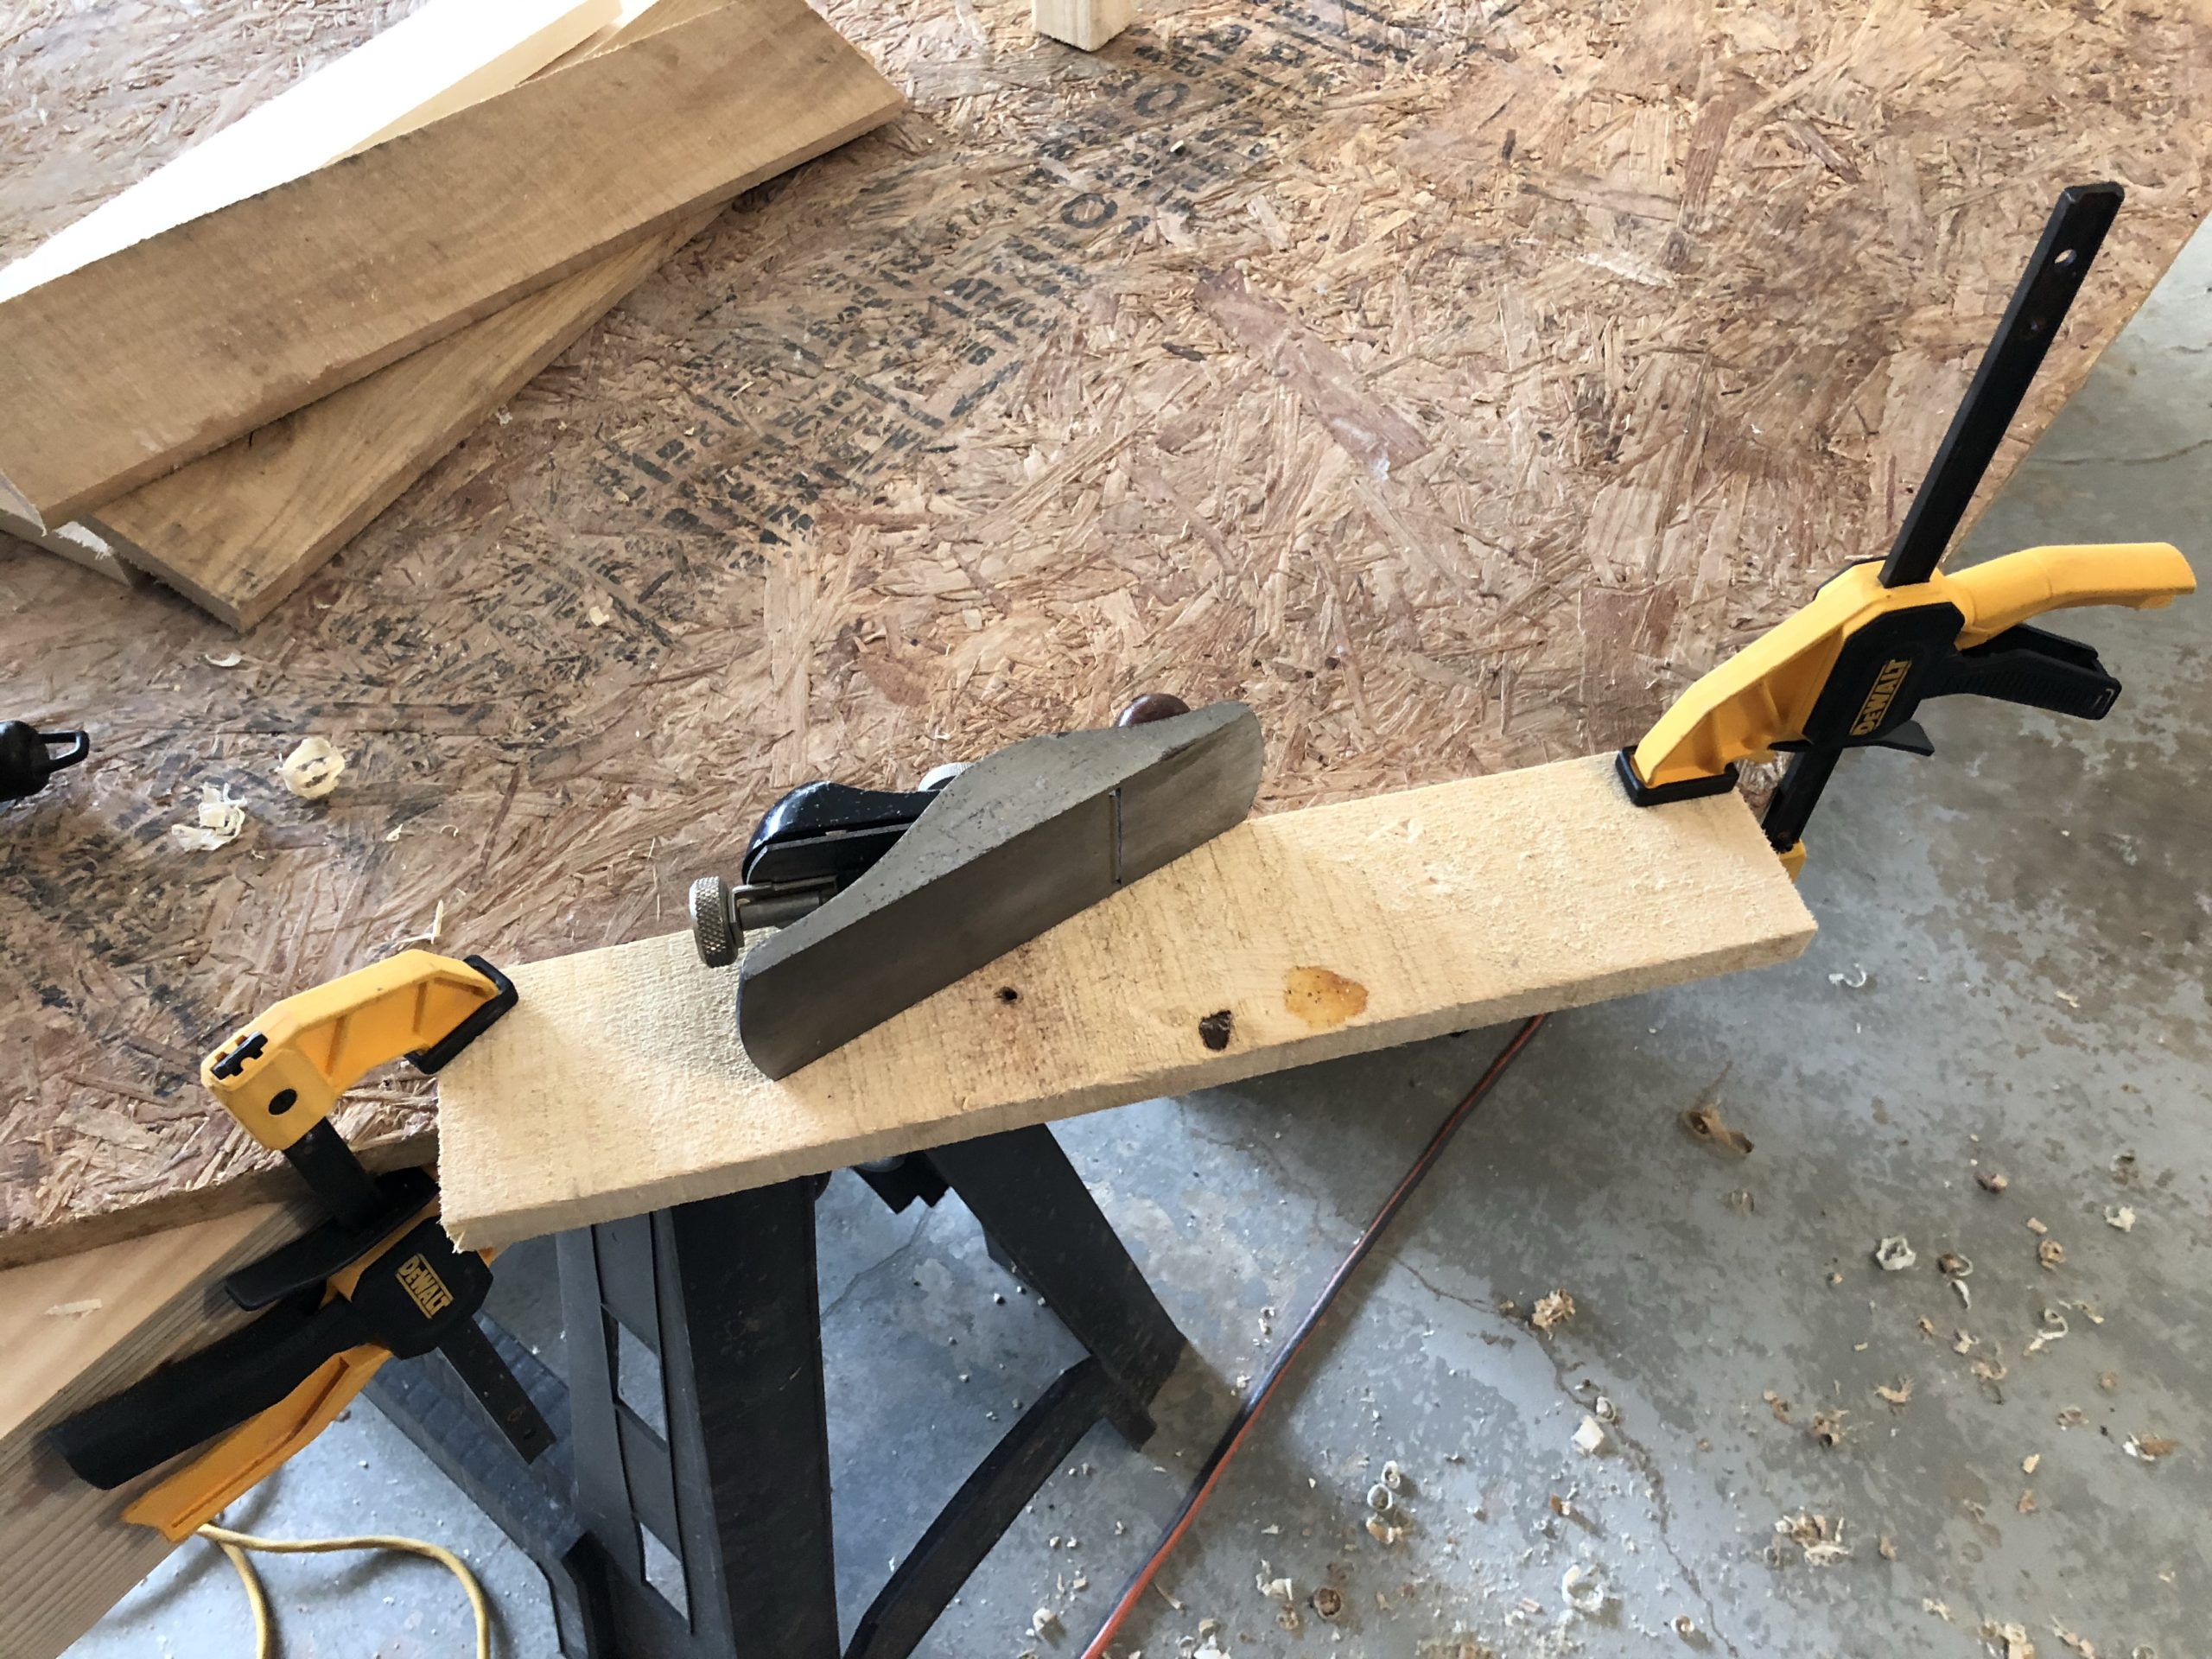
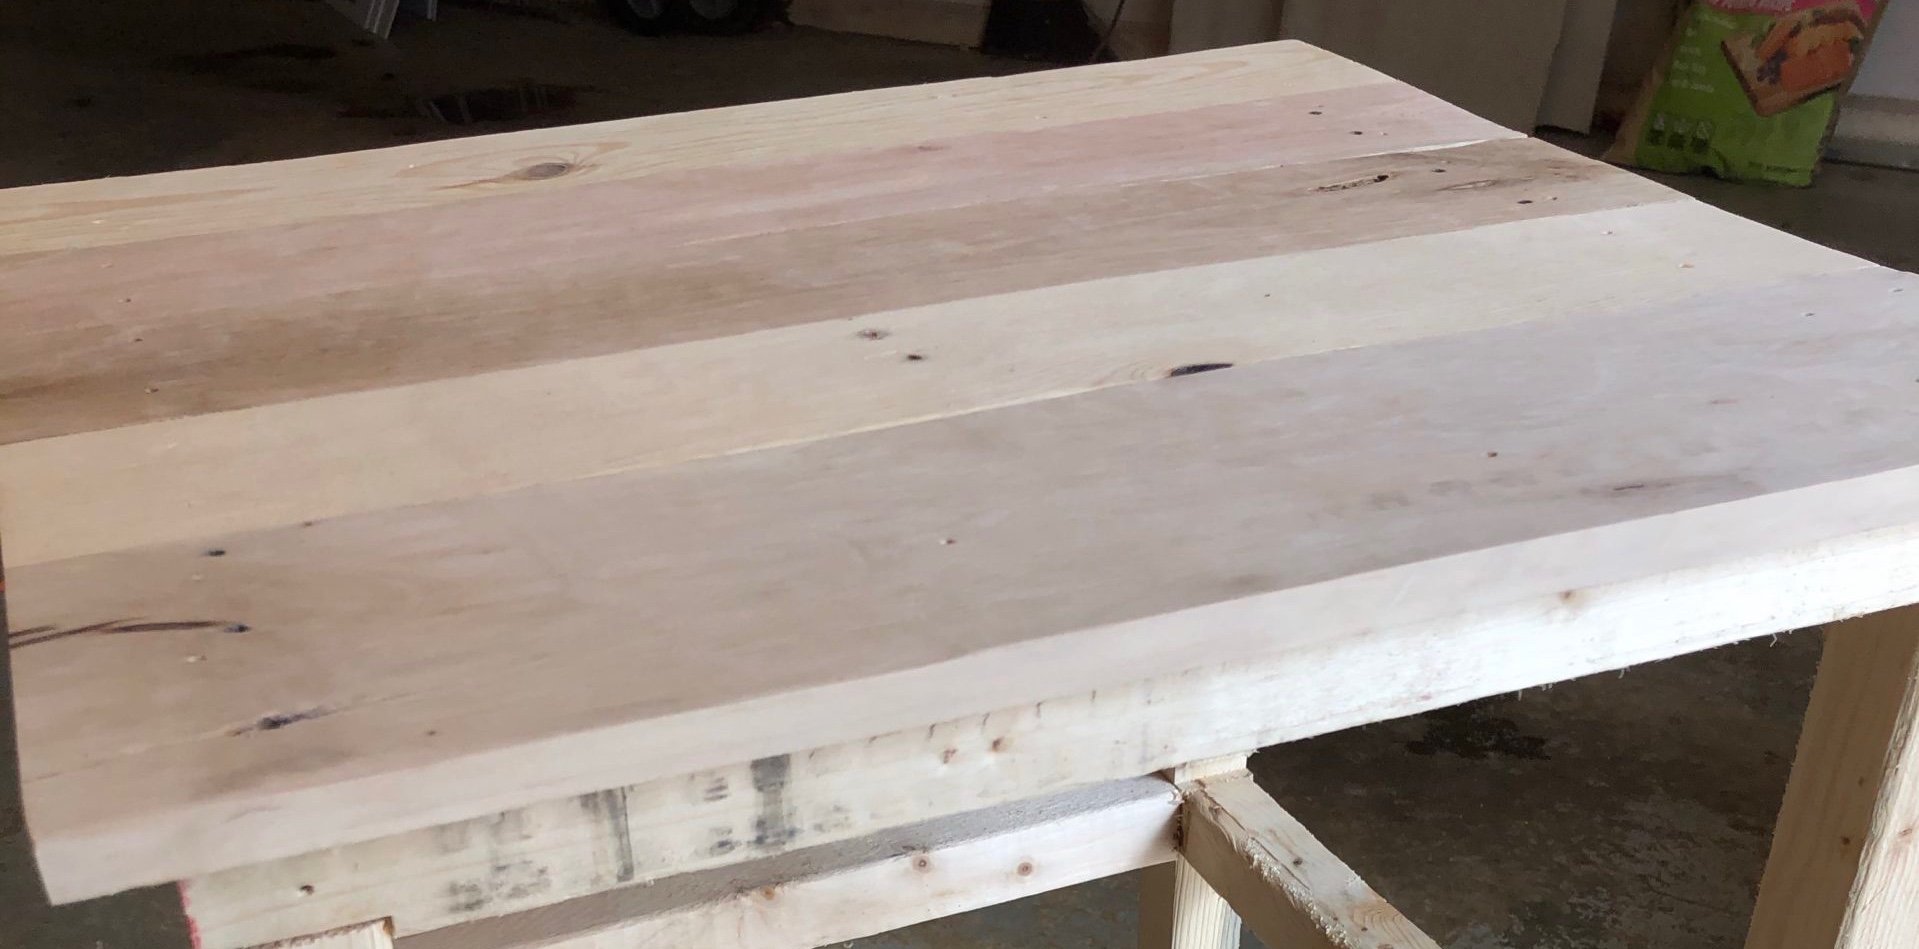
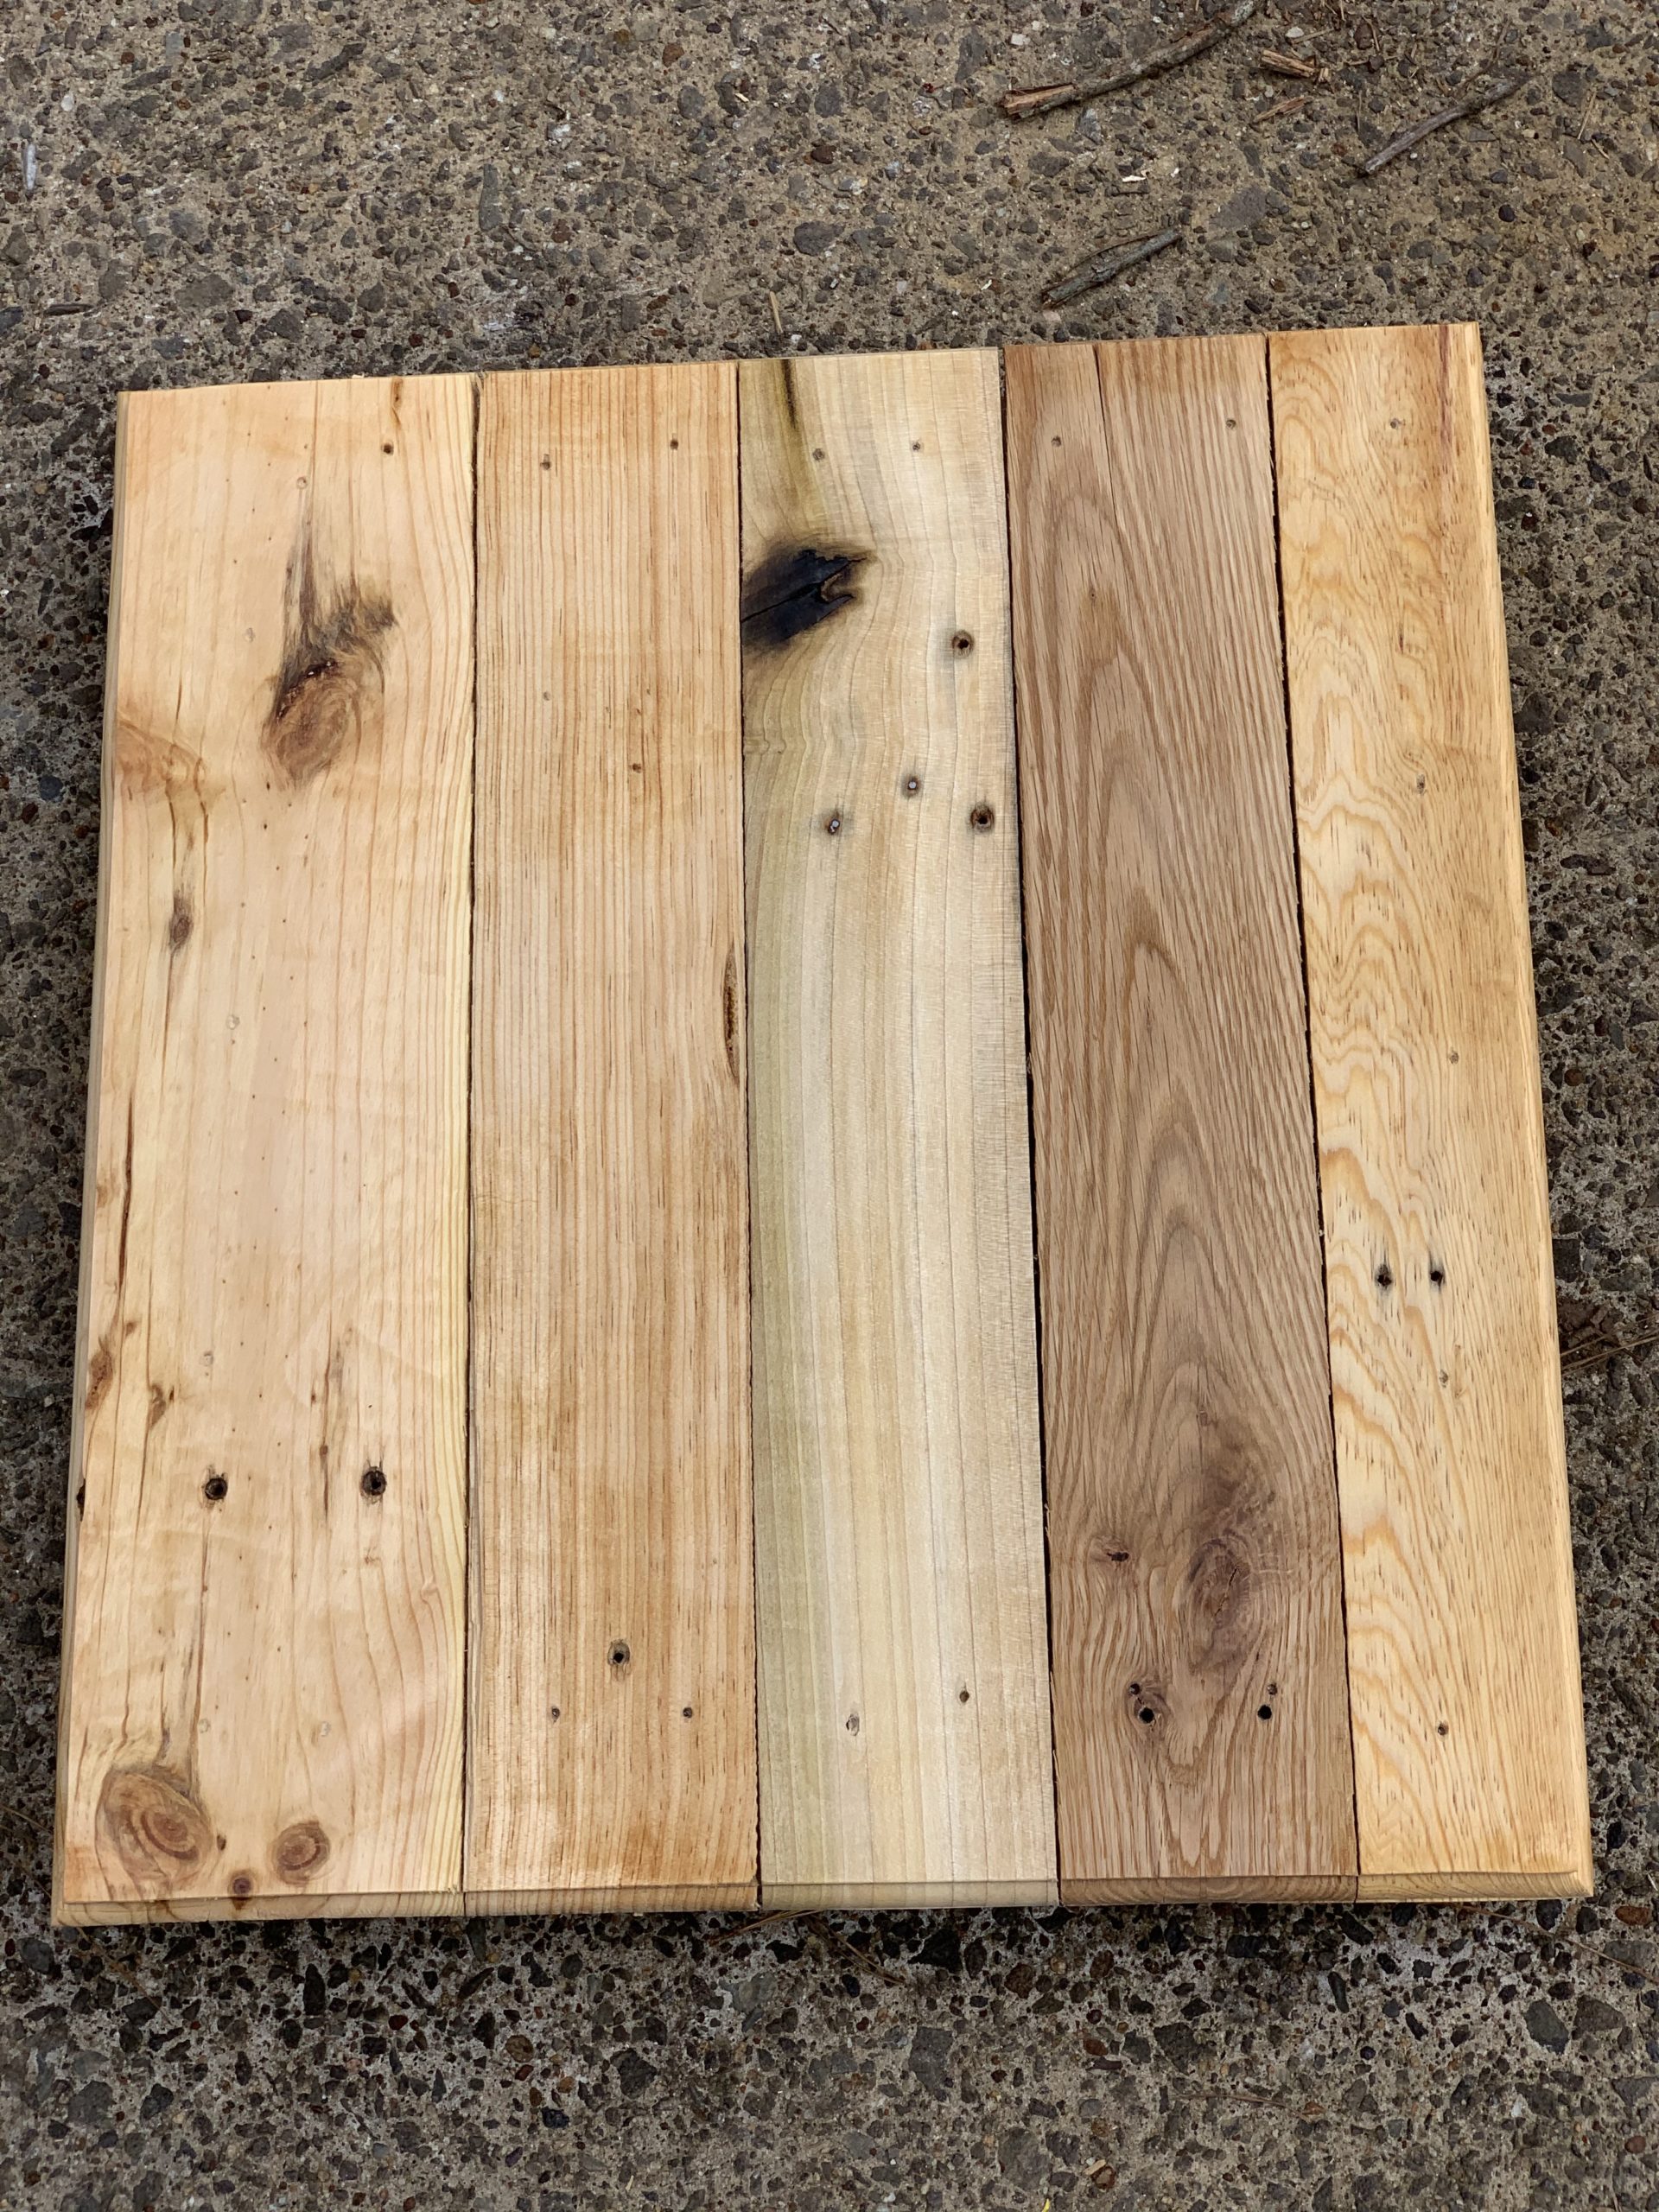
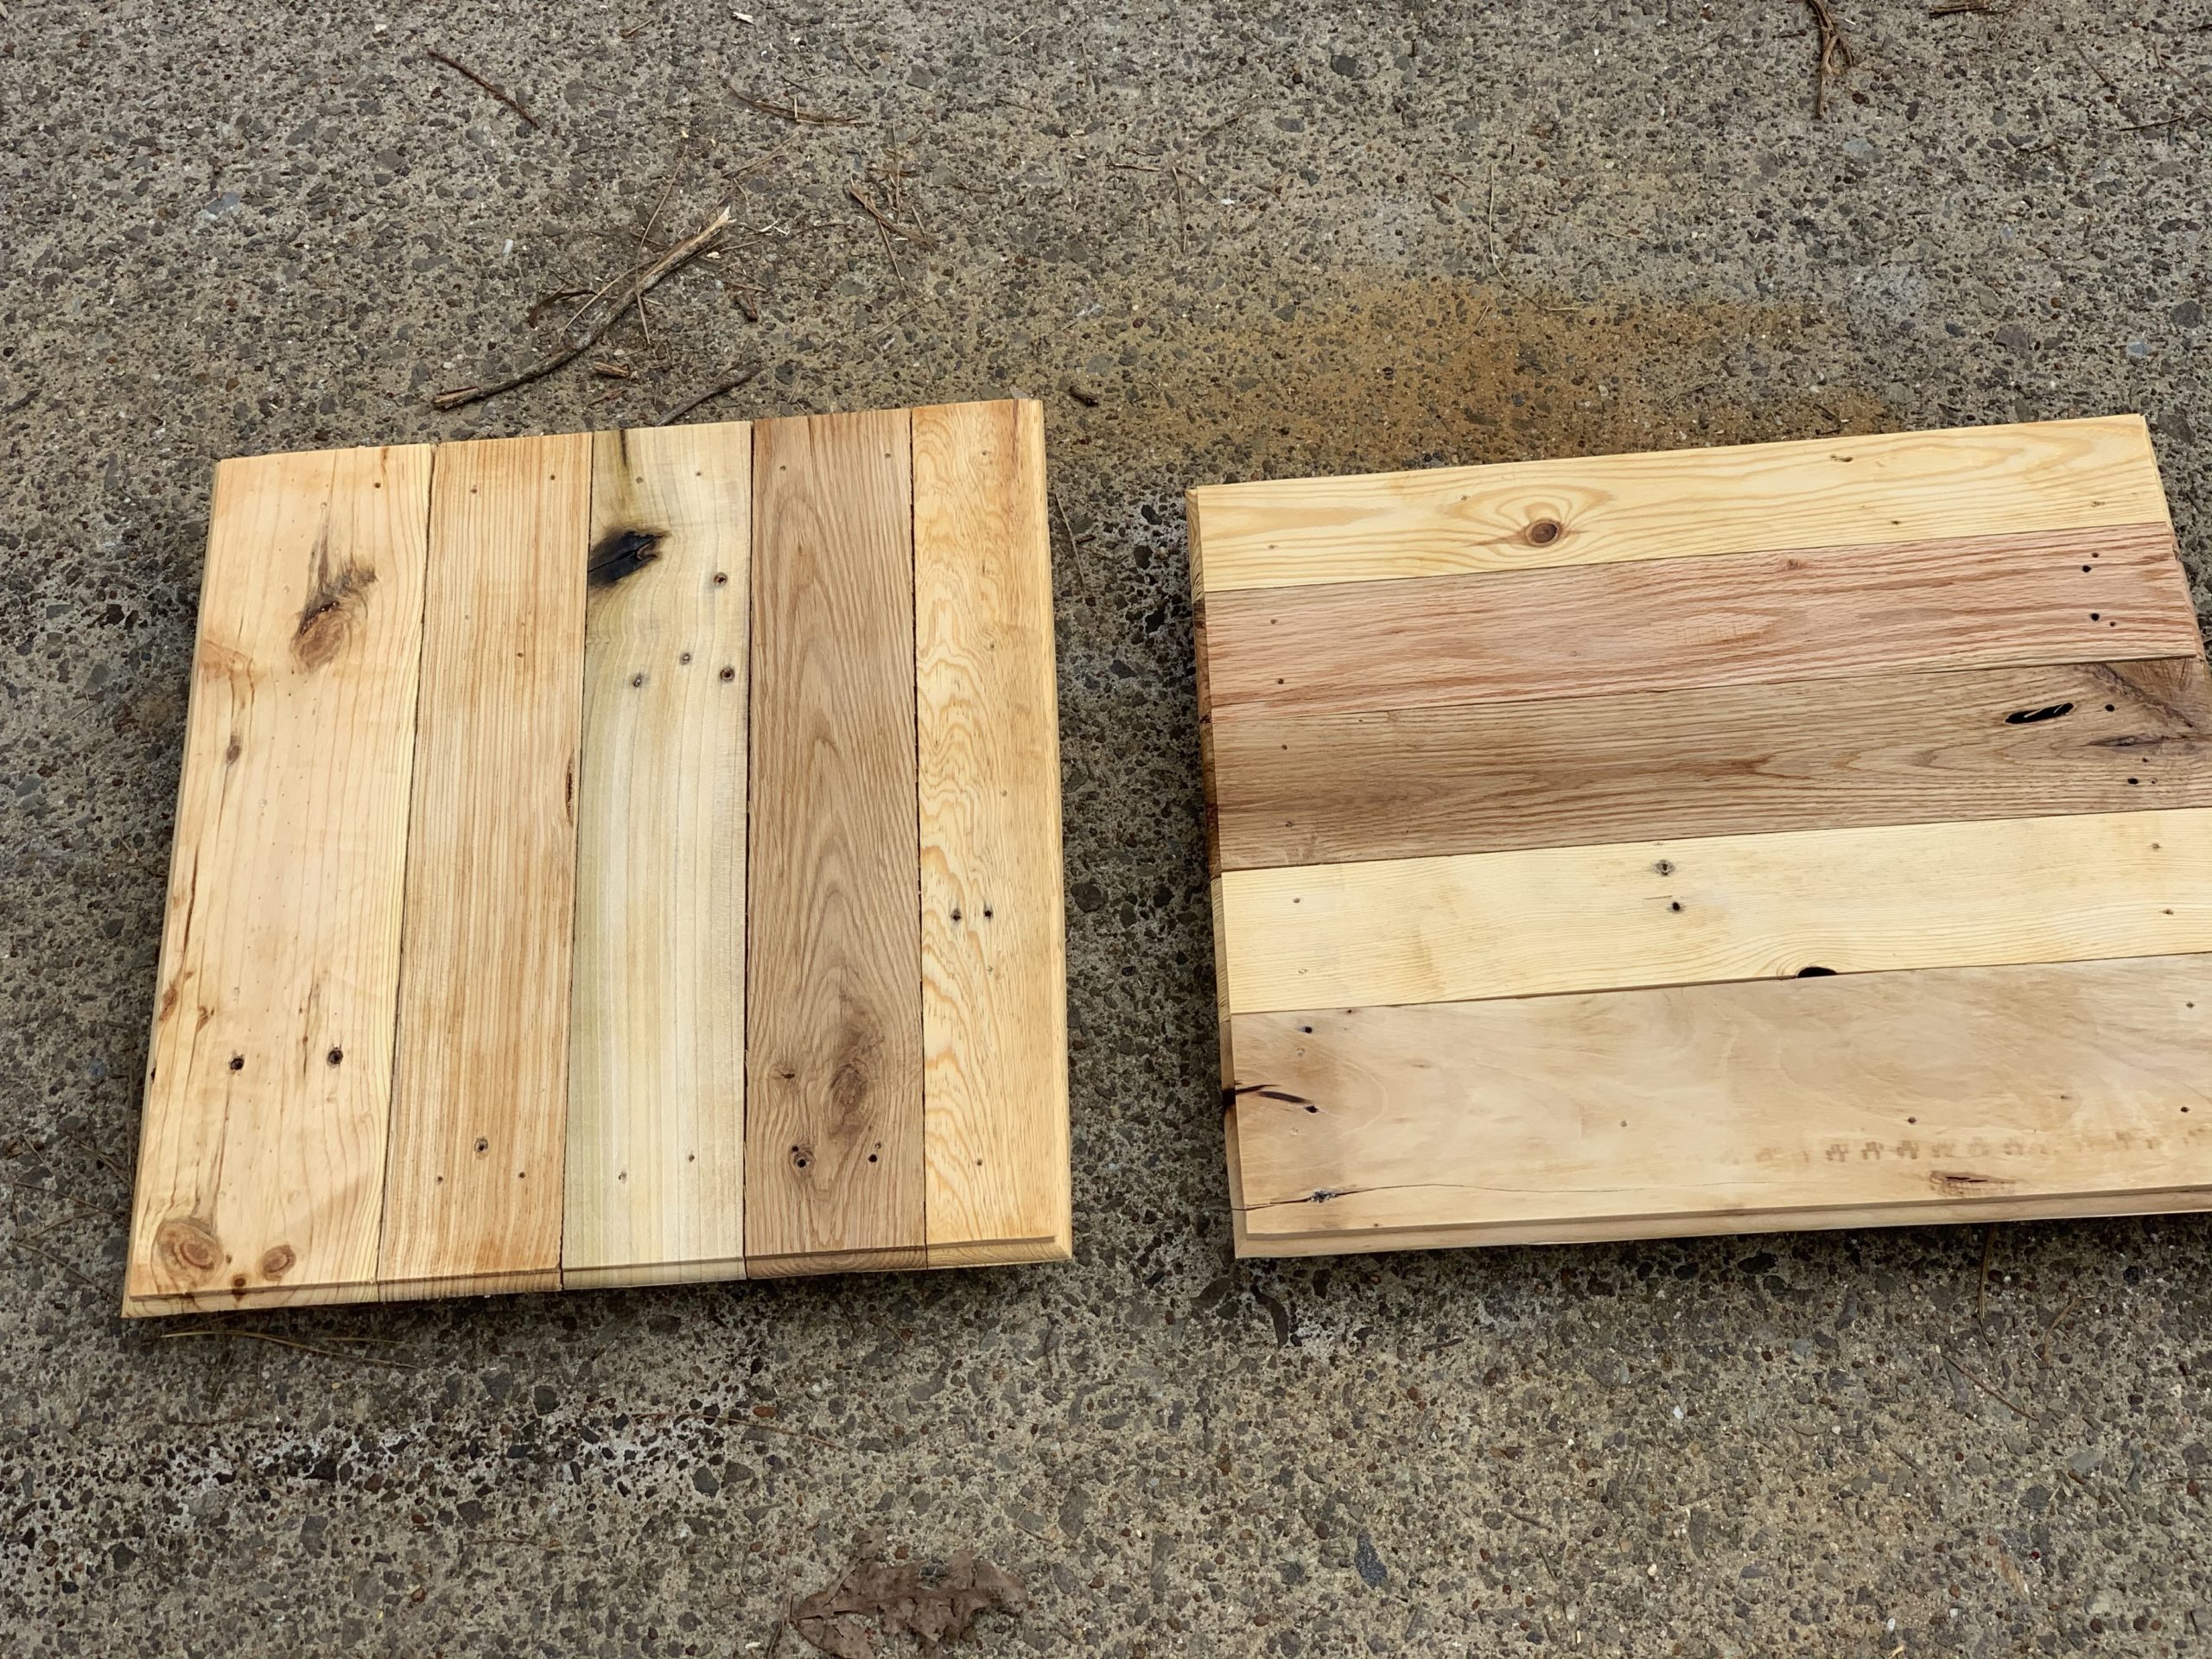
The top needed to be fitted together, whereas the shelves could have space between the slats. So I used my dad’s block plane (that he got from his dad) to fit them together better.
Some sanding, placement, and nailing took place here, but I guess I forgot to take photos.
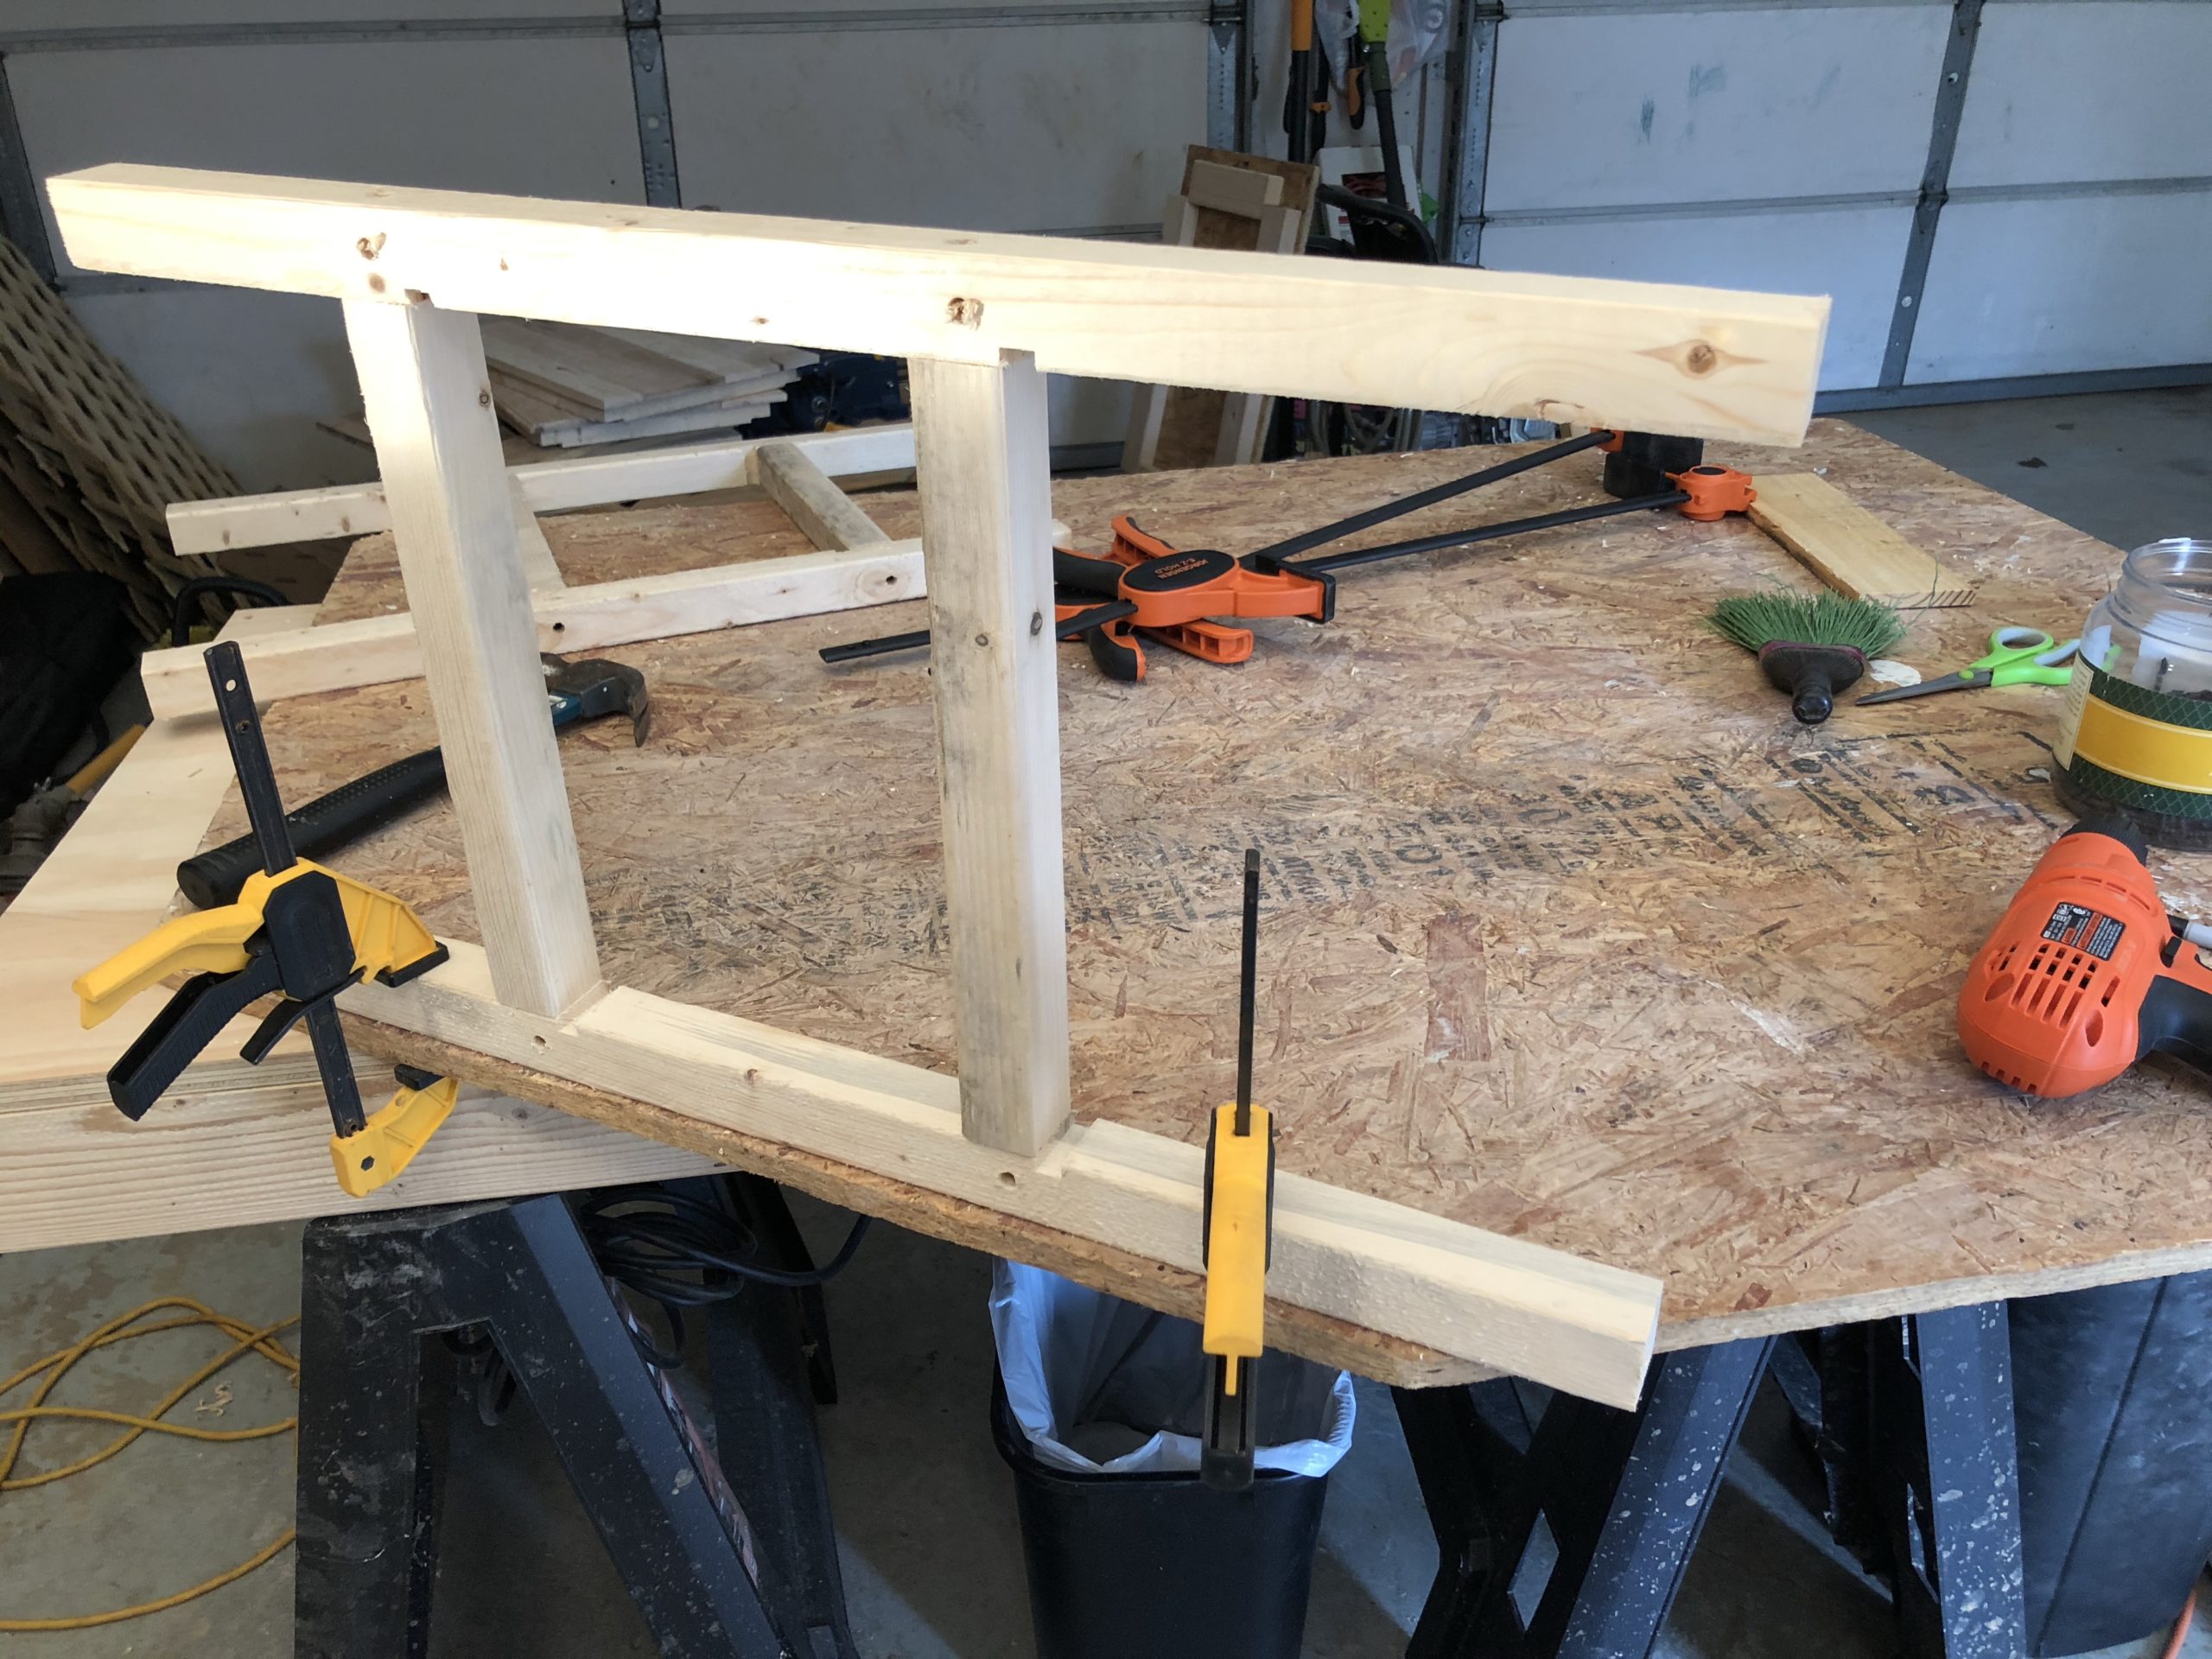
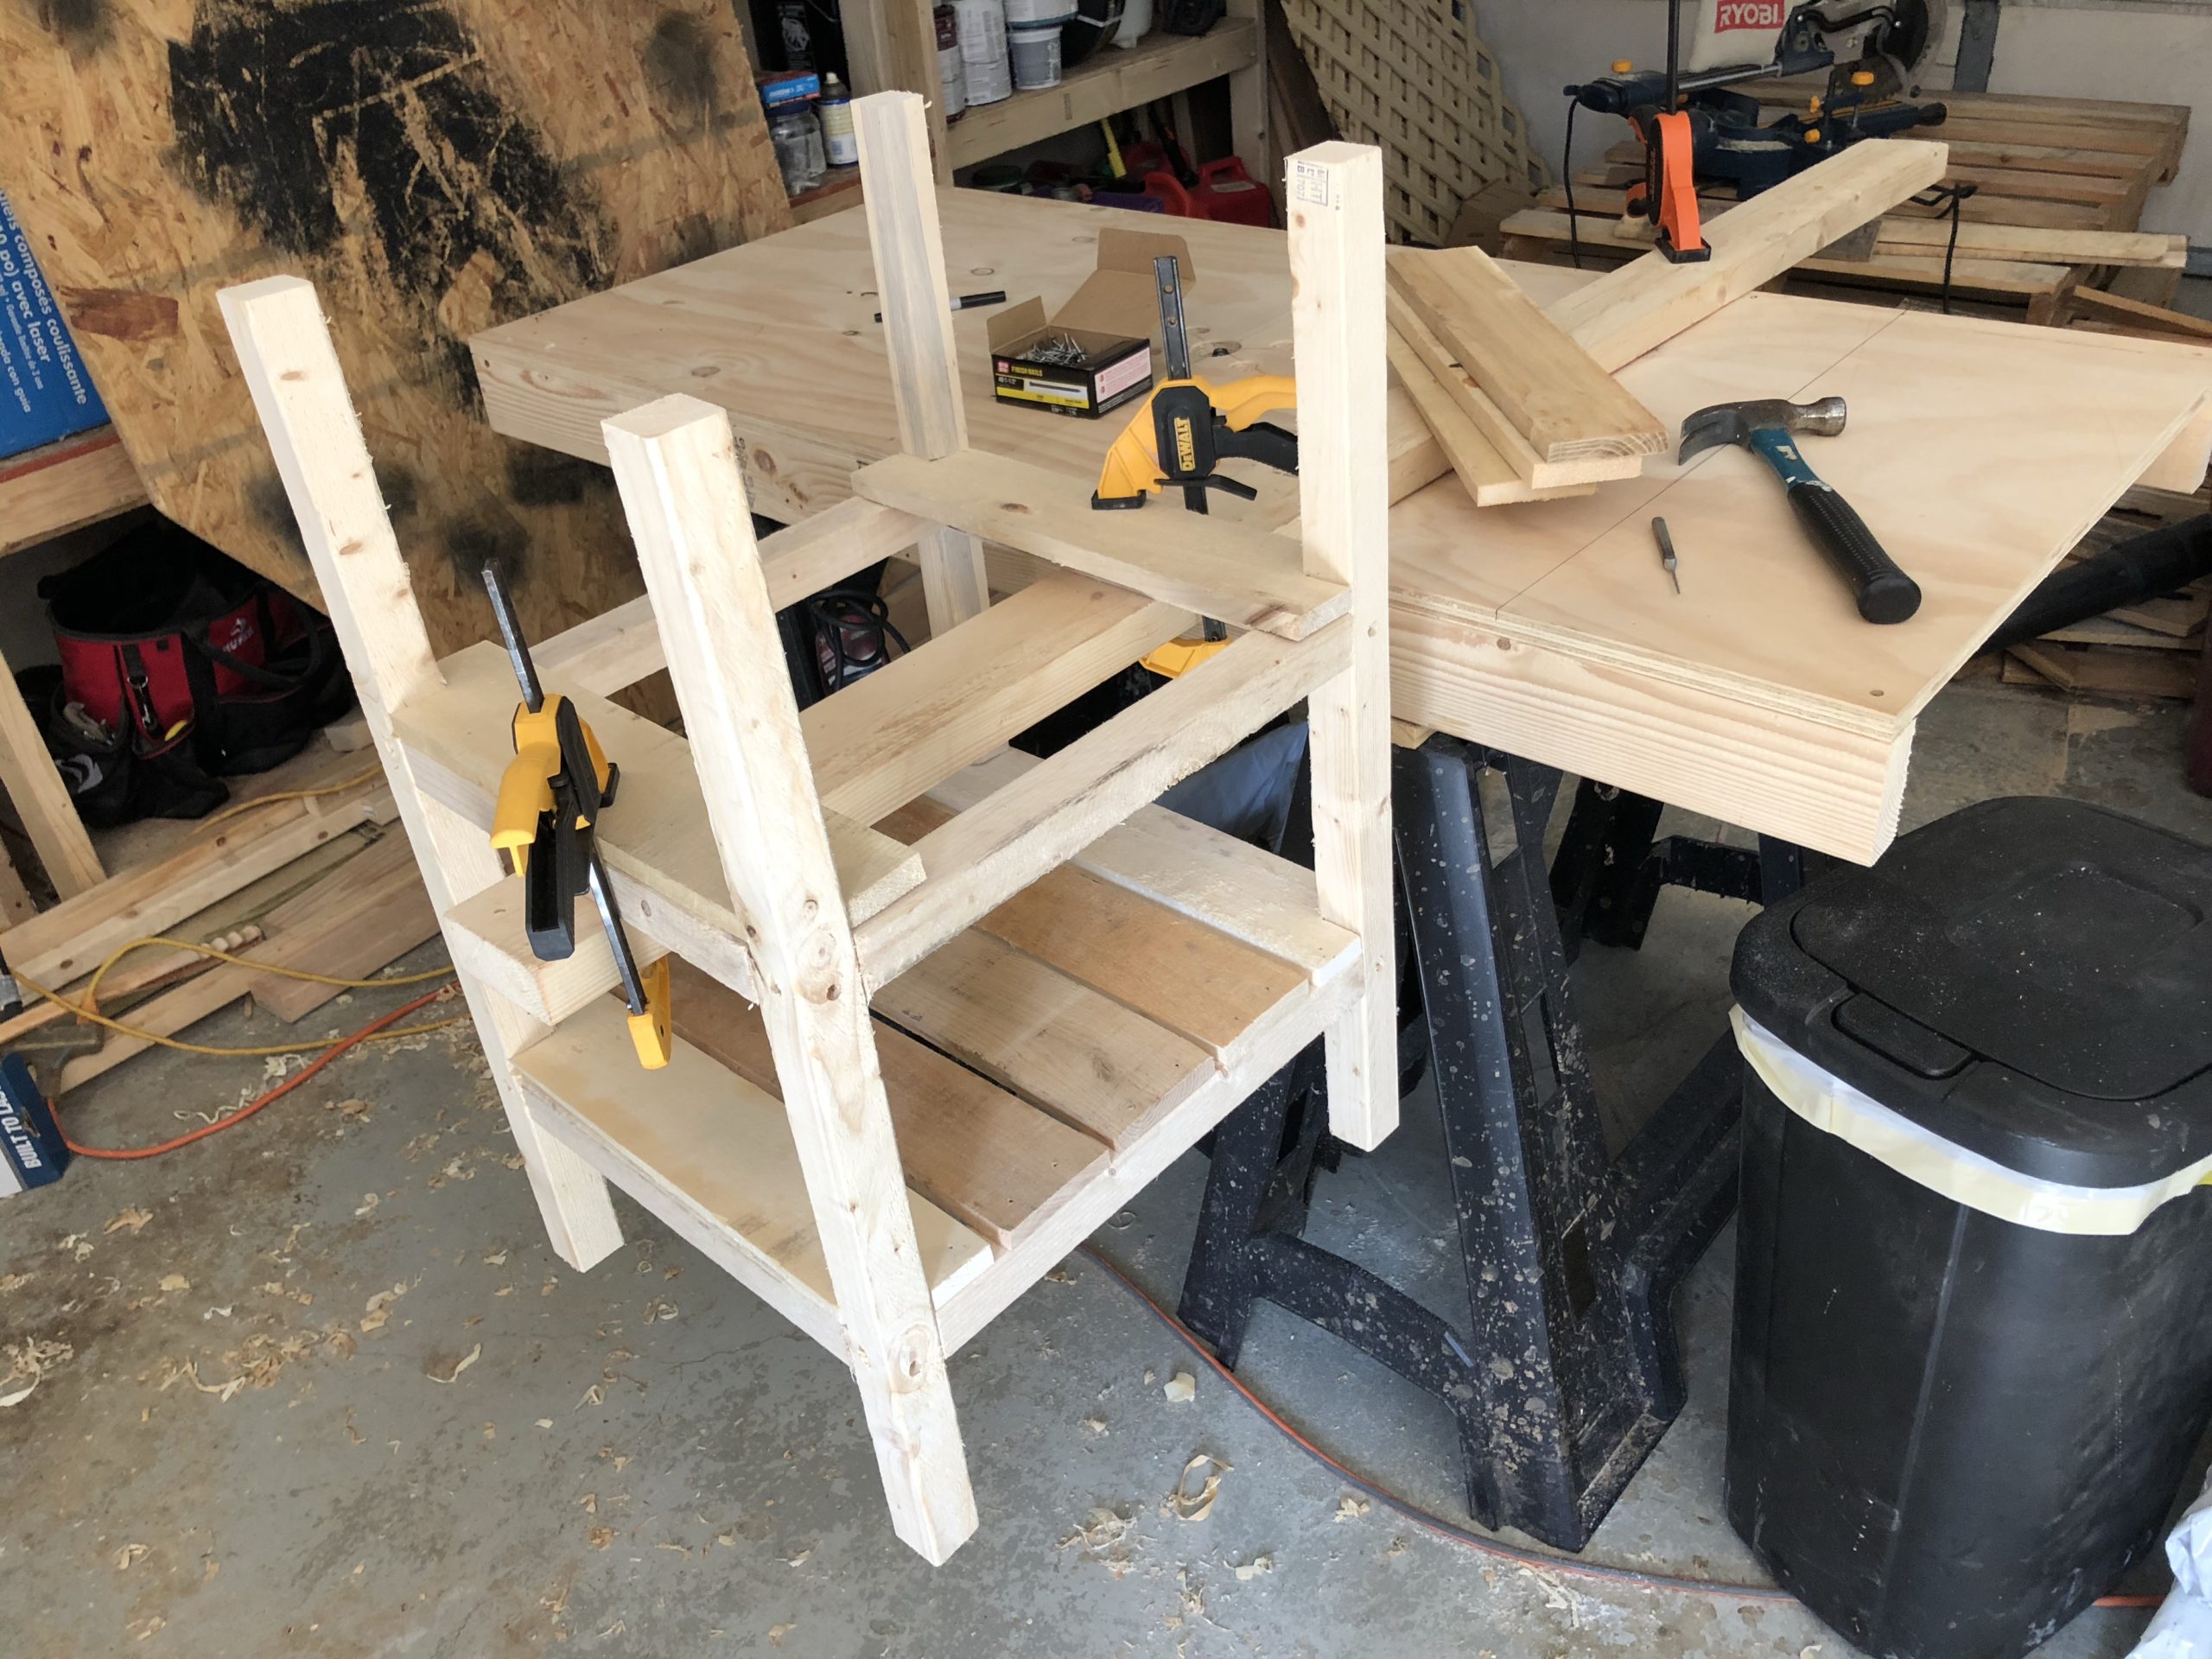
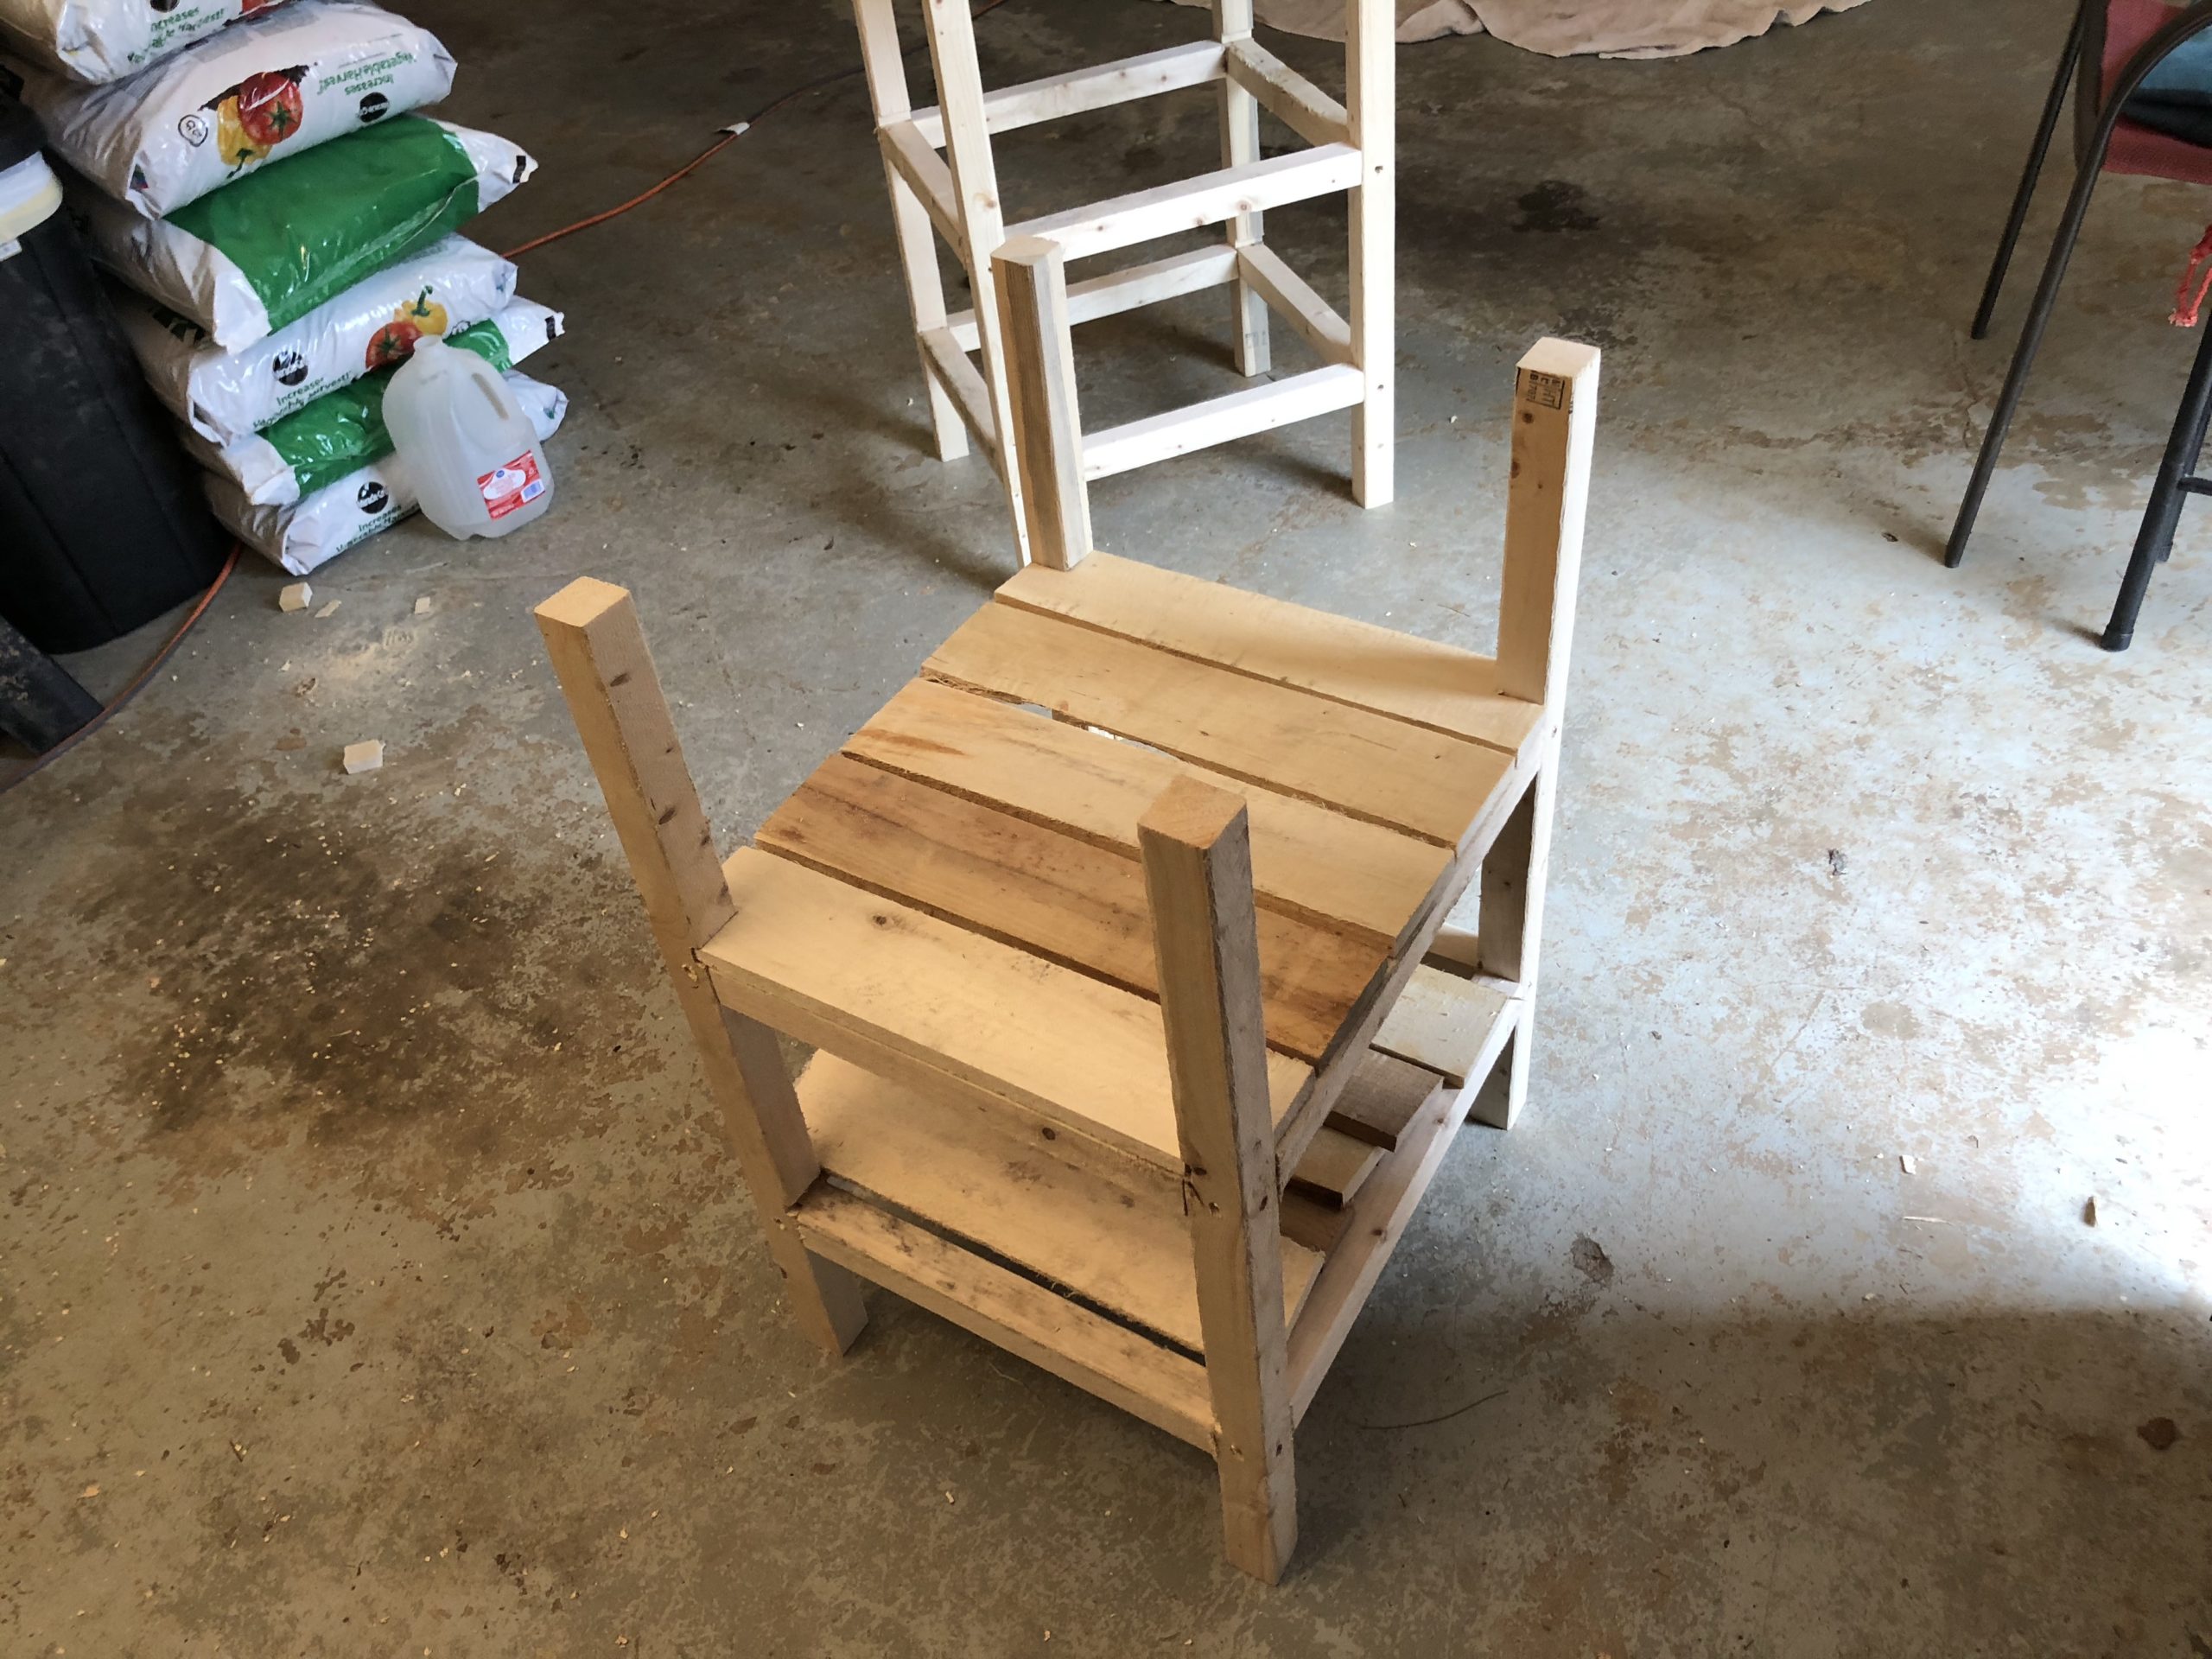
On to the legs with even more clamps. I use them as a second person to hold stuff tight.
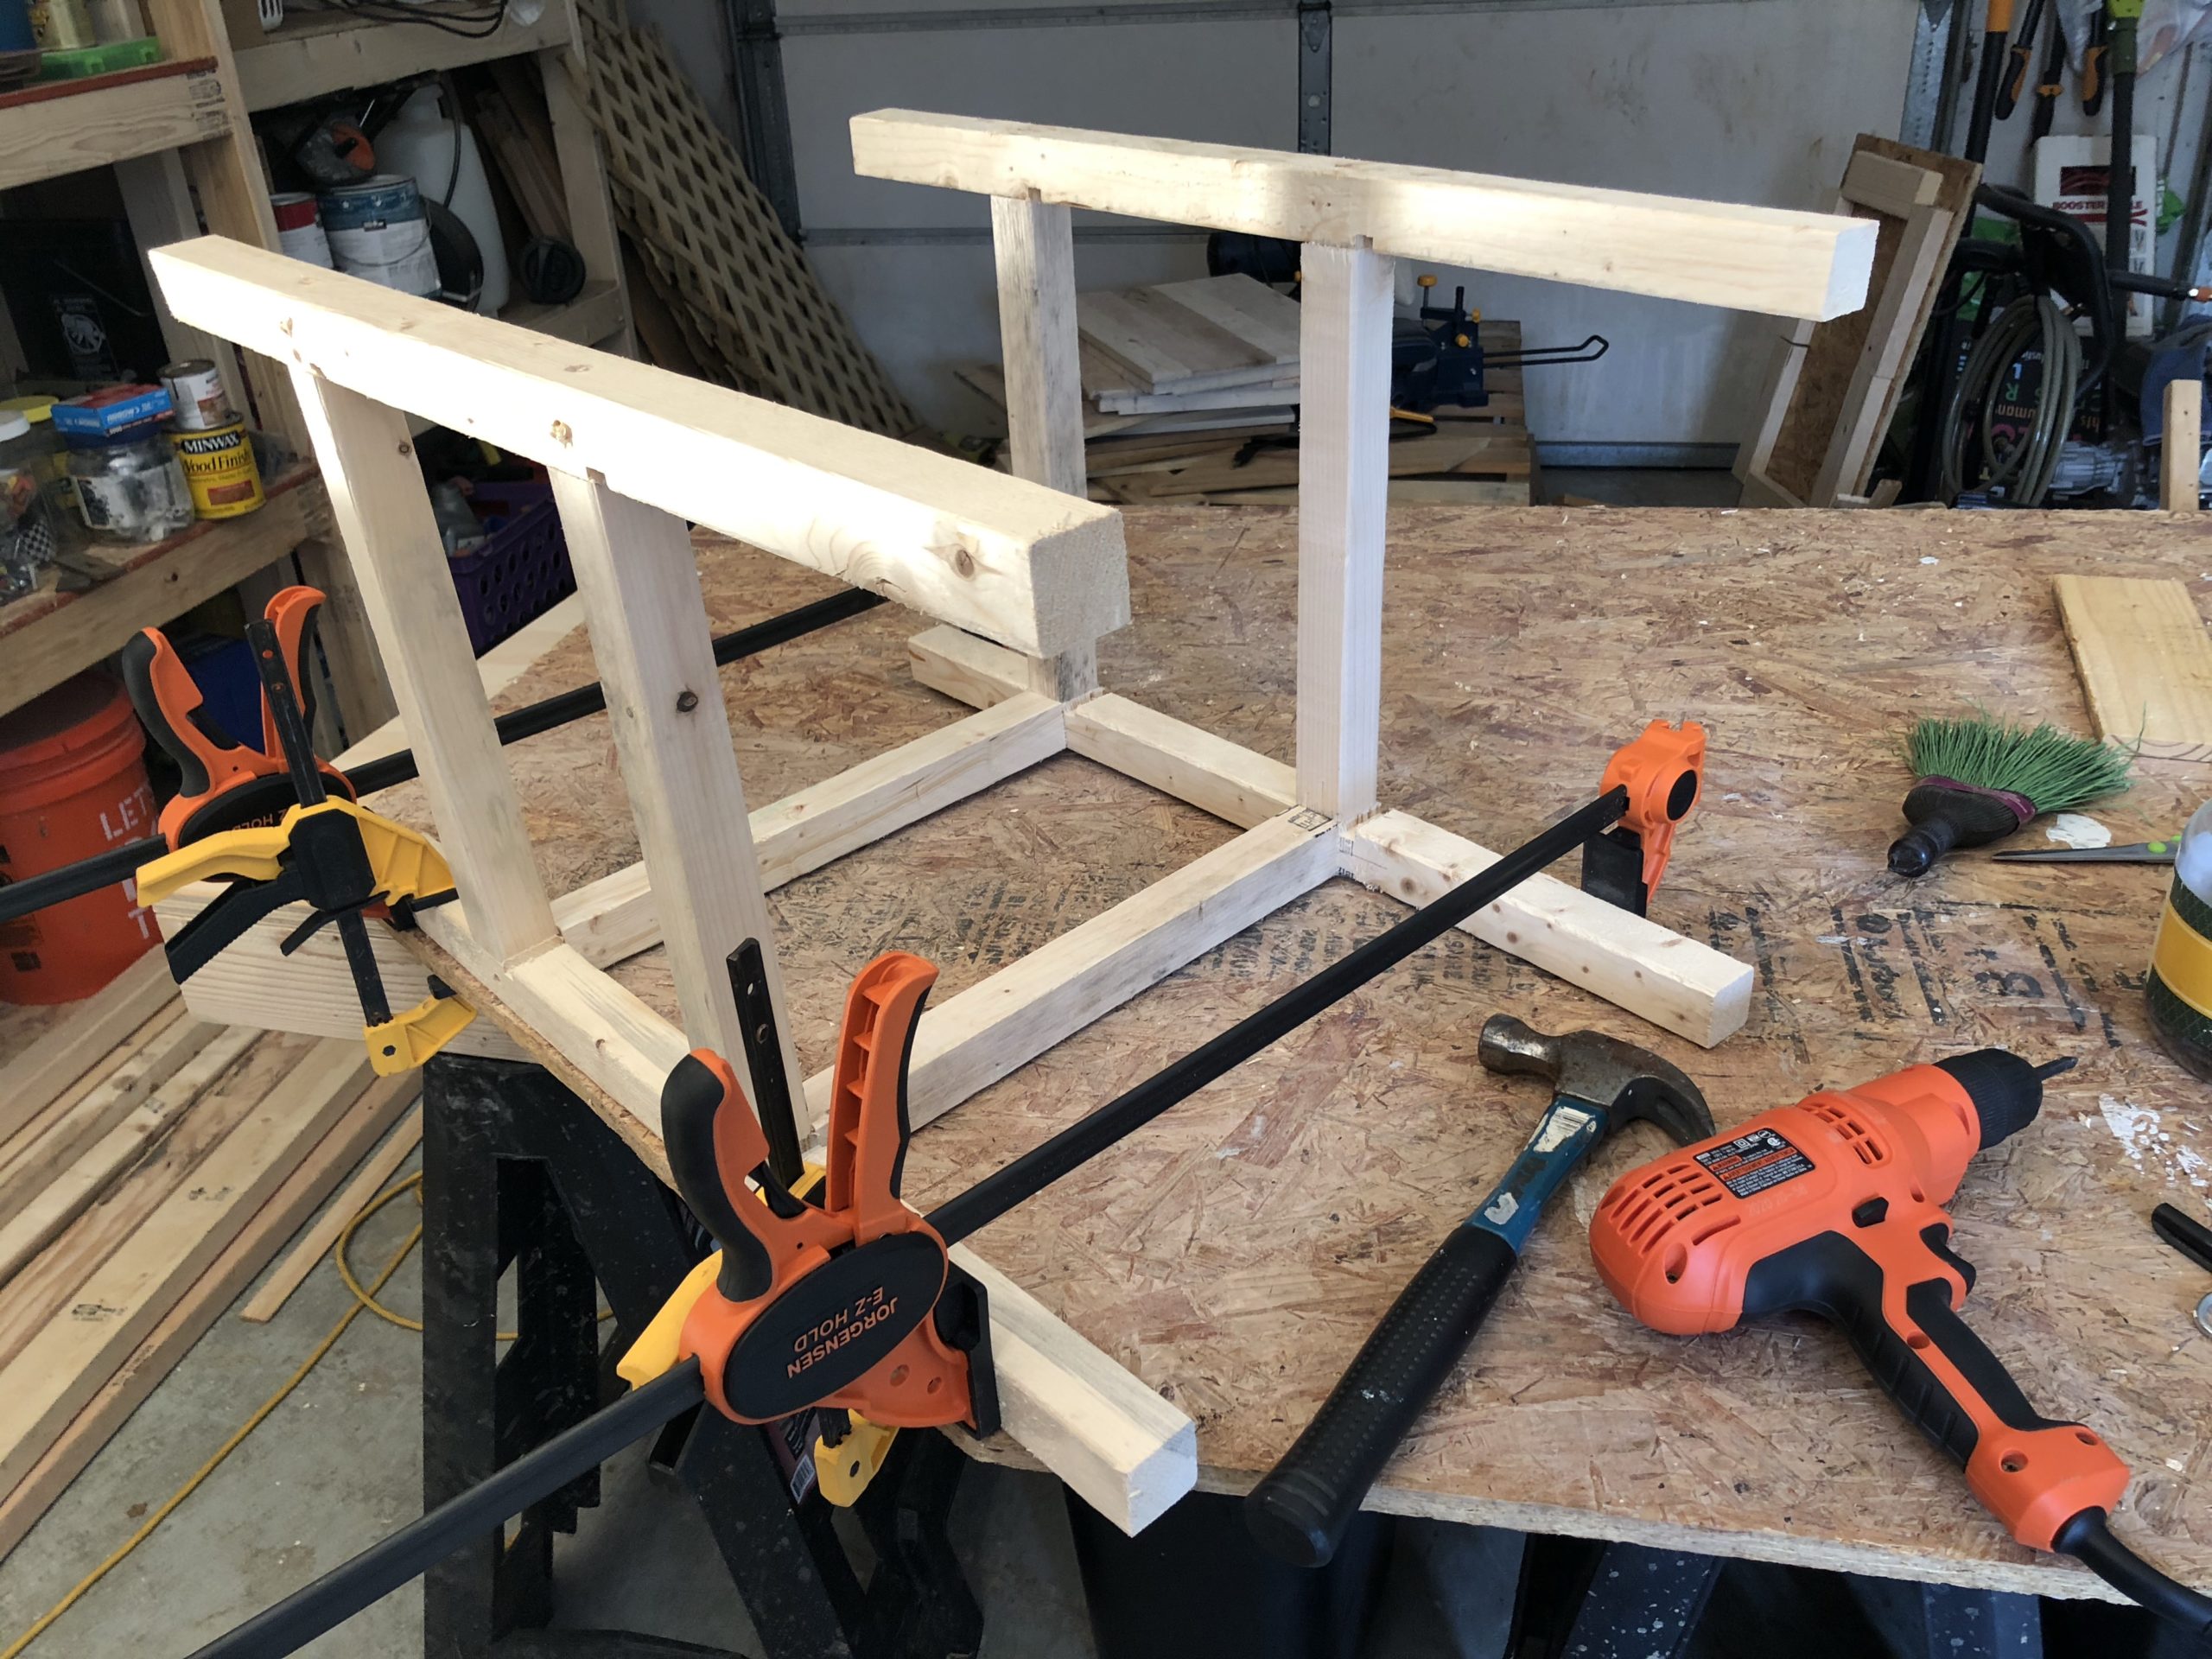
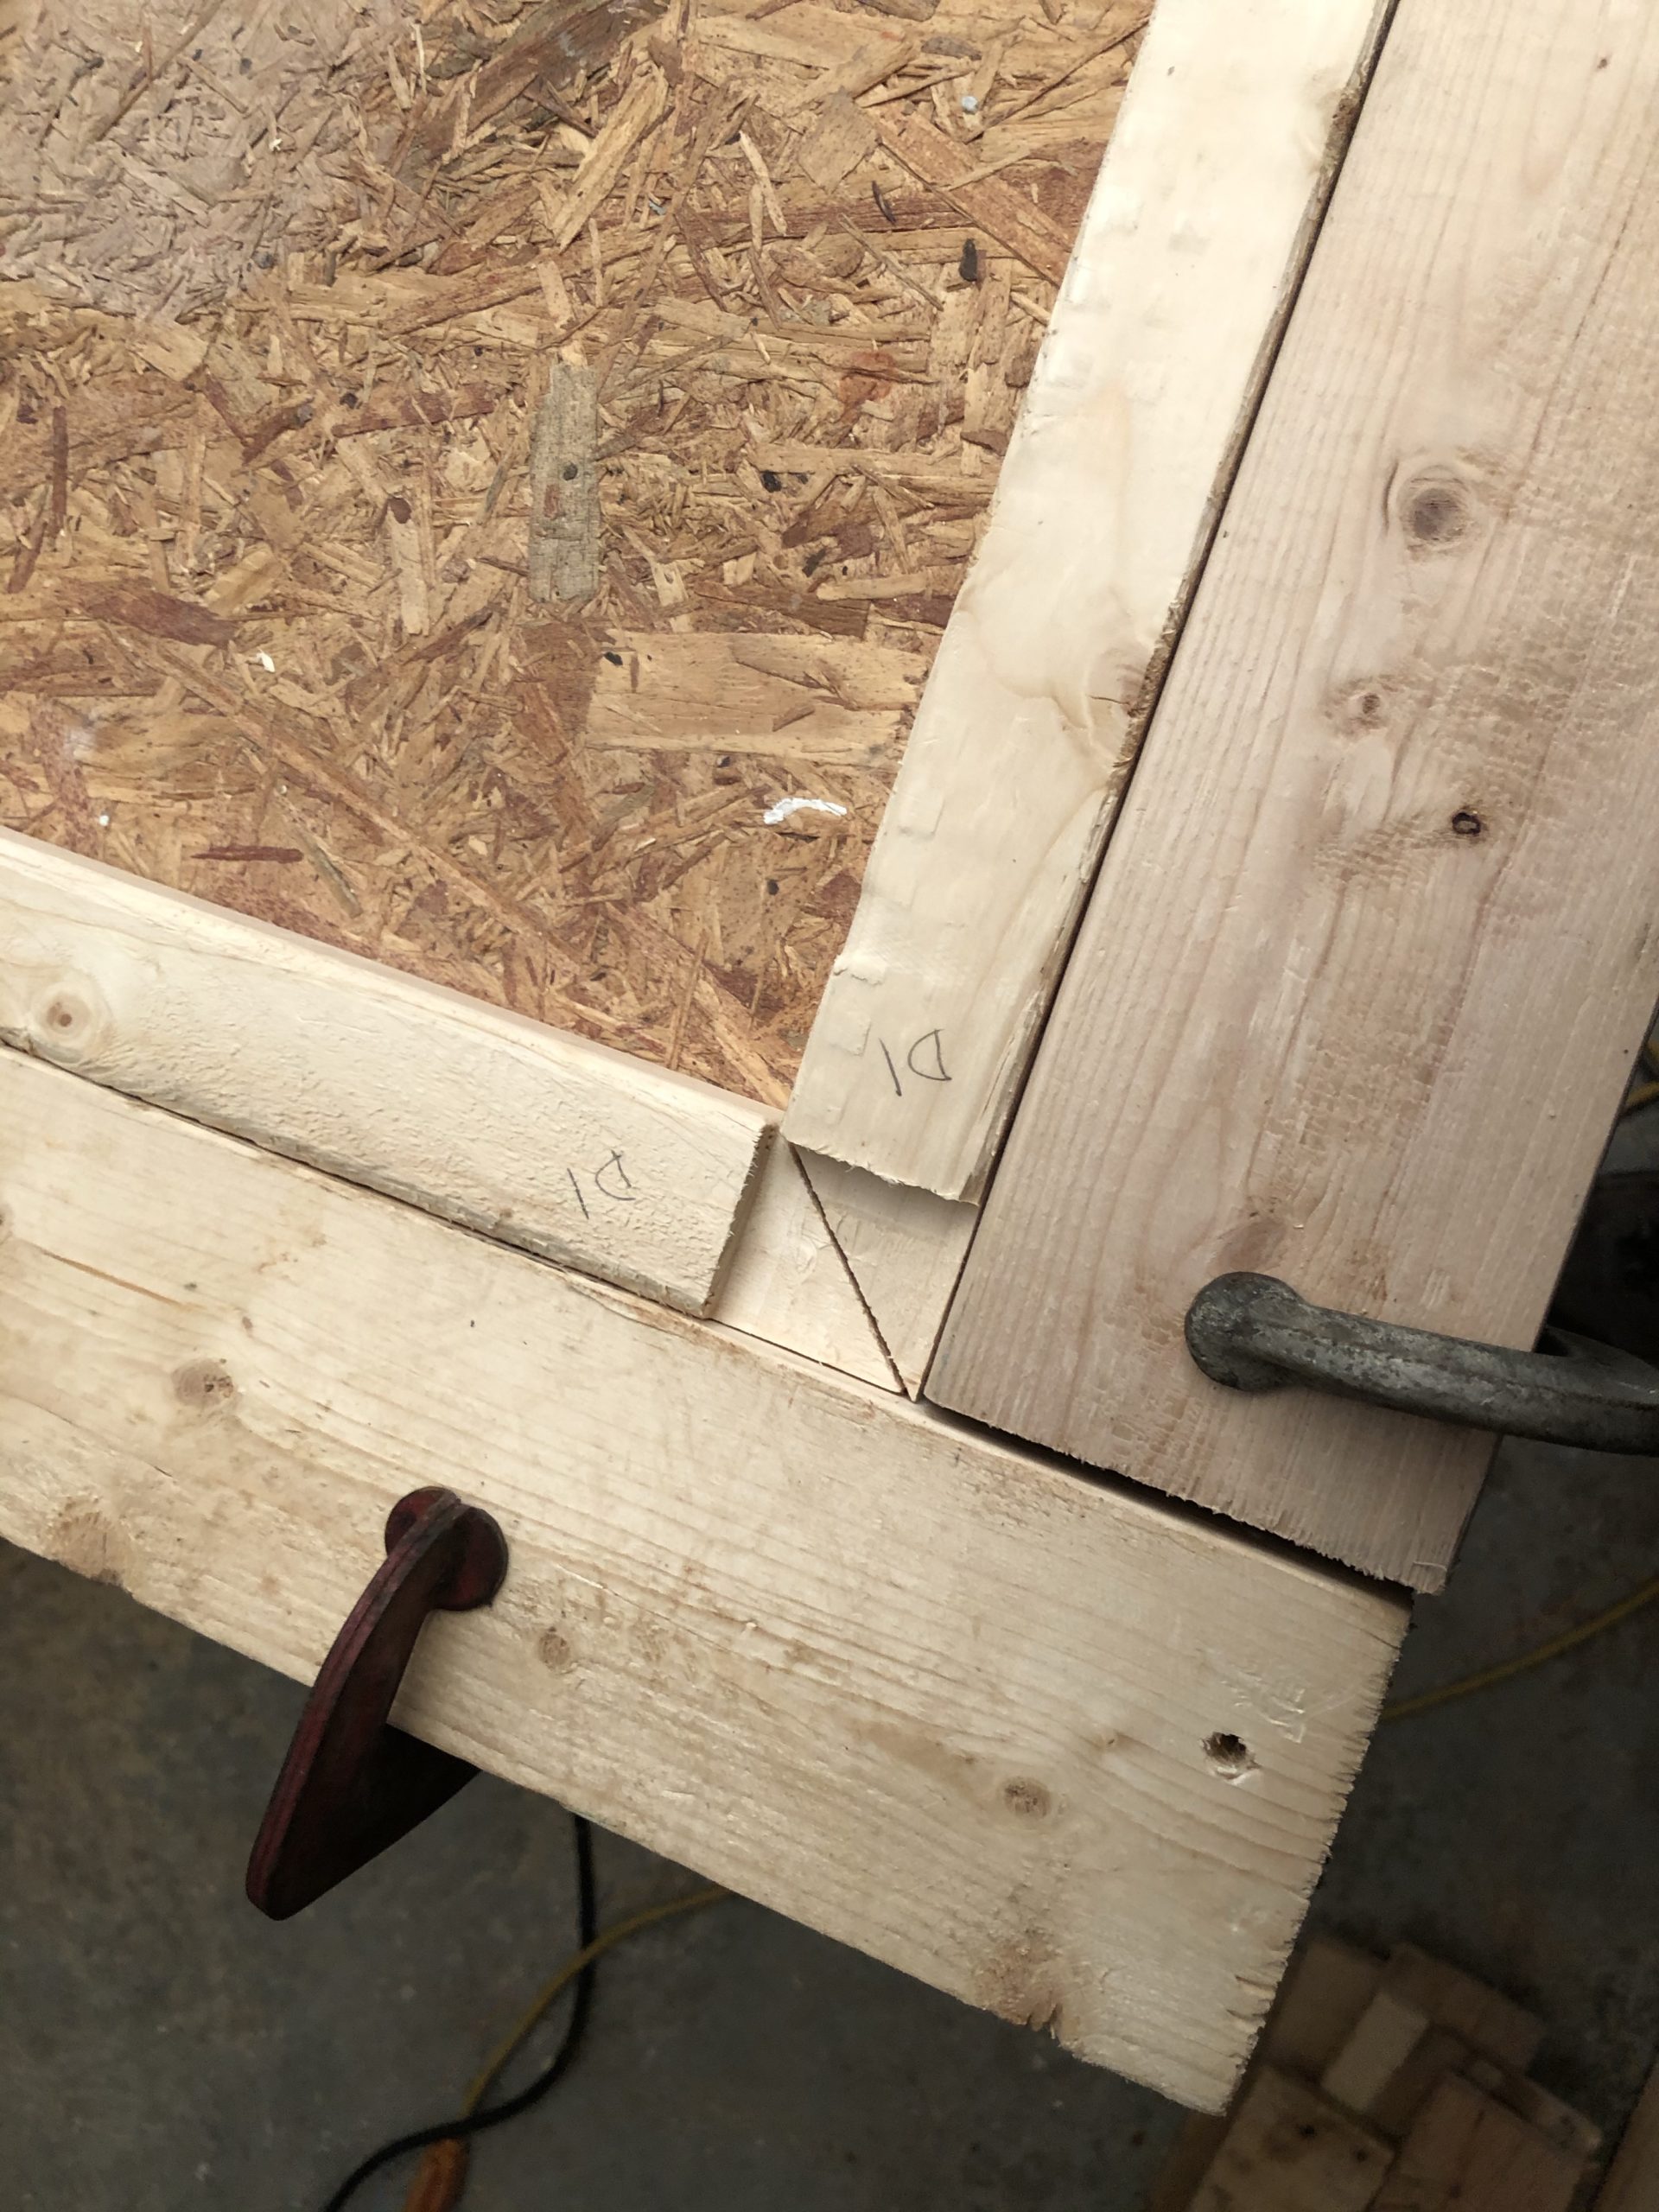
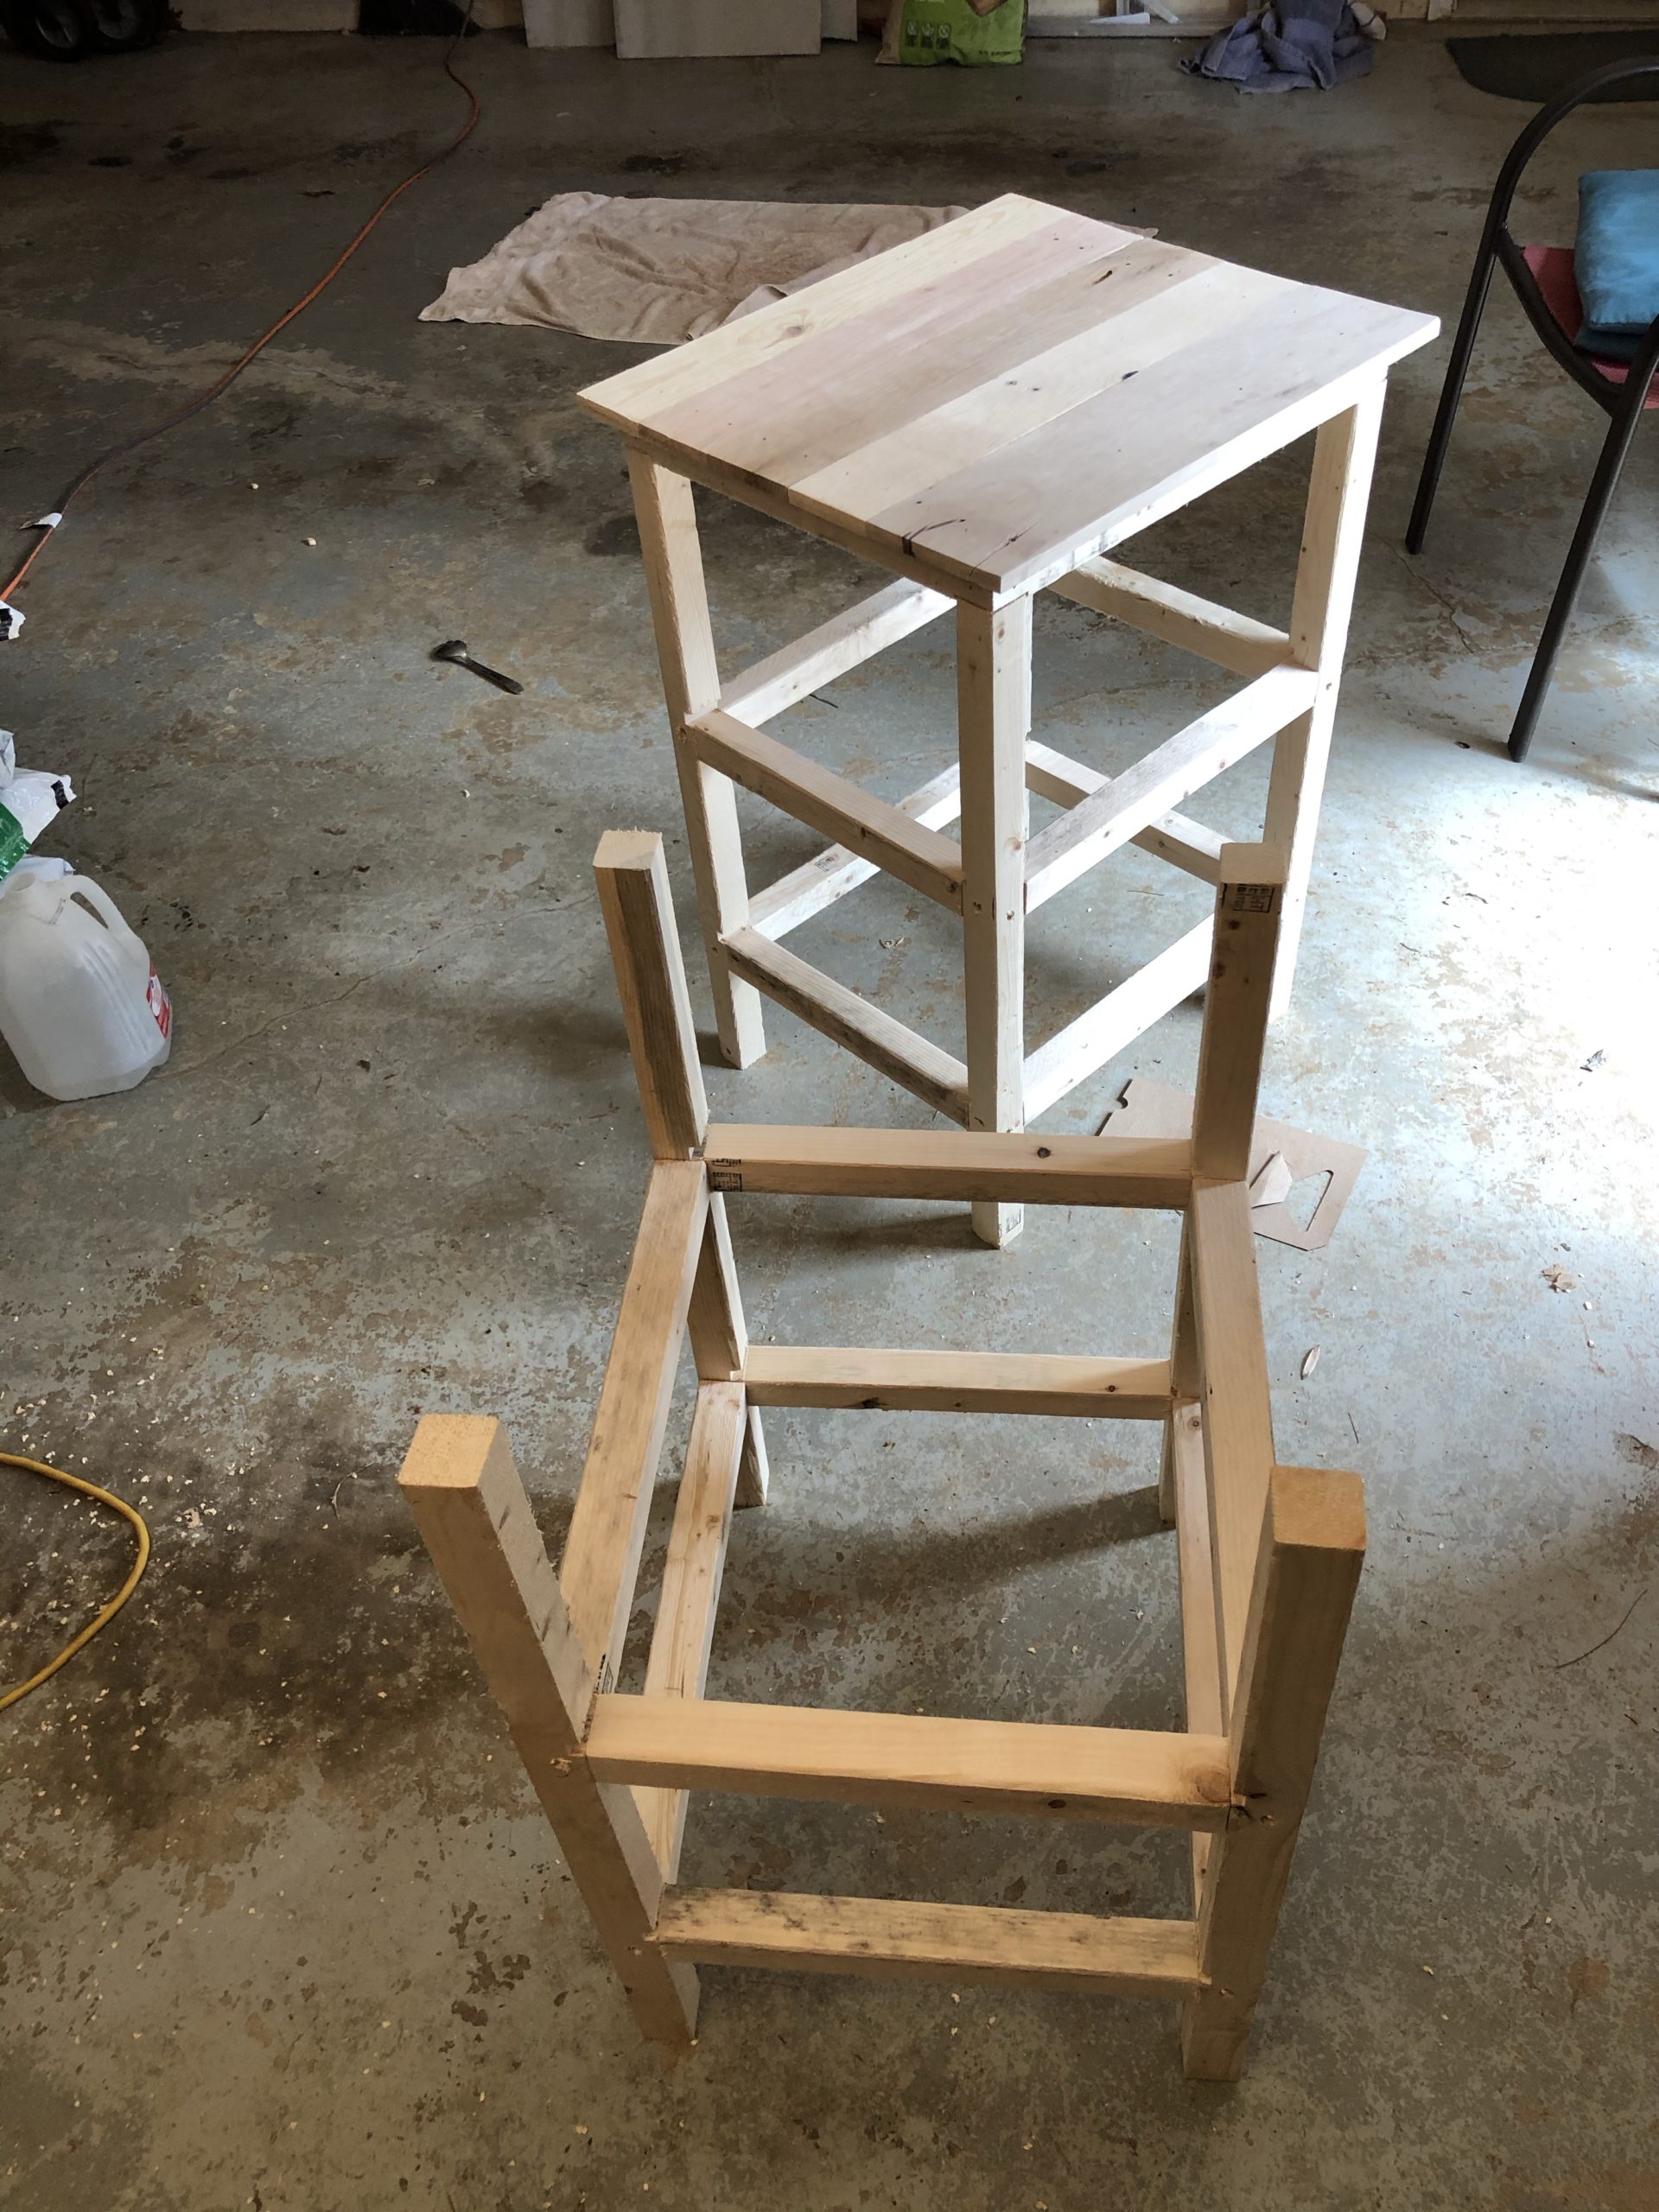
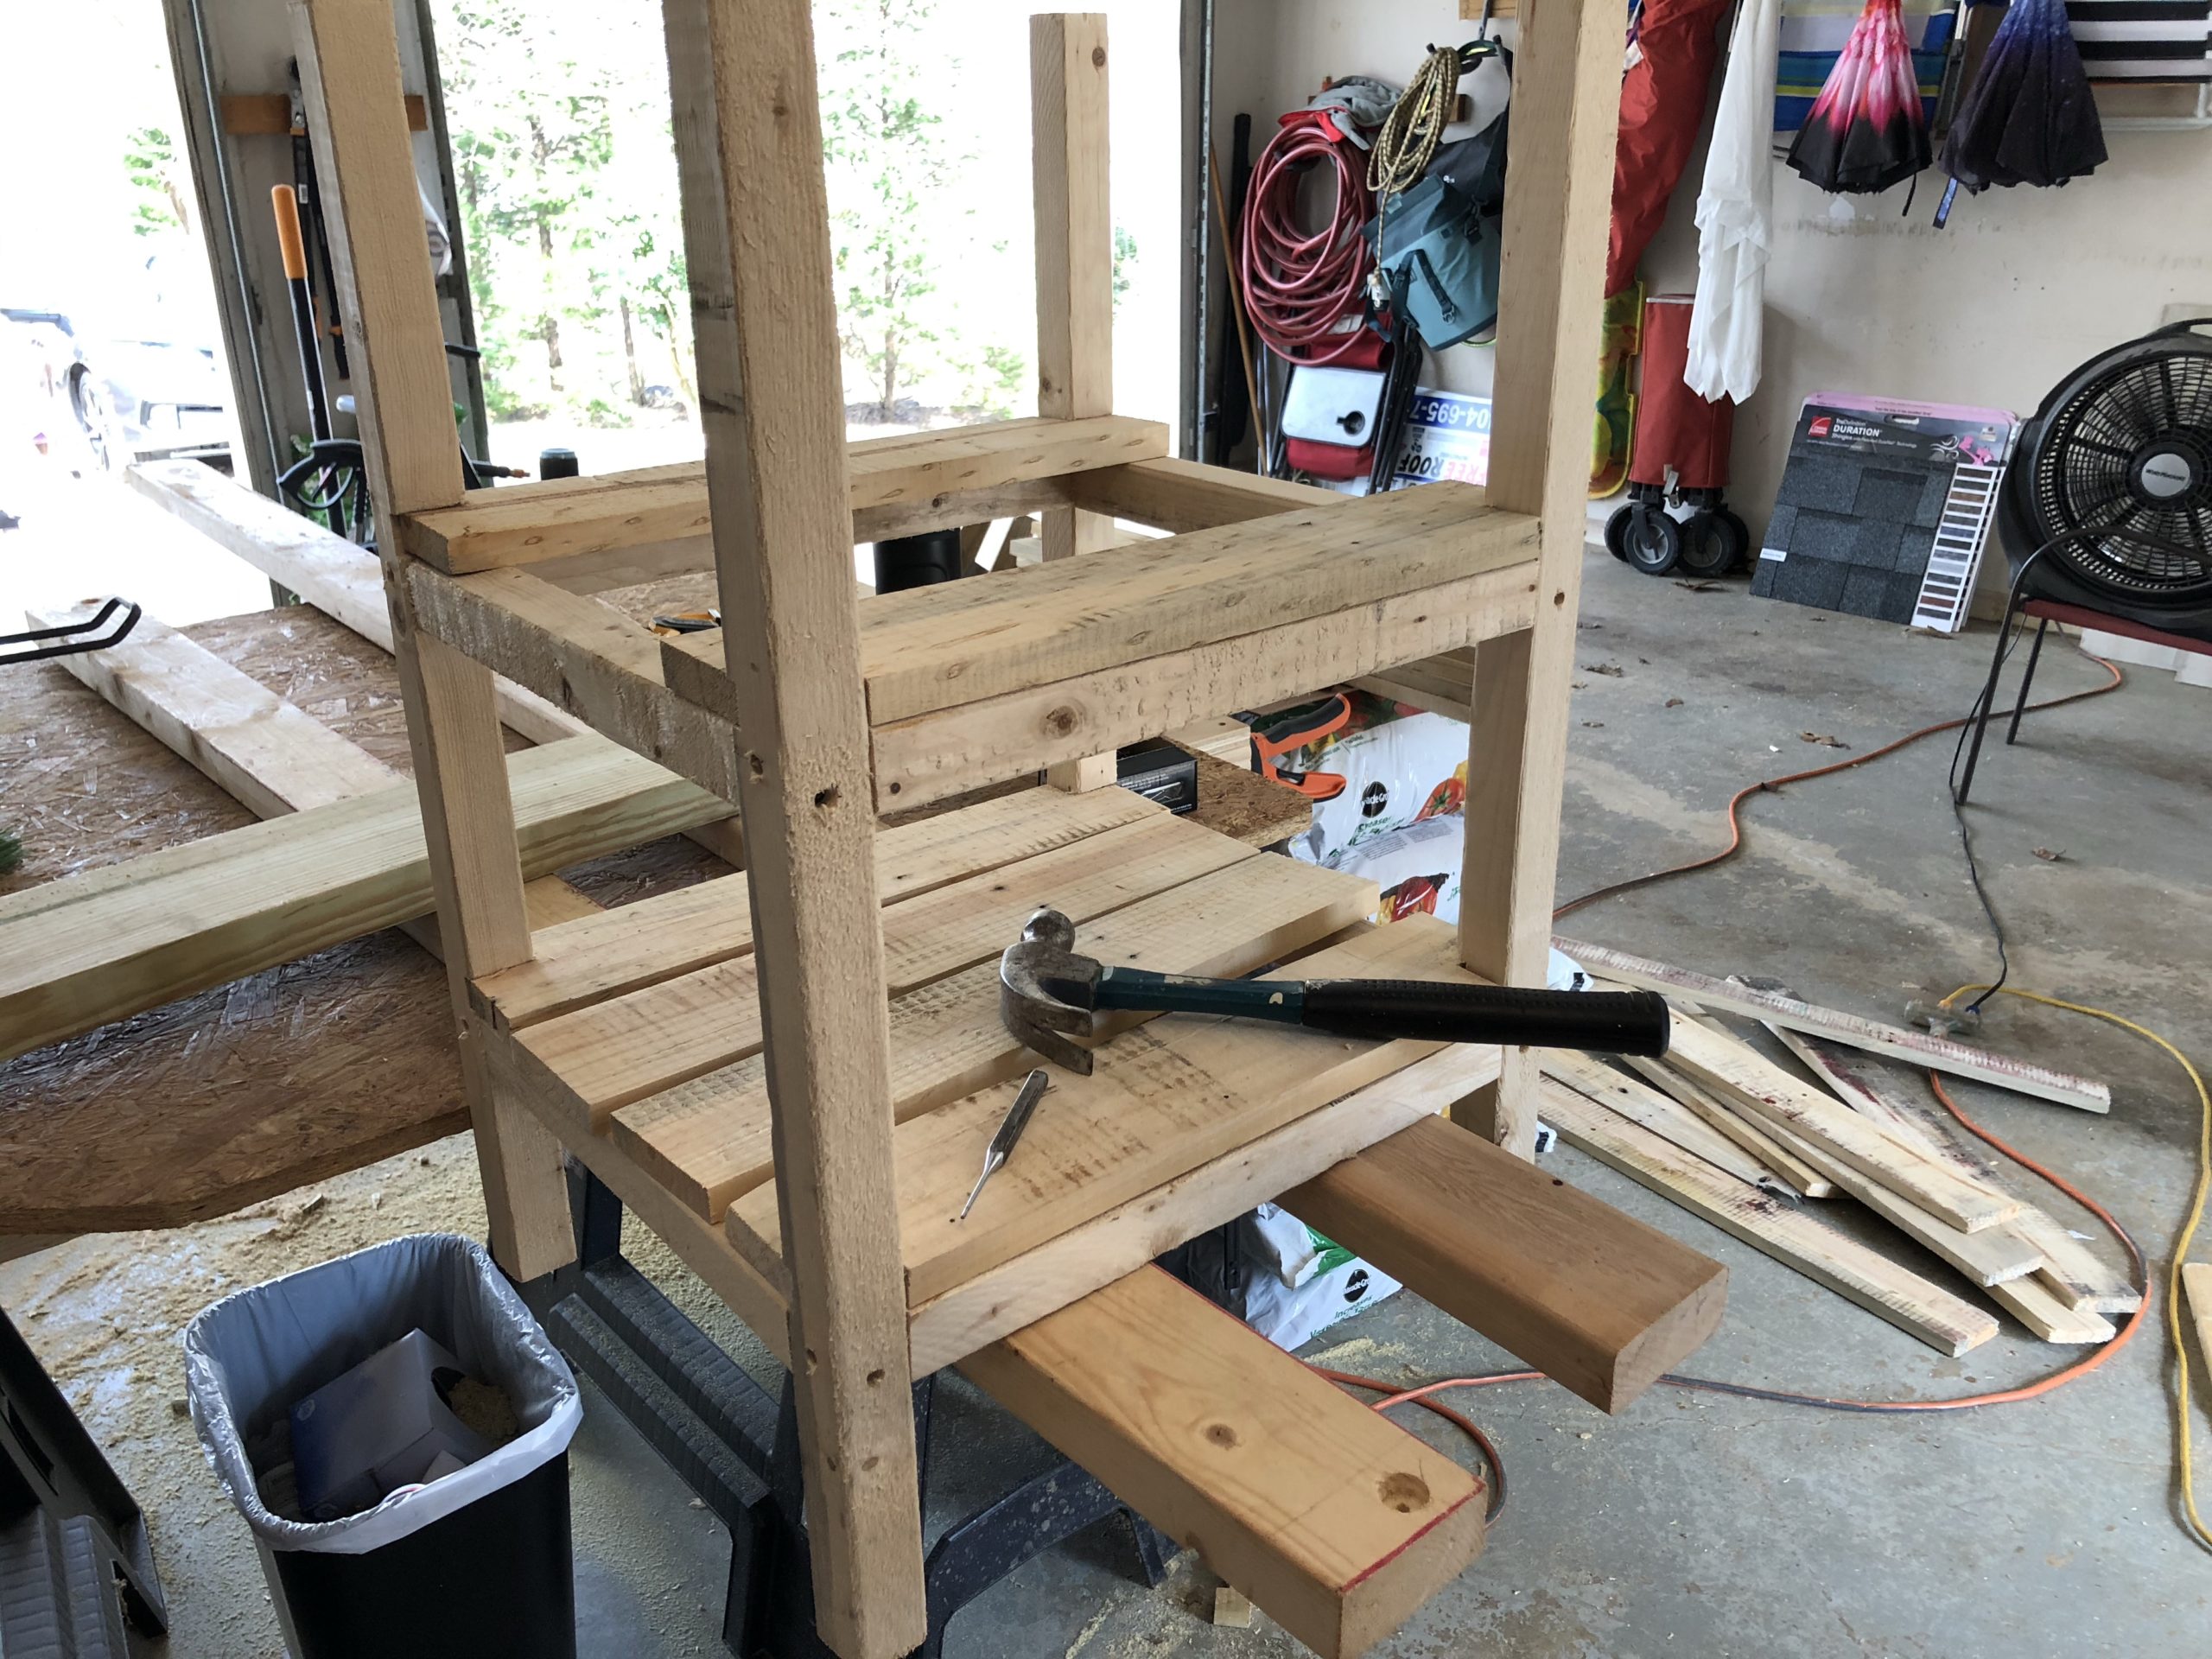
The nightstand top fits onto the leg frames as shown below, but not attached permanently yet.
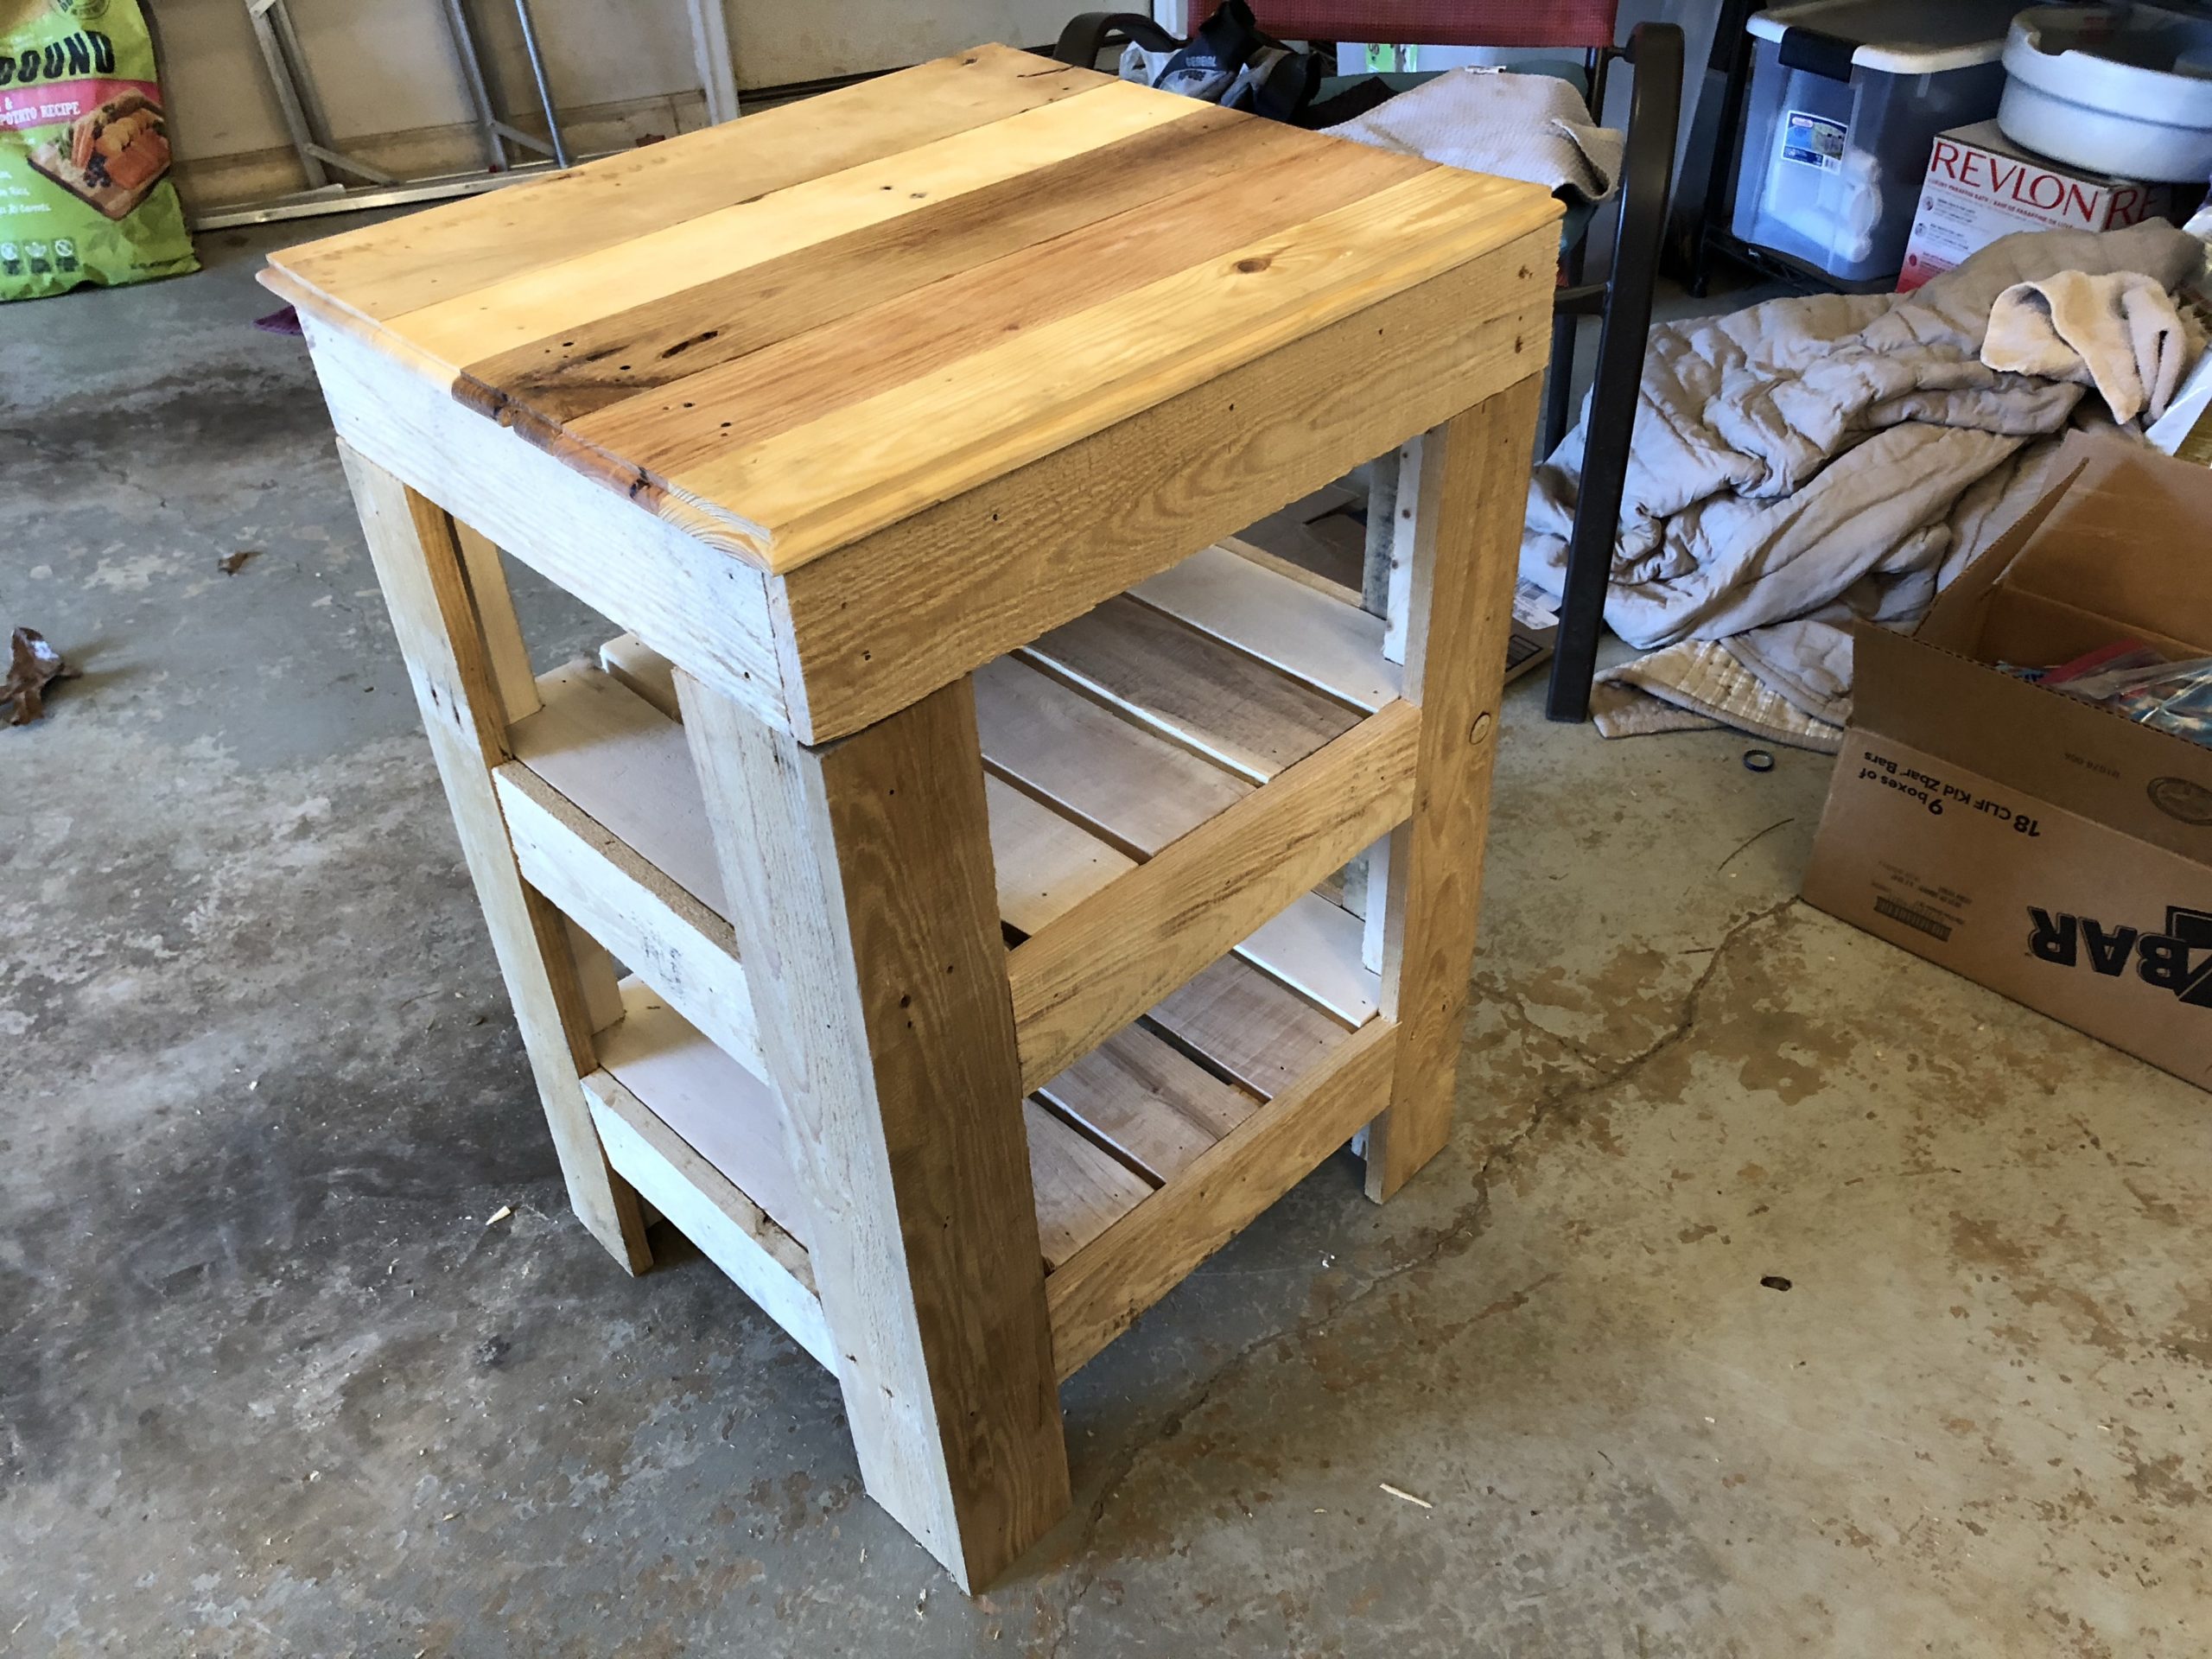
After a lot more sanding and then edge routing, Tammy used a spray polyurethane for finish.
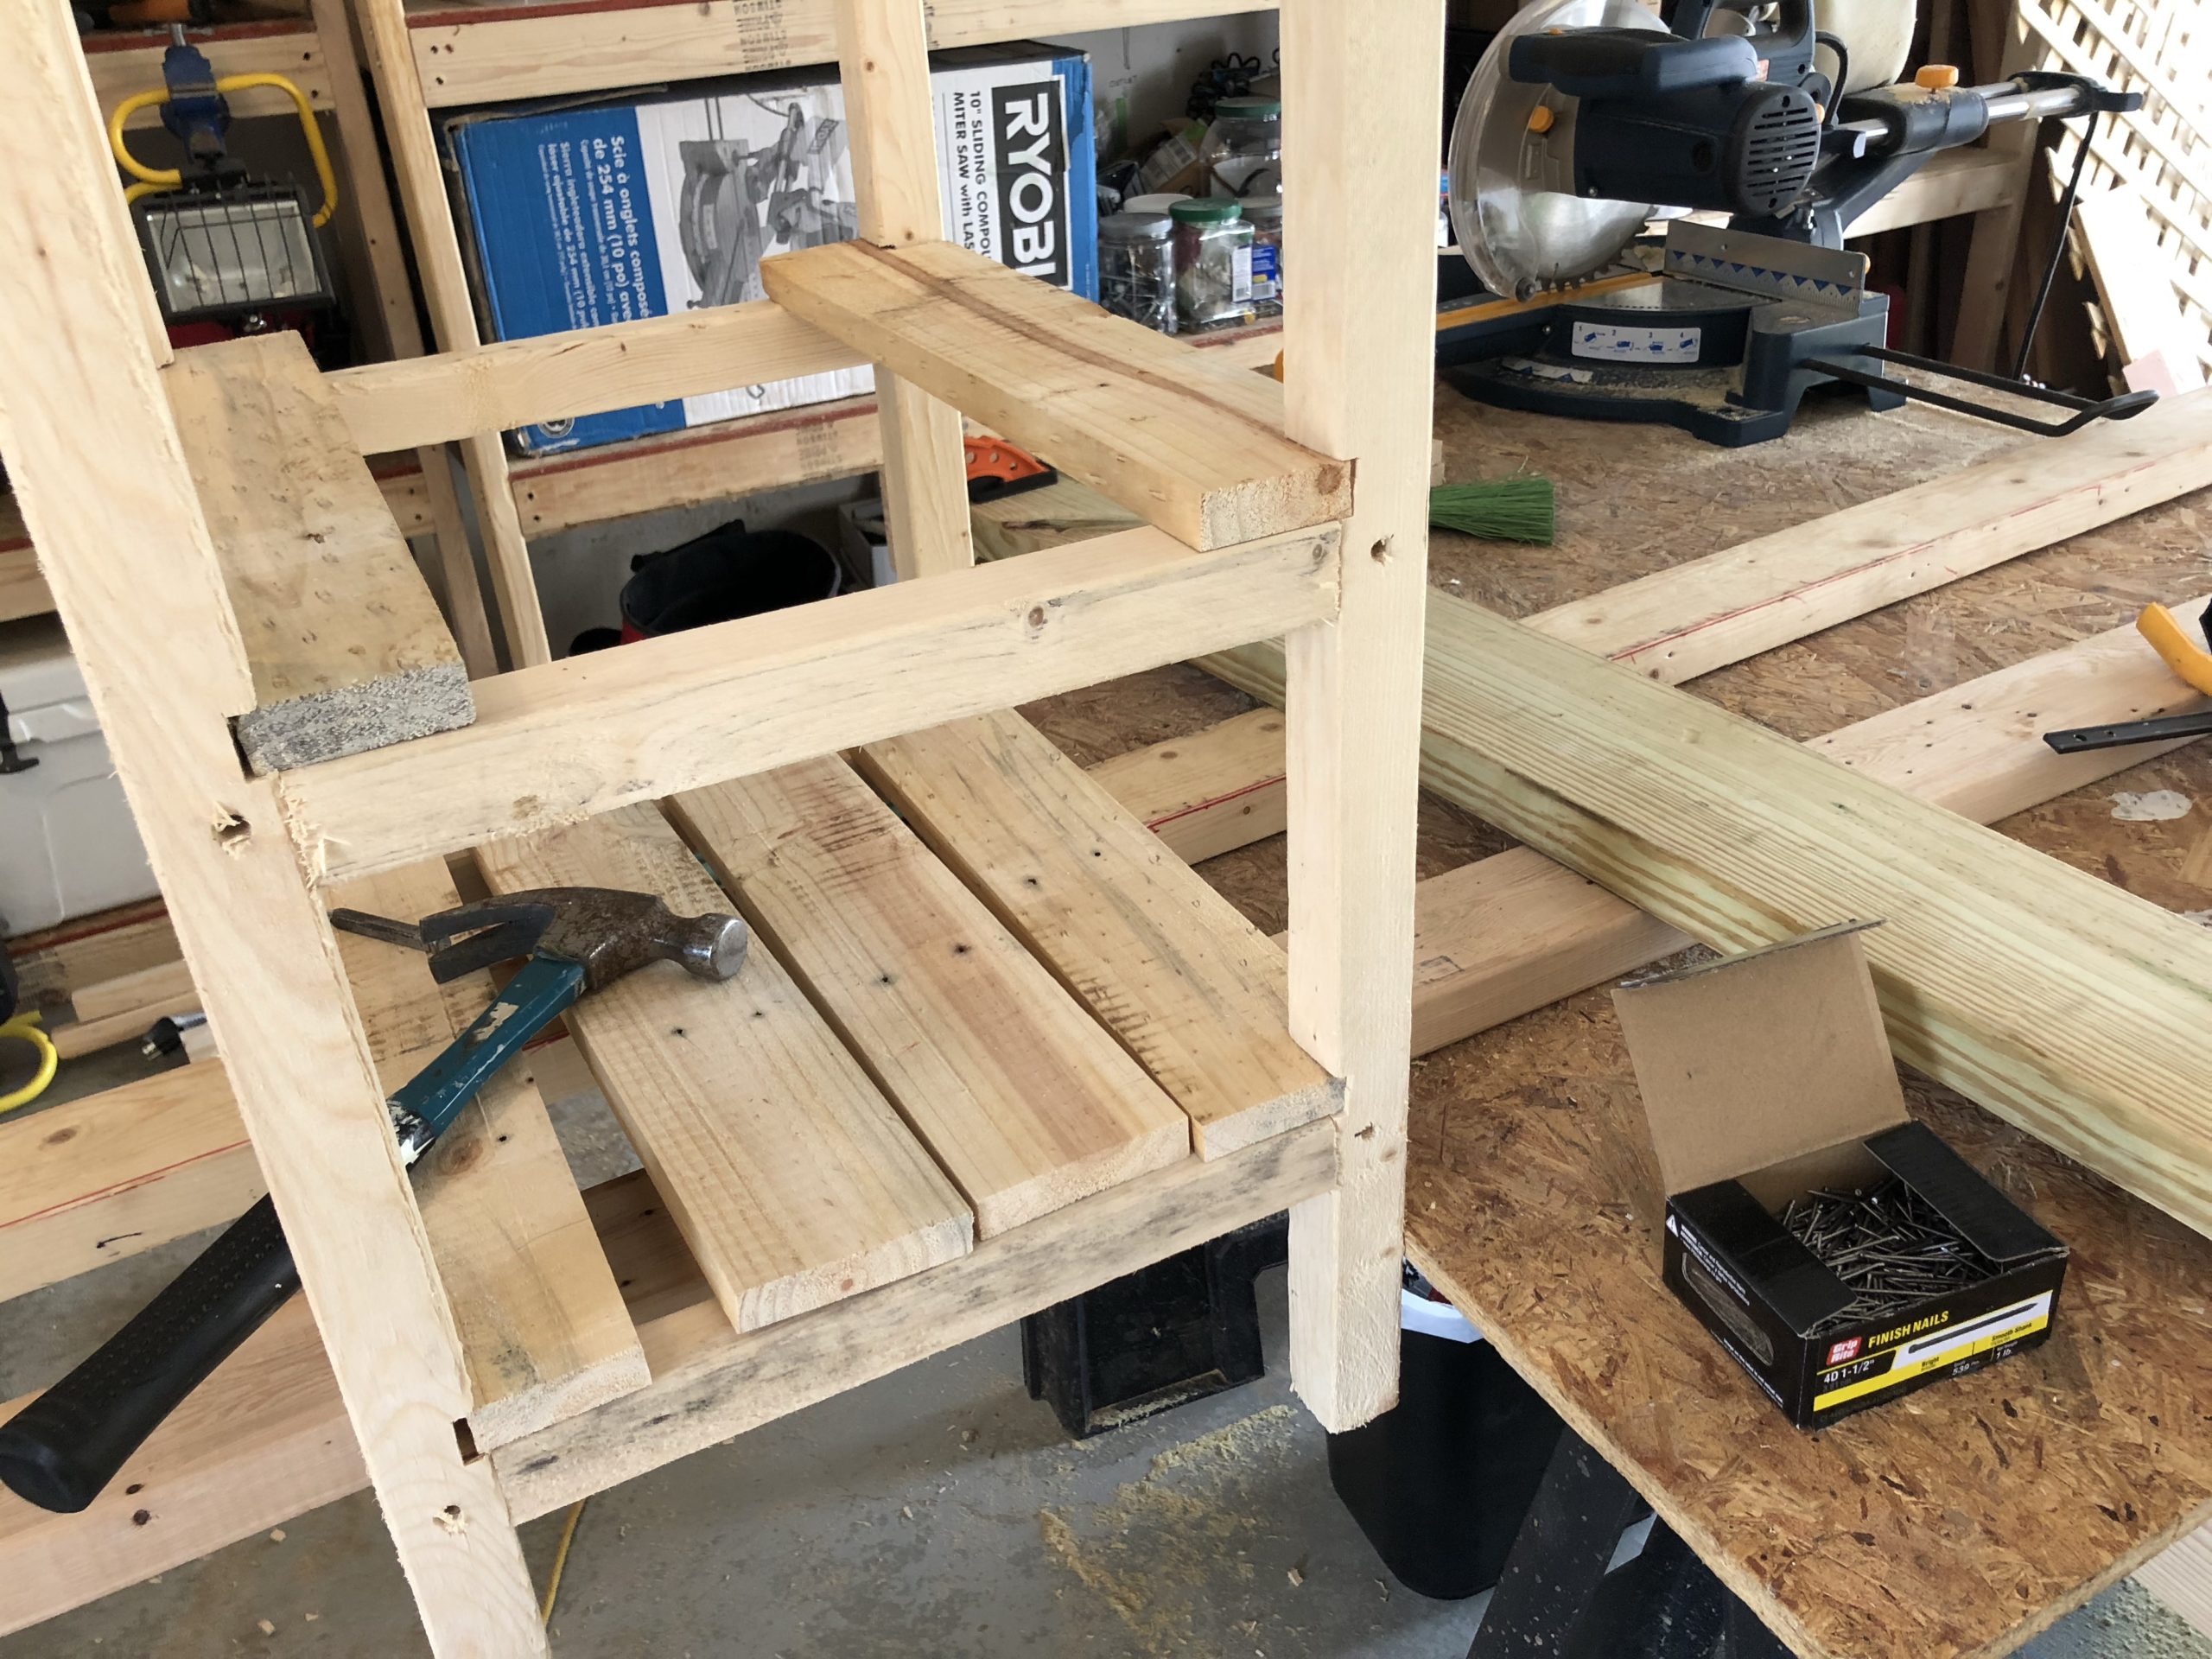
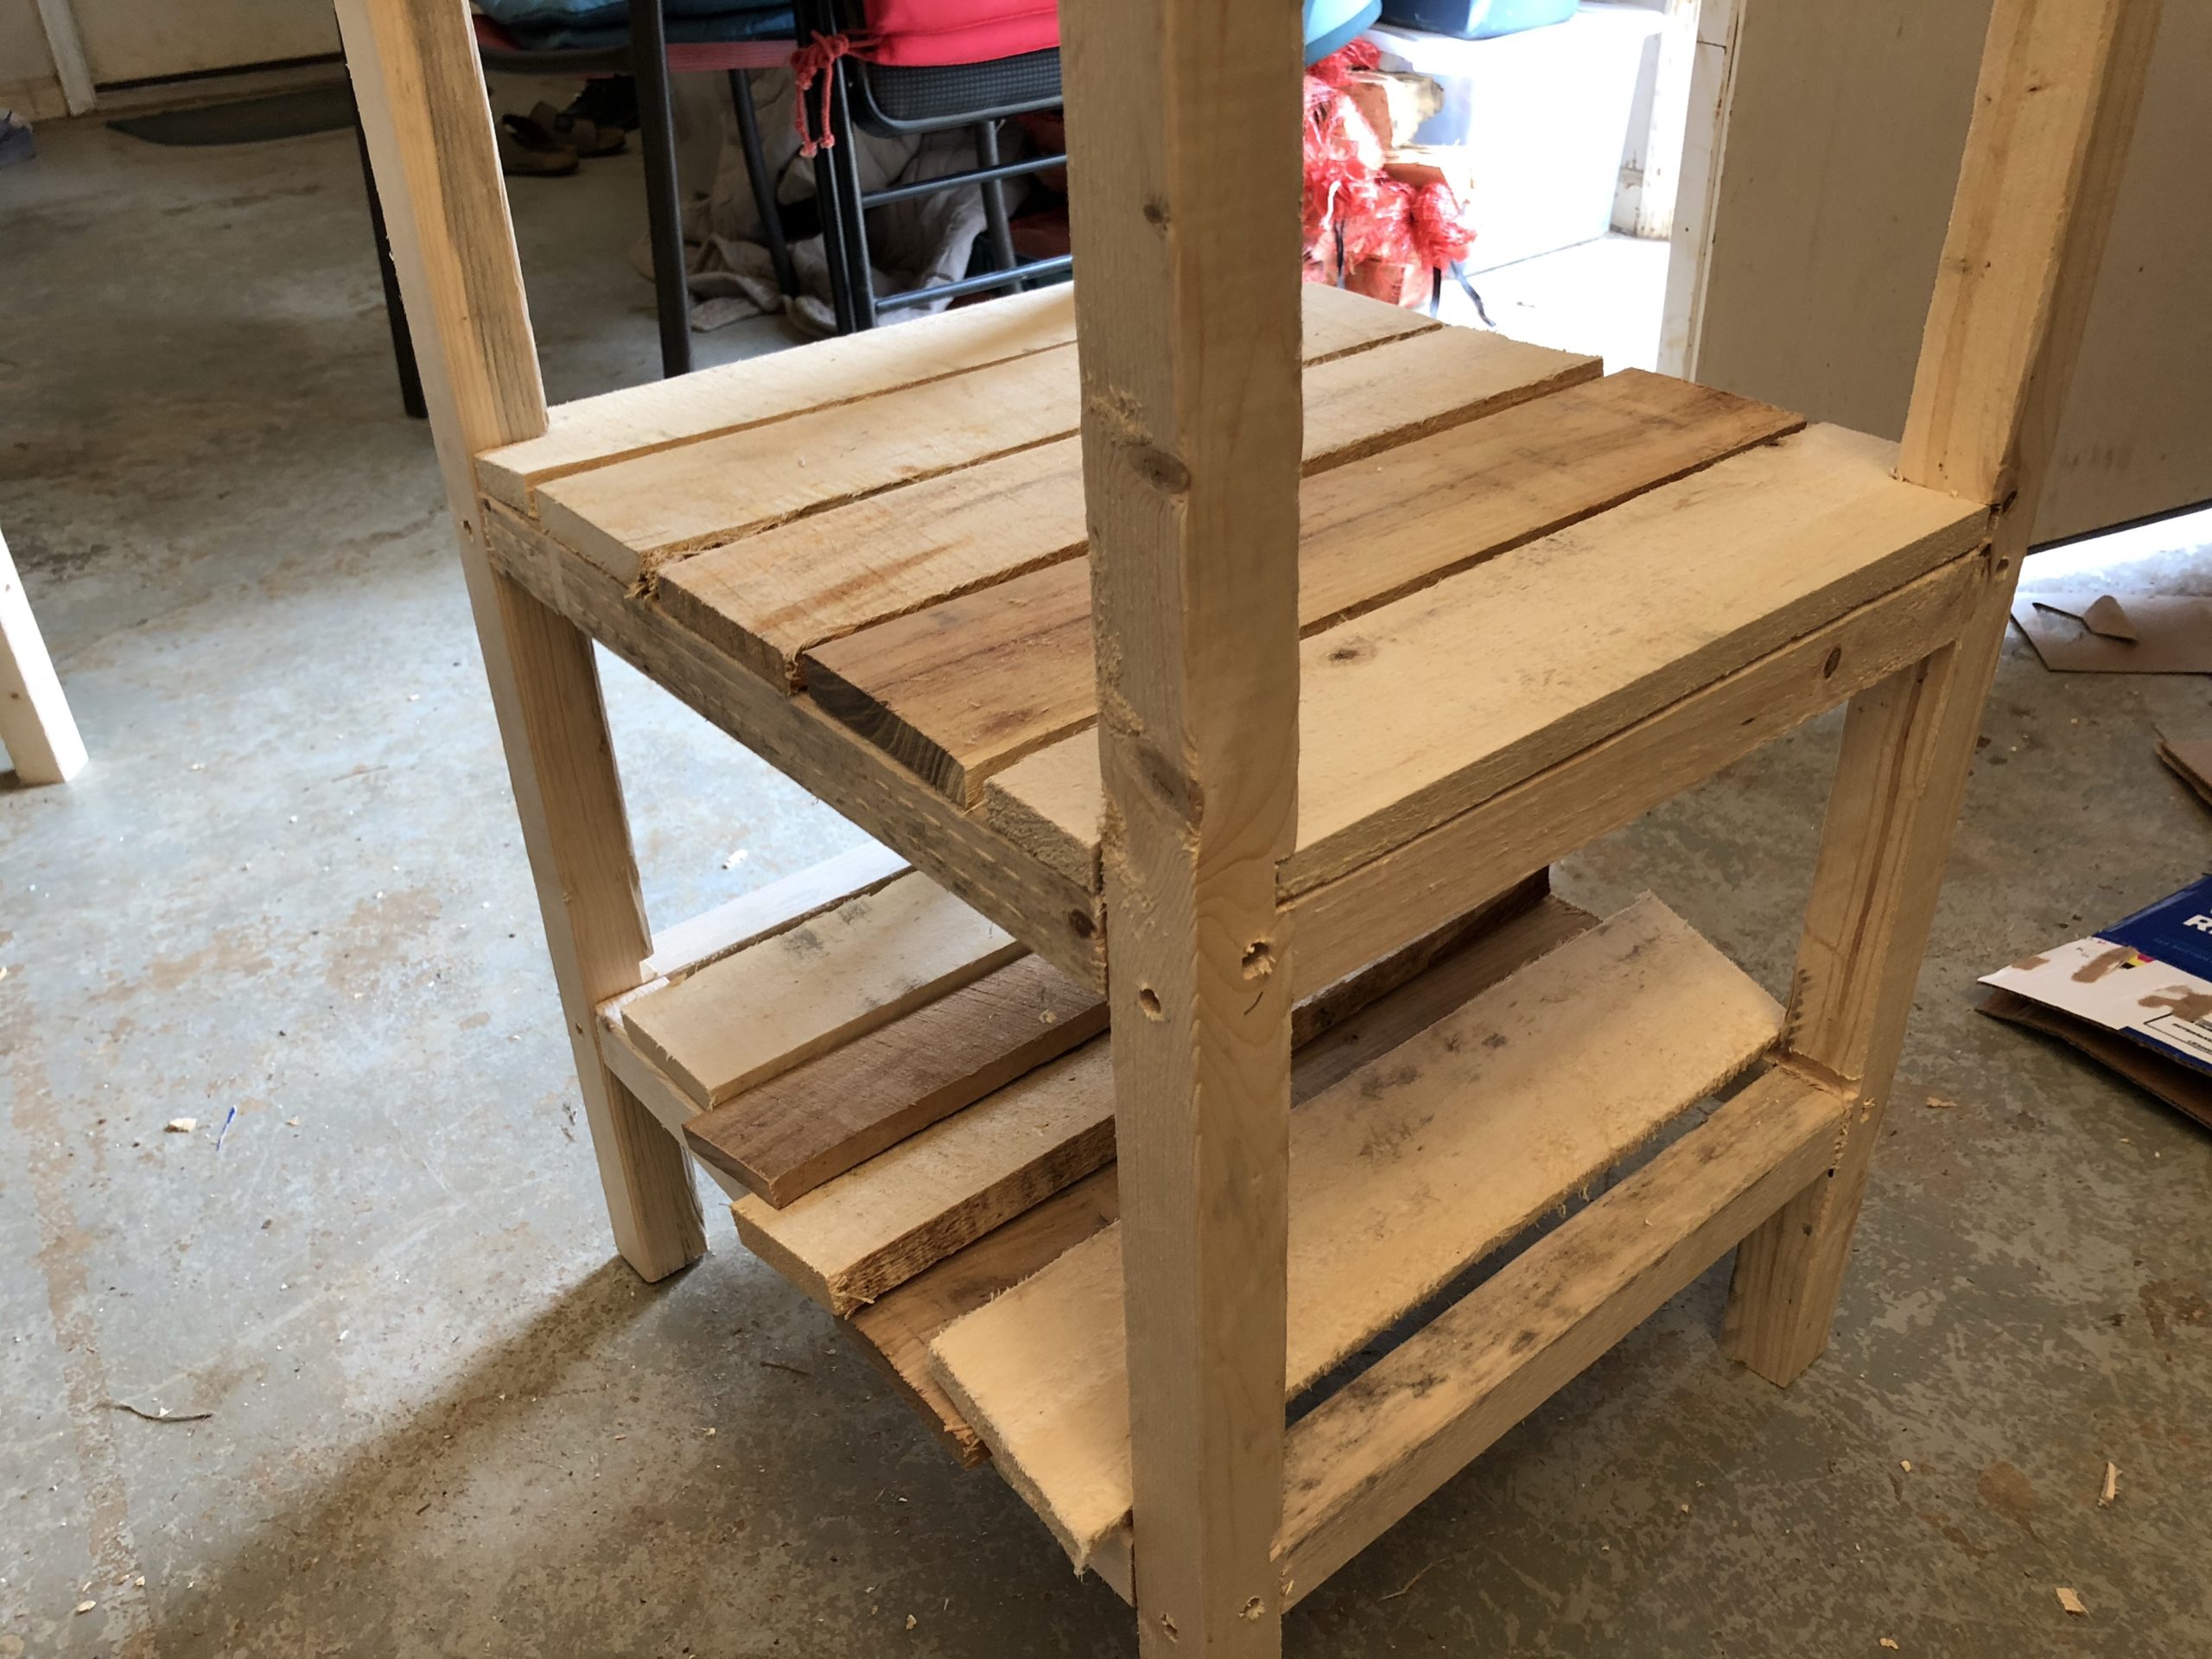
Meanwhile, the leg frames needed shelves.
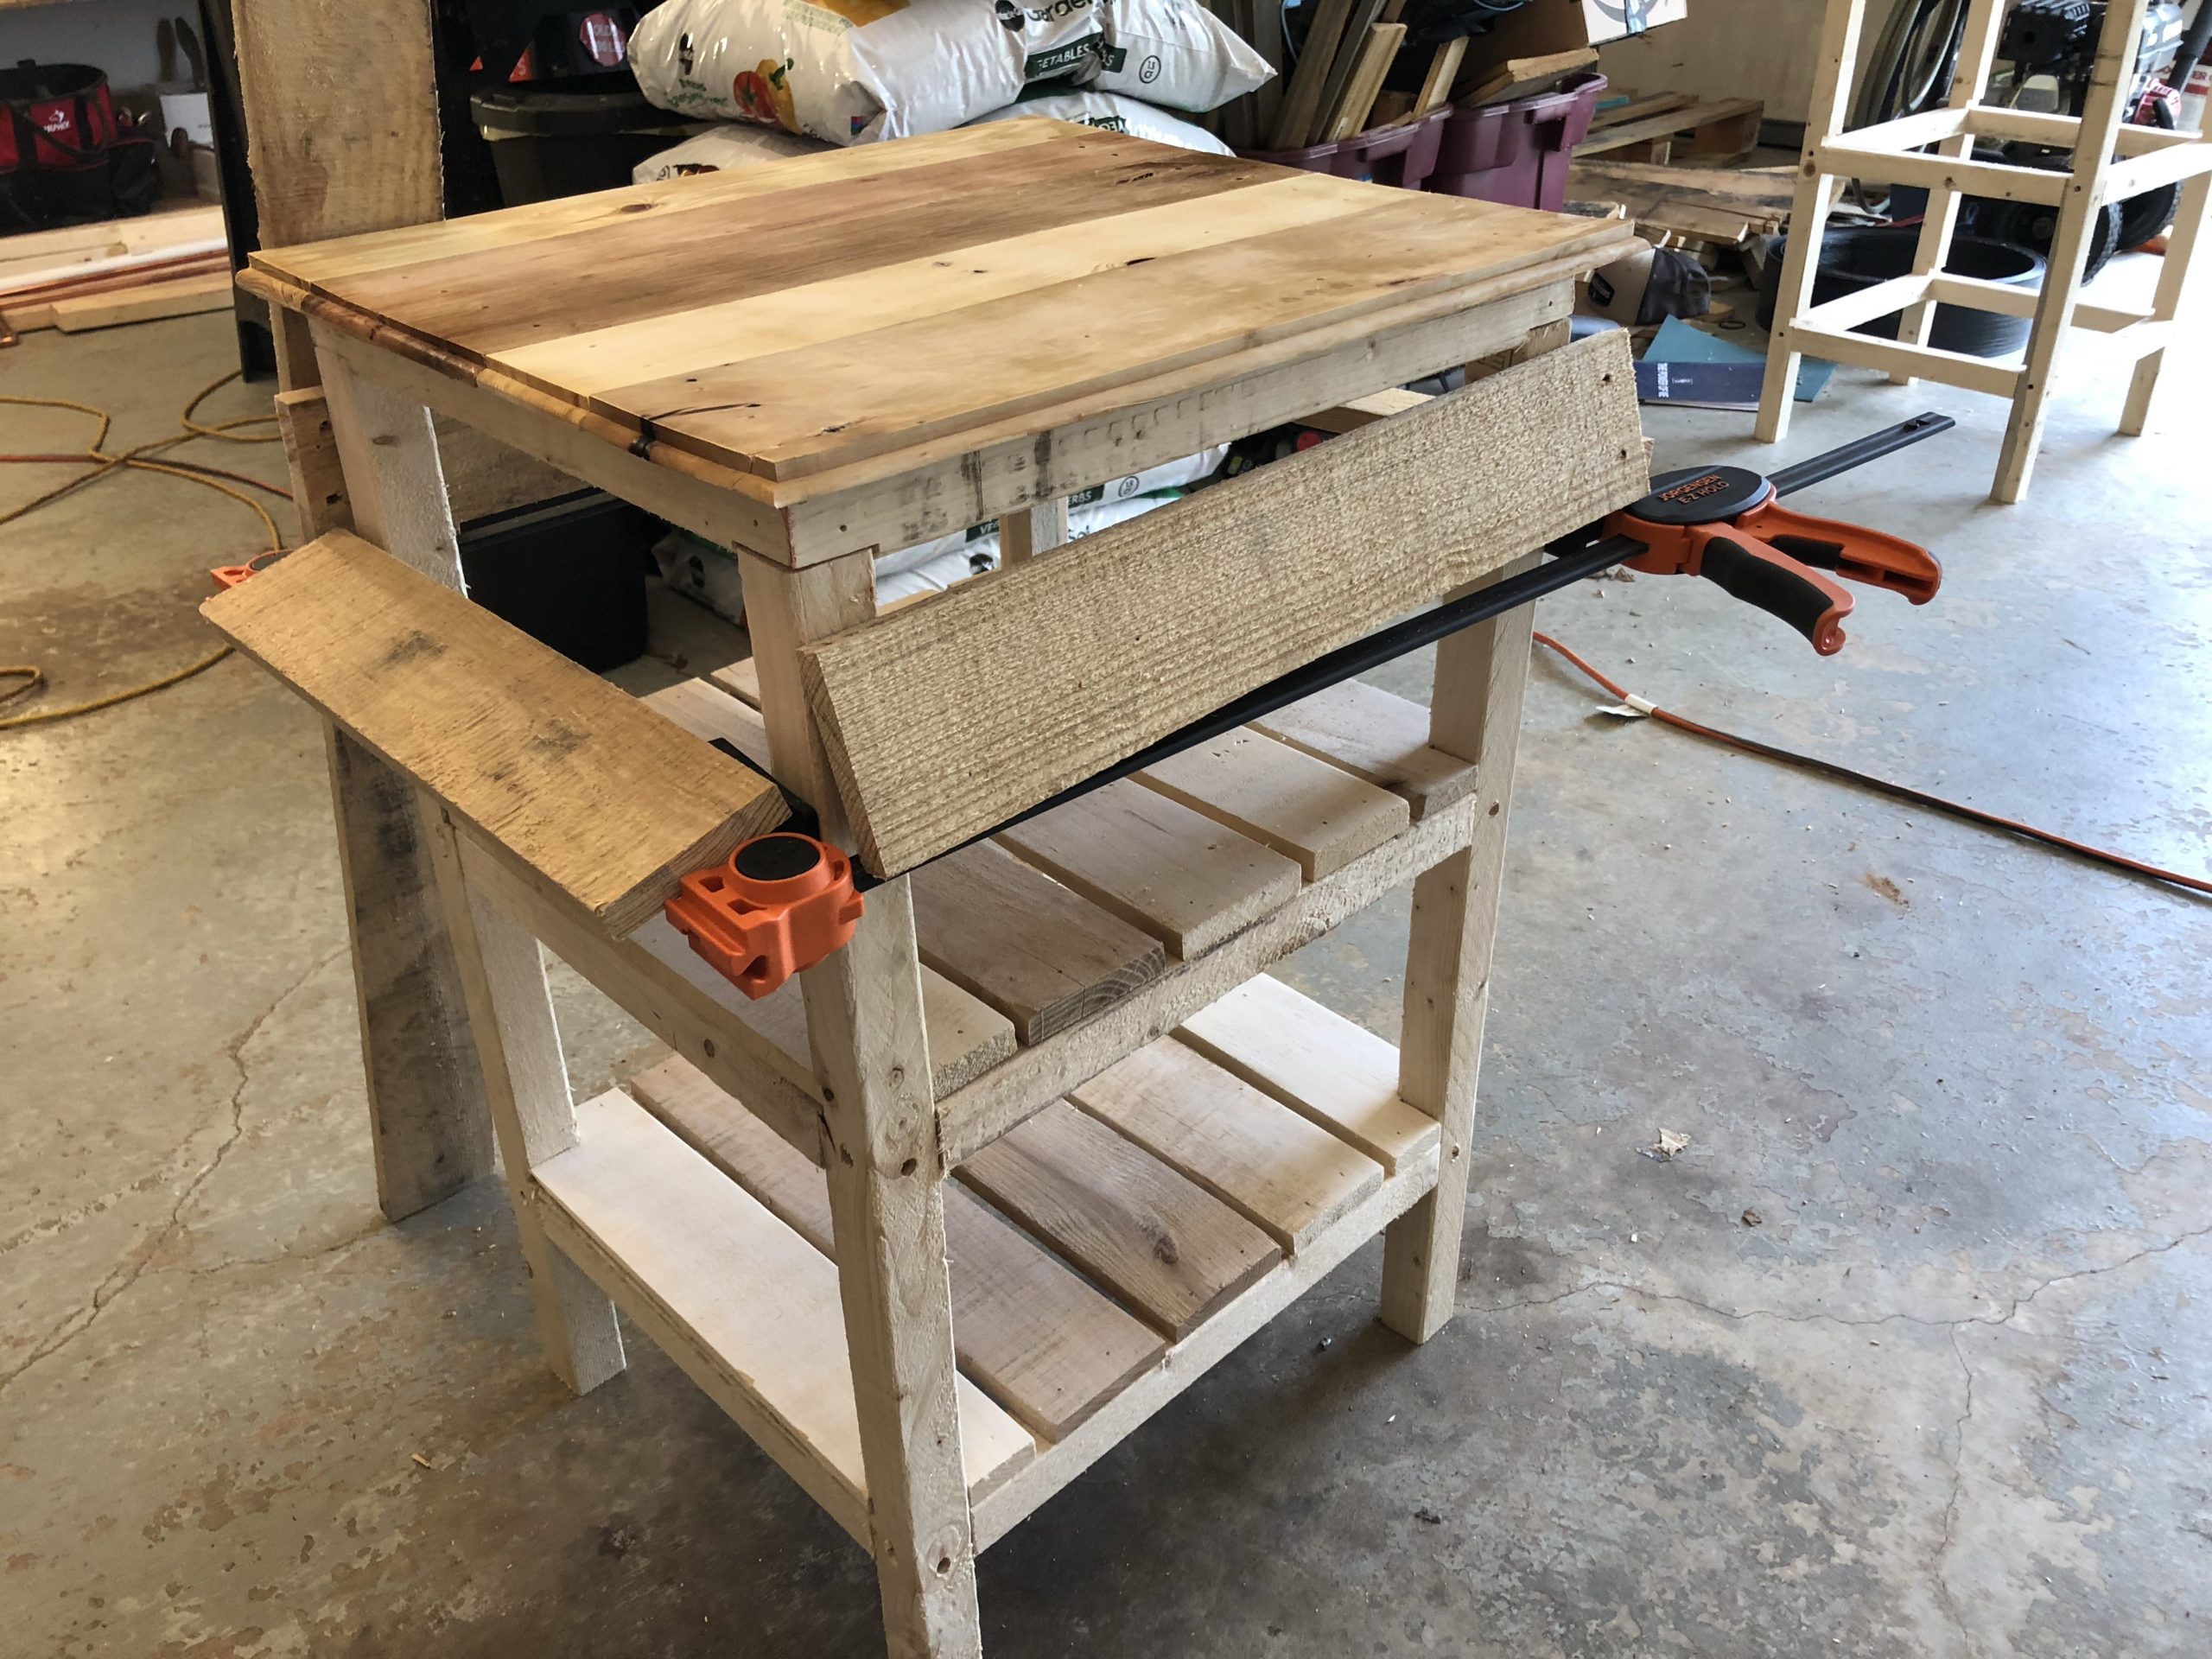
I clamped the frames to my workbench for support while I nailed the slats onto the leg frames. The leg supports were screwed together earlier. For nailing the slats I used 4D finish nails. Buy them in bulk if you work on pallet projects frequently. Trust me.
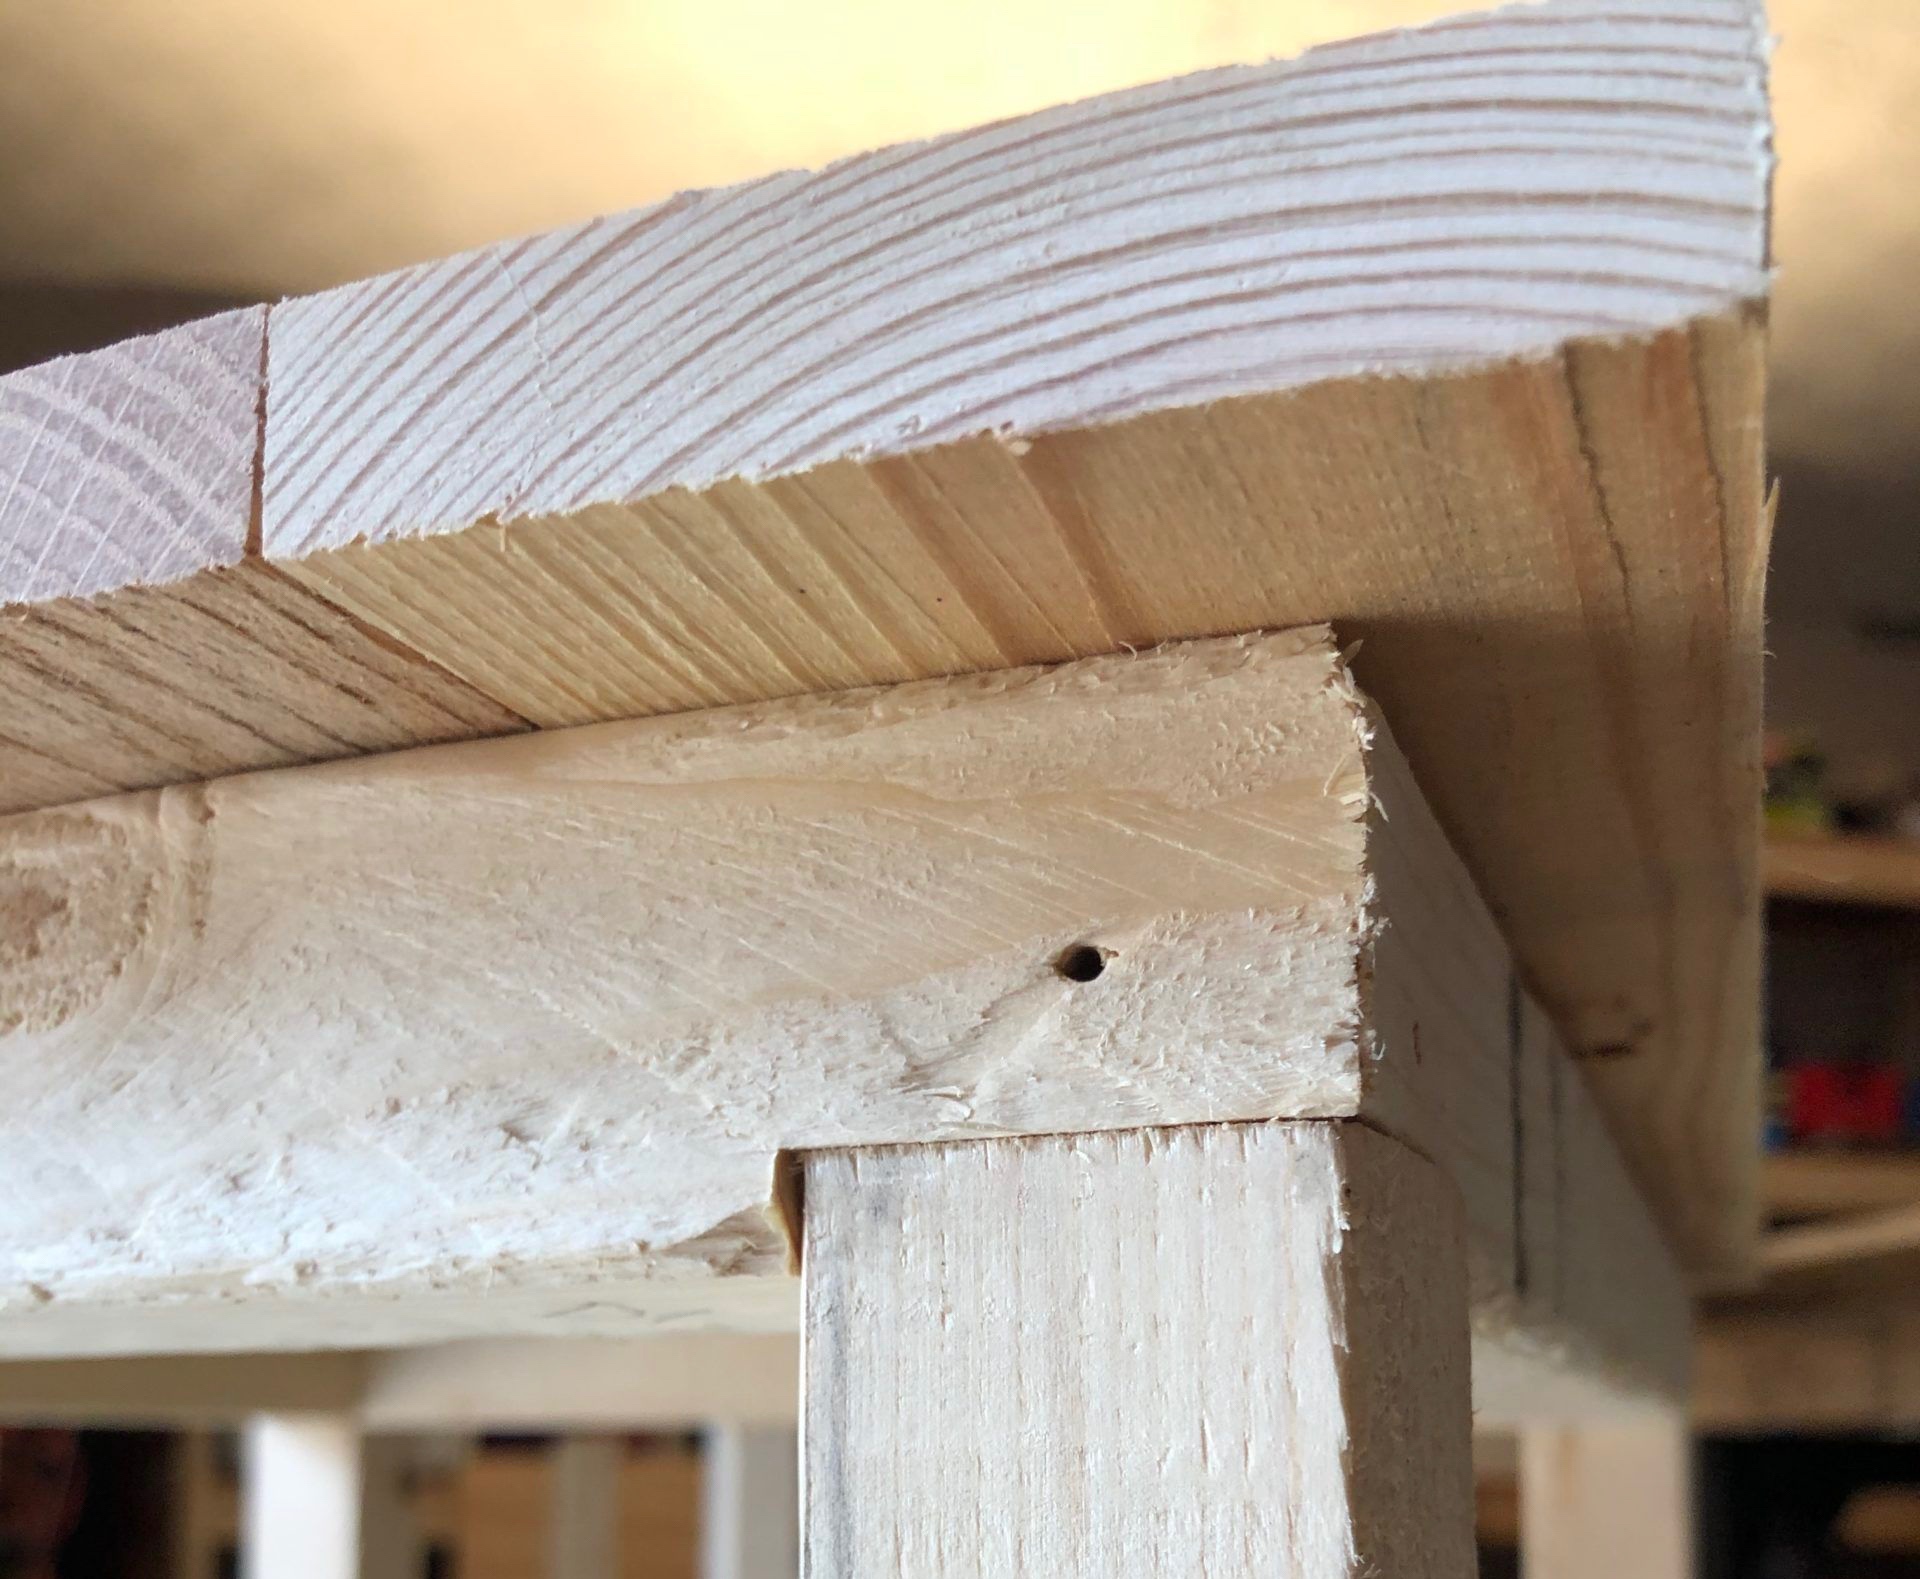
Wrap the top with a band of slats at the same time affixing the top to the leg/frame. Doing it this way allows you to remove the top in the future if you wanted to refinish it or whatever.
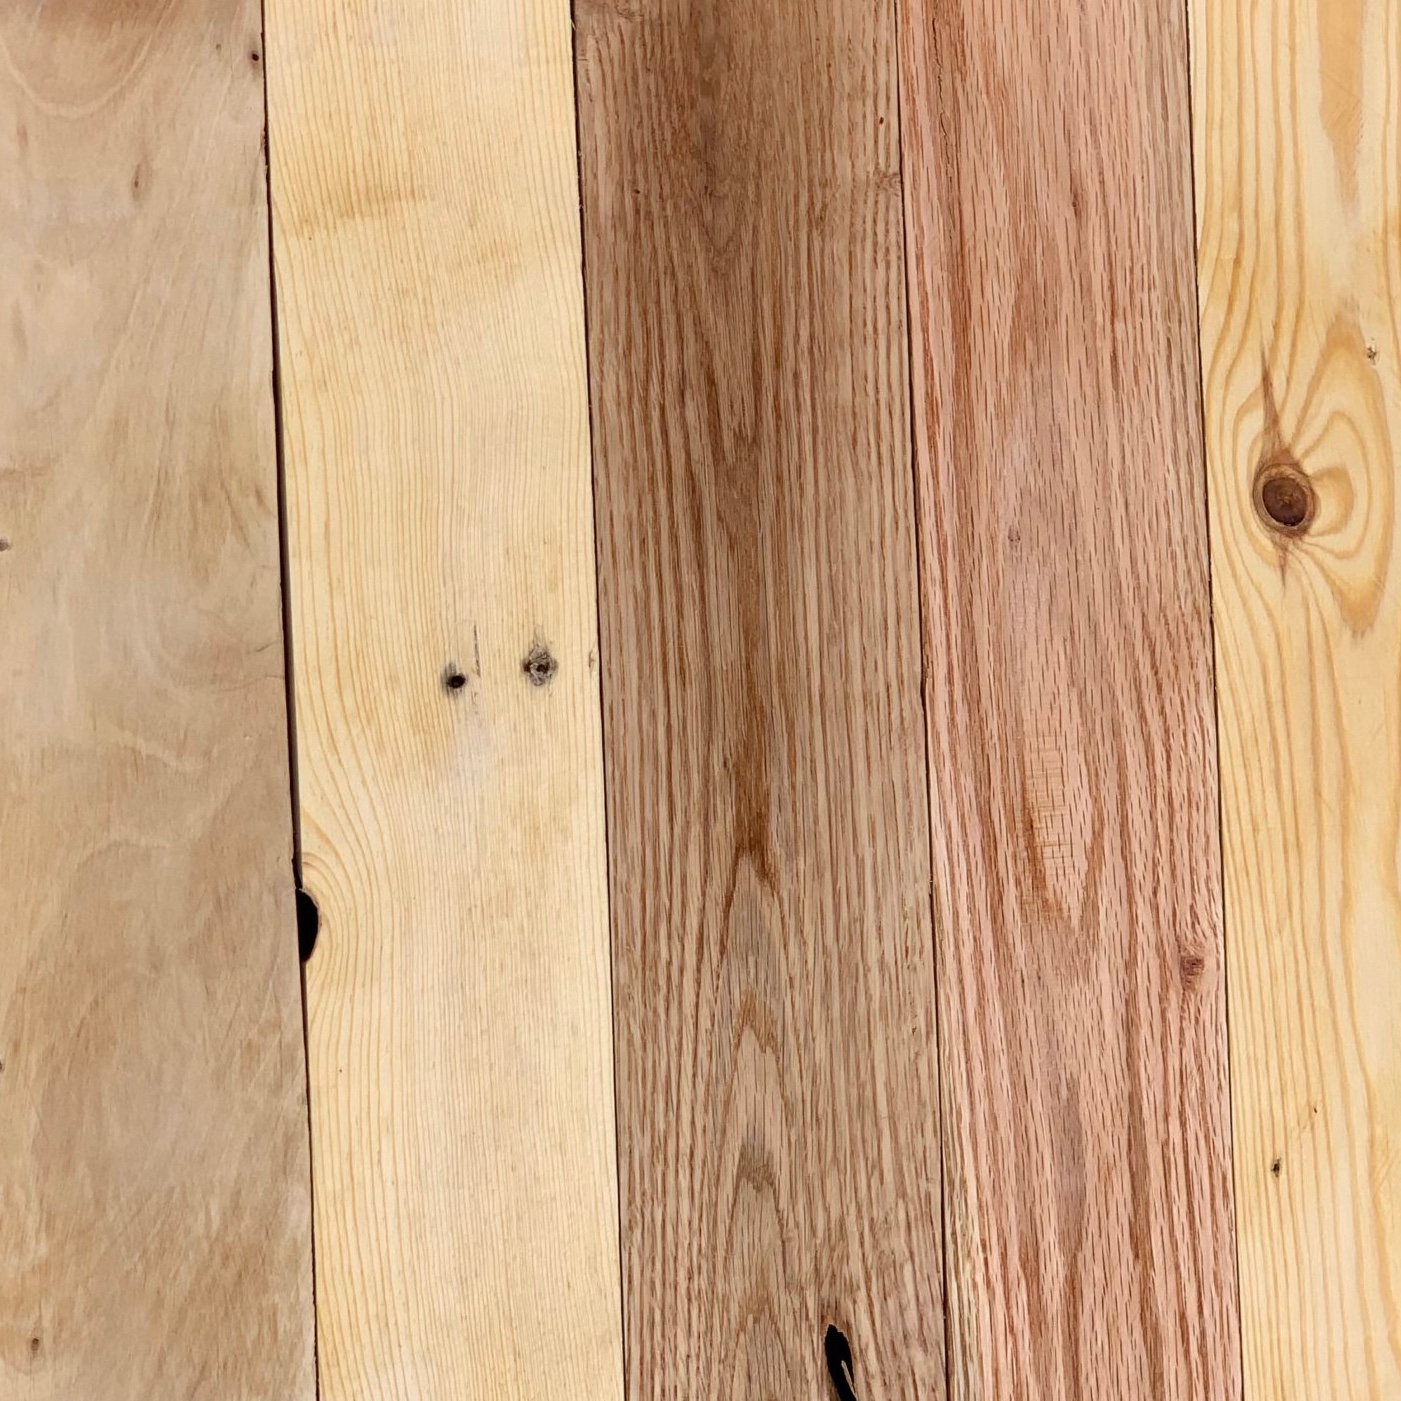
(I was not as happy about the top size in relationship to the legs with their trim. In retrospect it should have been larger. This allows me options down the road to completely remove it, change out the wood on the top with larger ones, affix them, re-sand, re-route and then re-finish them. You can see why I said future. Consider this though in your own design. The thickness of the slats varies a lot.)
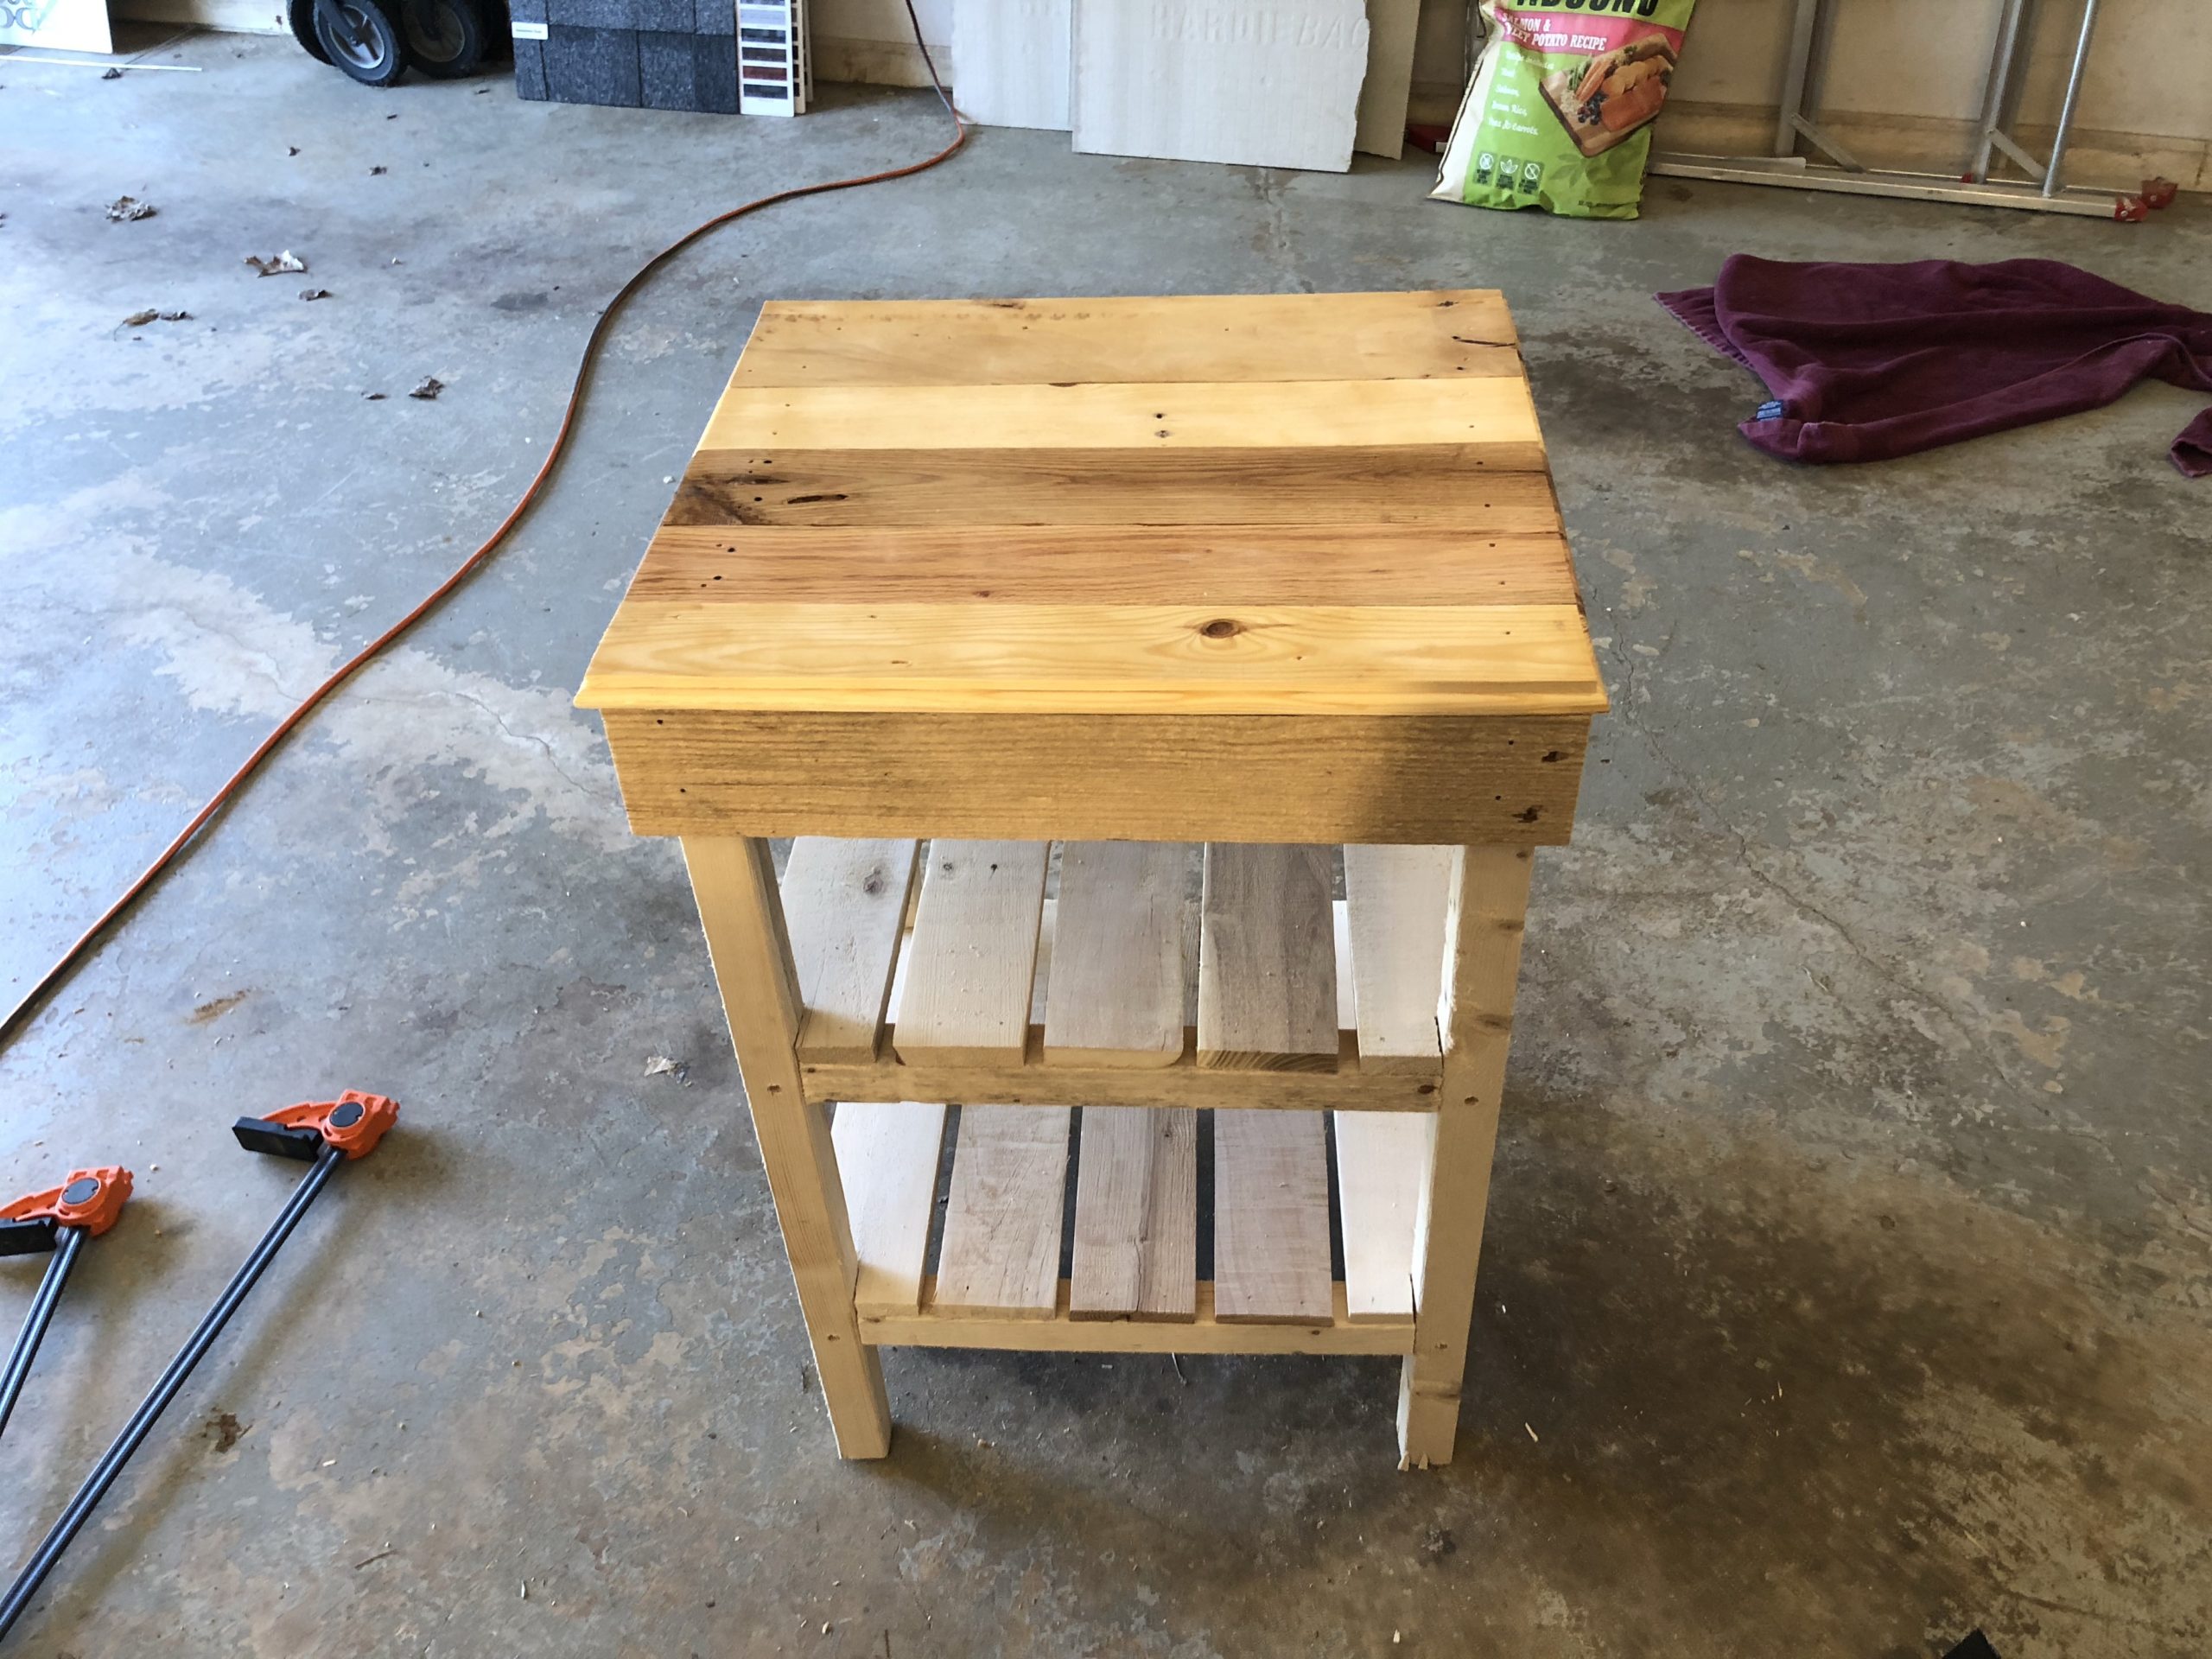
Add even more slats as trim down the sides and between the legs of the night stand.
Finally moved to the master bedroom.